


66 ROOMS IV
|
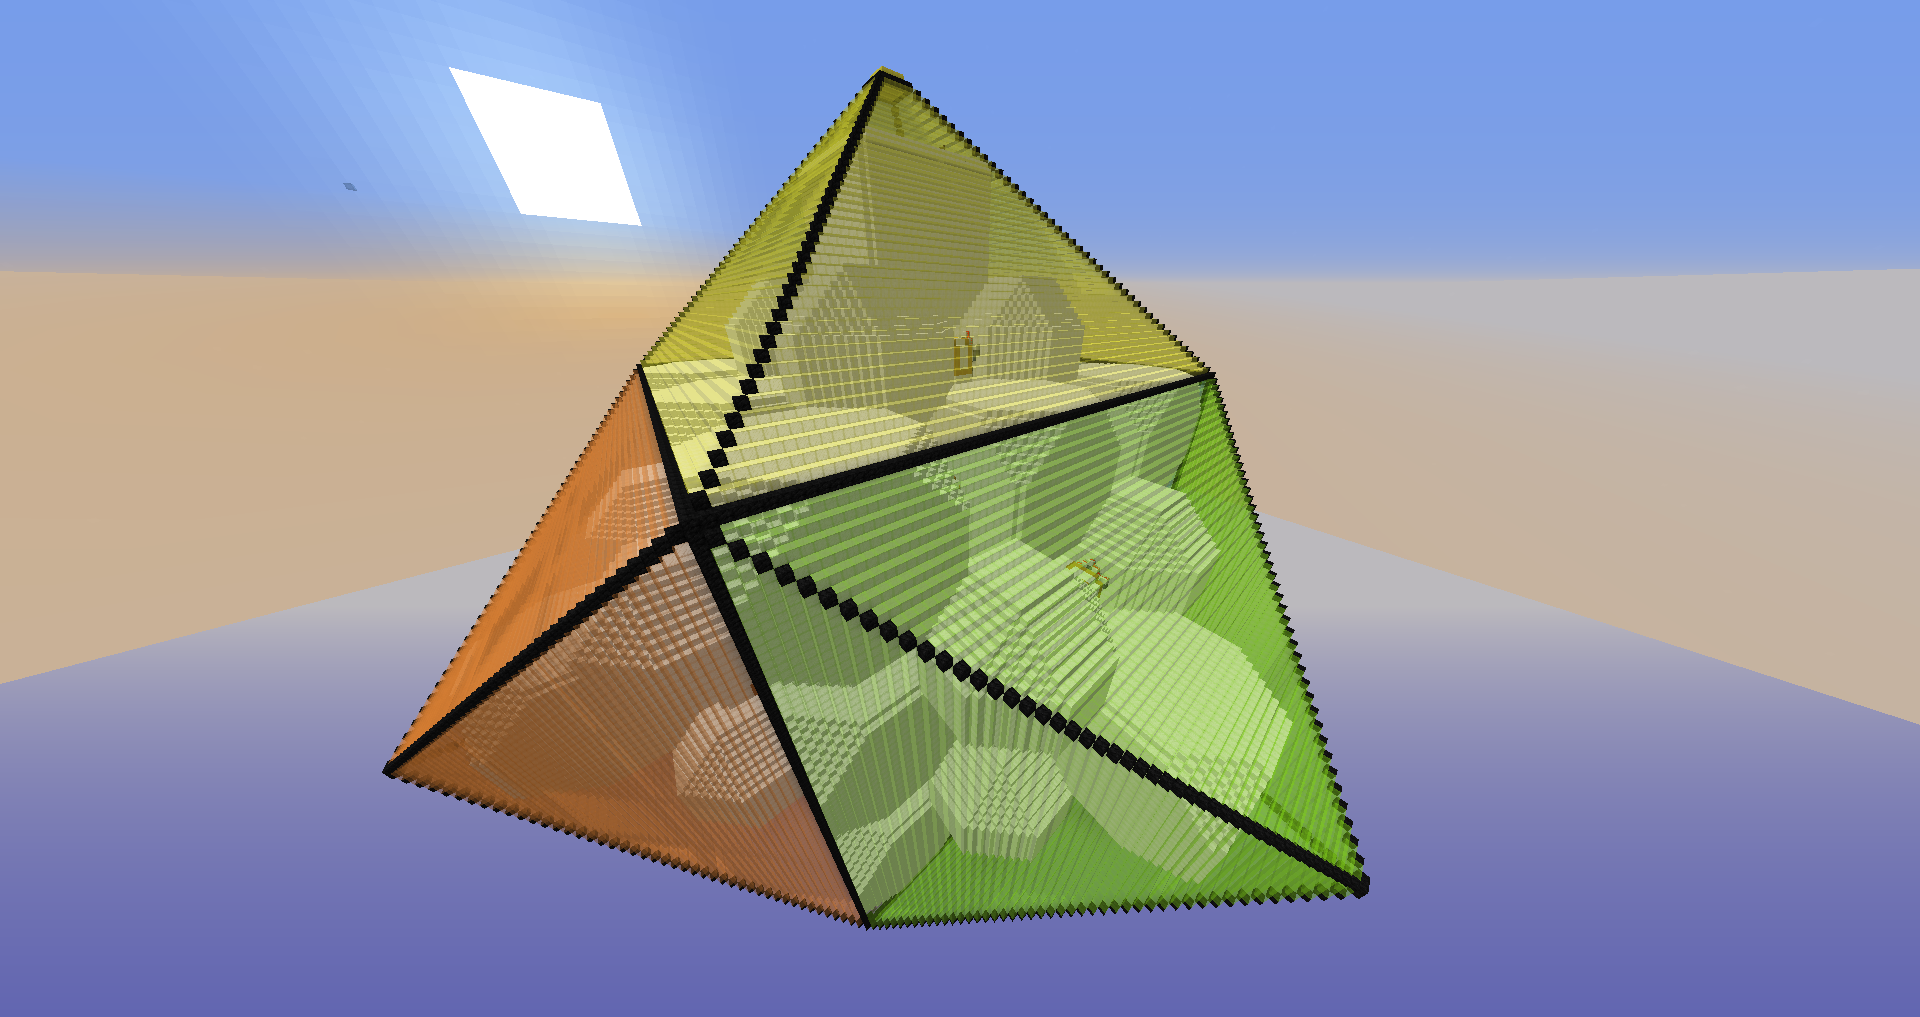
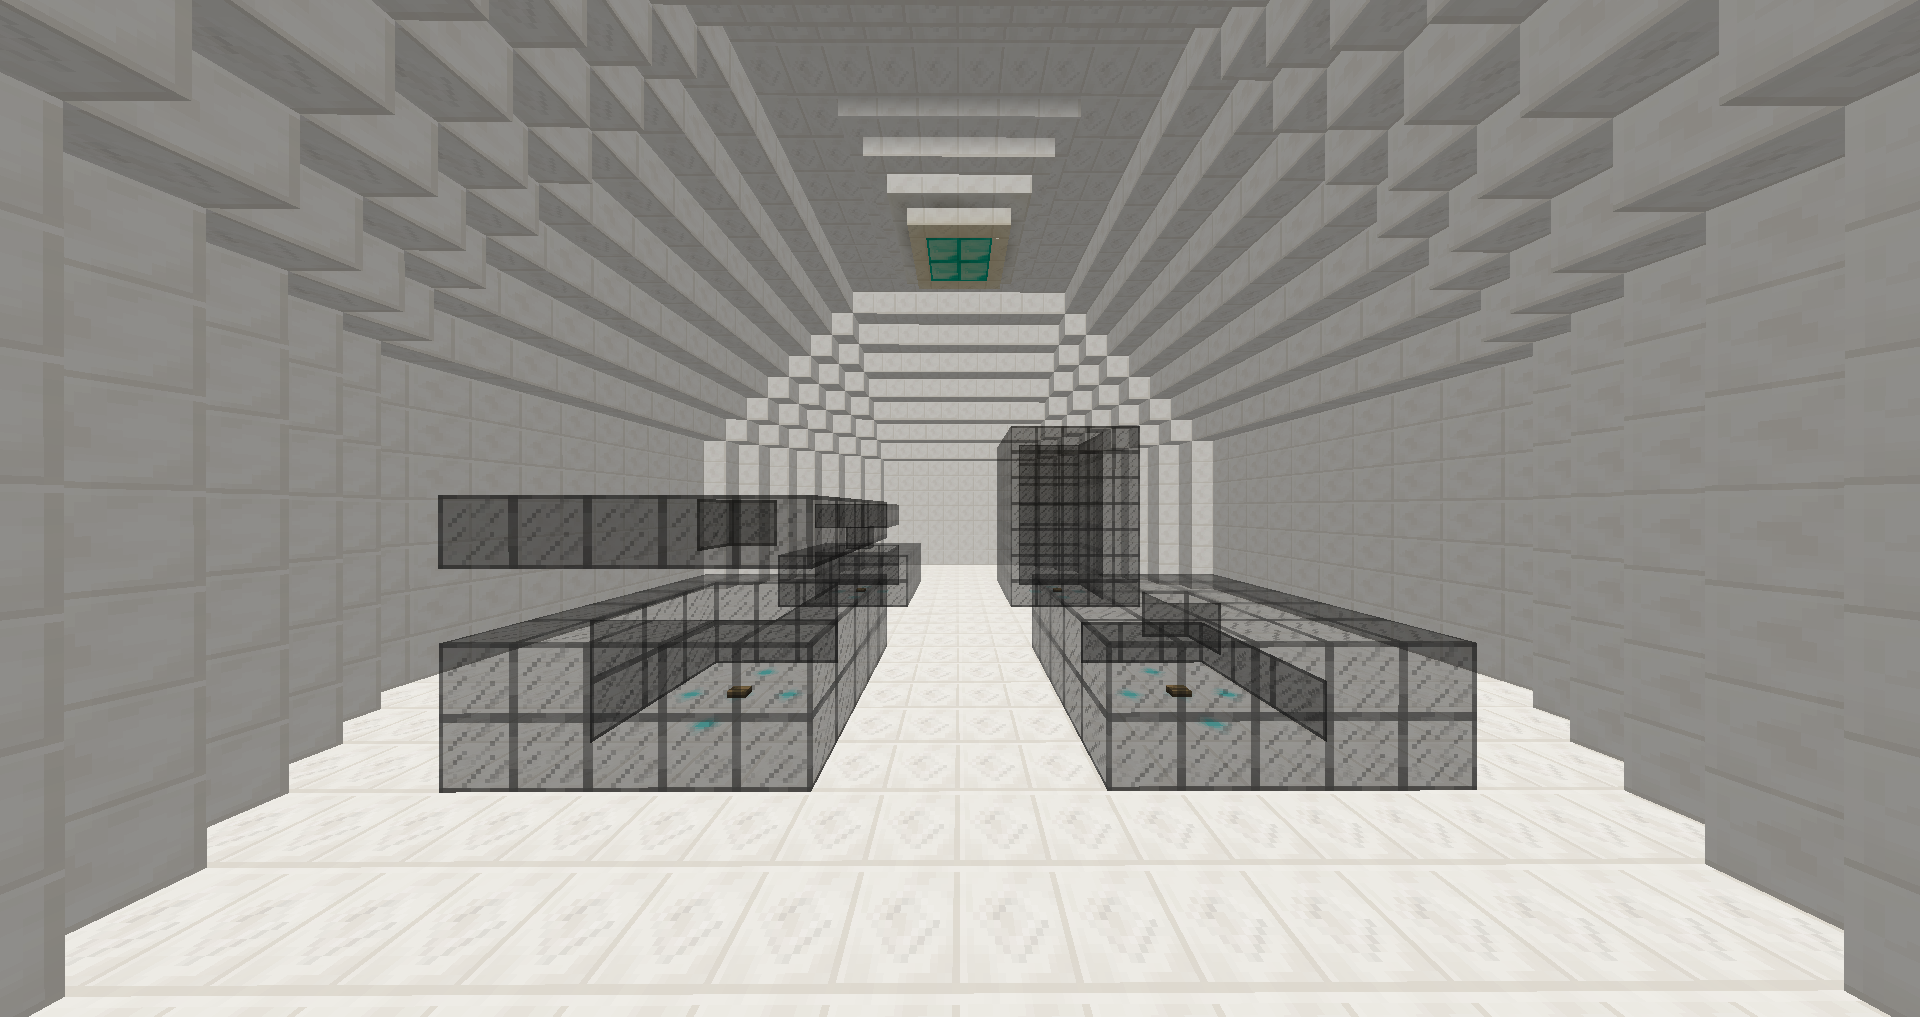
66 ROOMS IV is finally here! This map has been in the making for 8 years, and now, more than 9 years after we began our journey with 66 ROOMS, it is finally coming to a close with 66 ROOMS IV. Version 1.8 may not be up to date, but we really hope you will enjoy it nonetheless. It's been quite the journey and both a pleasure and a pain to work on this project. In the end, we can proudly say that we created something that was worth all the effort. We wish you lots of fun with all the puzzles, parkours, and especially the minigames! Here are some gameplay details:Rooms by type: 1x Central Hub 20x Puzzle 14x Parkour 14x Maze 16x Minigame 65 rooms Total* Map difficulty: ★★★★☆ Estimated playtime: 5+ hours. You can play 66 ROOMS IV without playing the previous parts of 66 ROOMS. *Yes, I know, it's not 66, but if you look at the perfect geometrical structure of the map, you will understand this sacrifice. Some fun facts:The entire map fits insida a geometric shape, called a rhombic dodecahedron. Two types of rooms form a three dimensional sctructure inside this shape. They are called truncated cubes (bigger rooms) and rhombicuboctahedrons (smaller rooms). About 50% of the map was built by hand, the other half was built with WorldEdit. All commands in the 6570 Commandblocks (that's an average of 100 per room) were entered by hand. All command blocks necessary for a room are located within its walls. The basic map structure is made up of Jack-o-Lanterns, which are the most common block in the map. This ensures perfect lighting everywhere. We began working on the map in 2015, immediately after 66 Rooms III was out, and while 1.8 was still the newest Minecraft version. There wasn't much time to work on it though, so it turned into a project that stretched over several years rather than a few months like before. The final version alone took over 477 hours to build. Planning, organization, and testing not included. 1331 mobs were hurt during the making of this map. Below you find a complete guide to all rooms. WARNING: Contains spoilers!
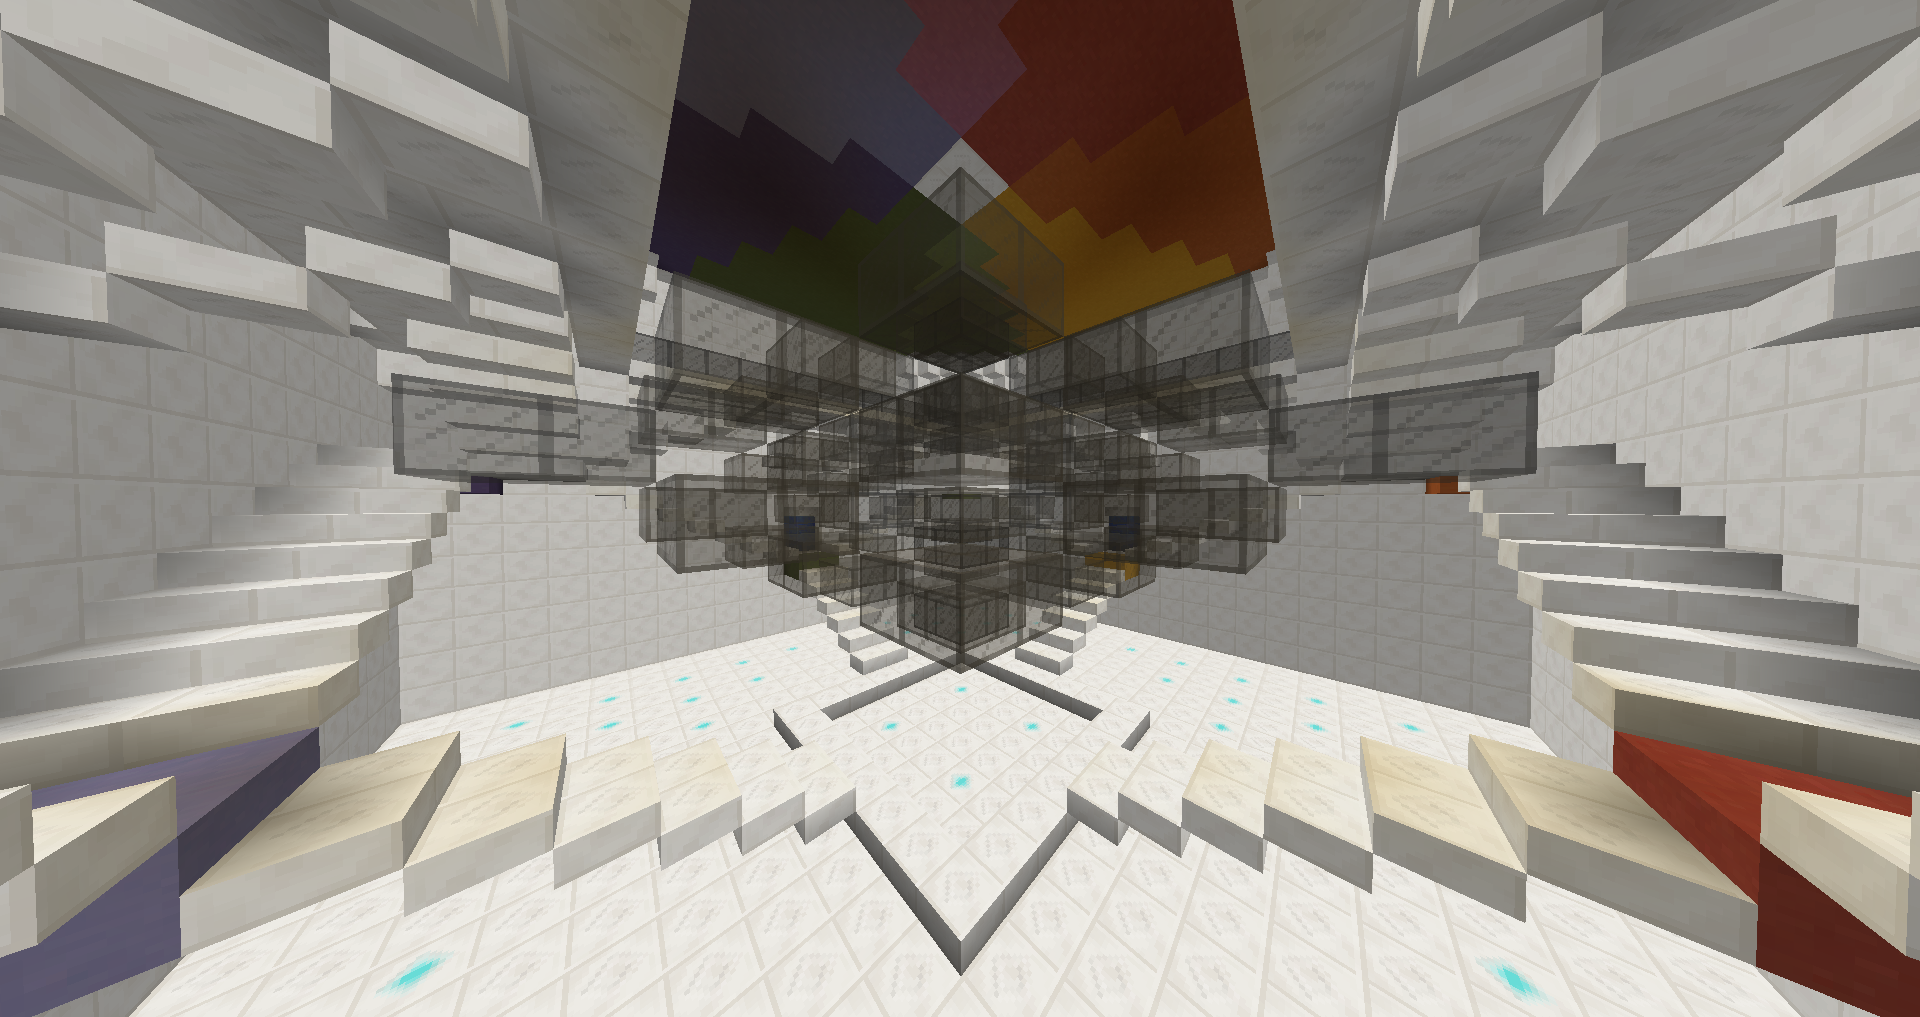
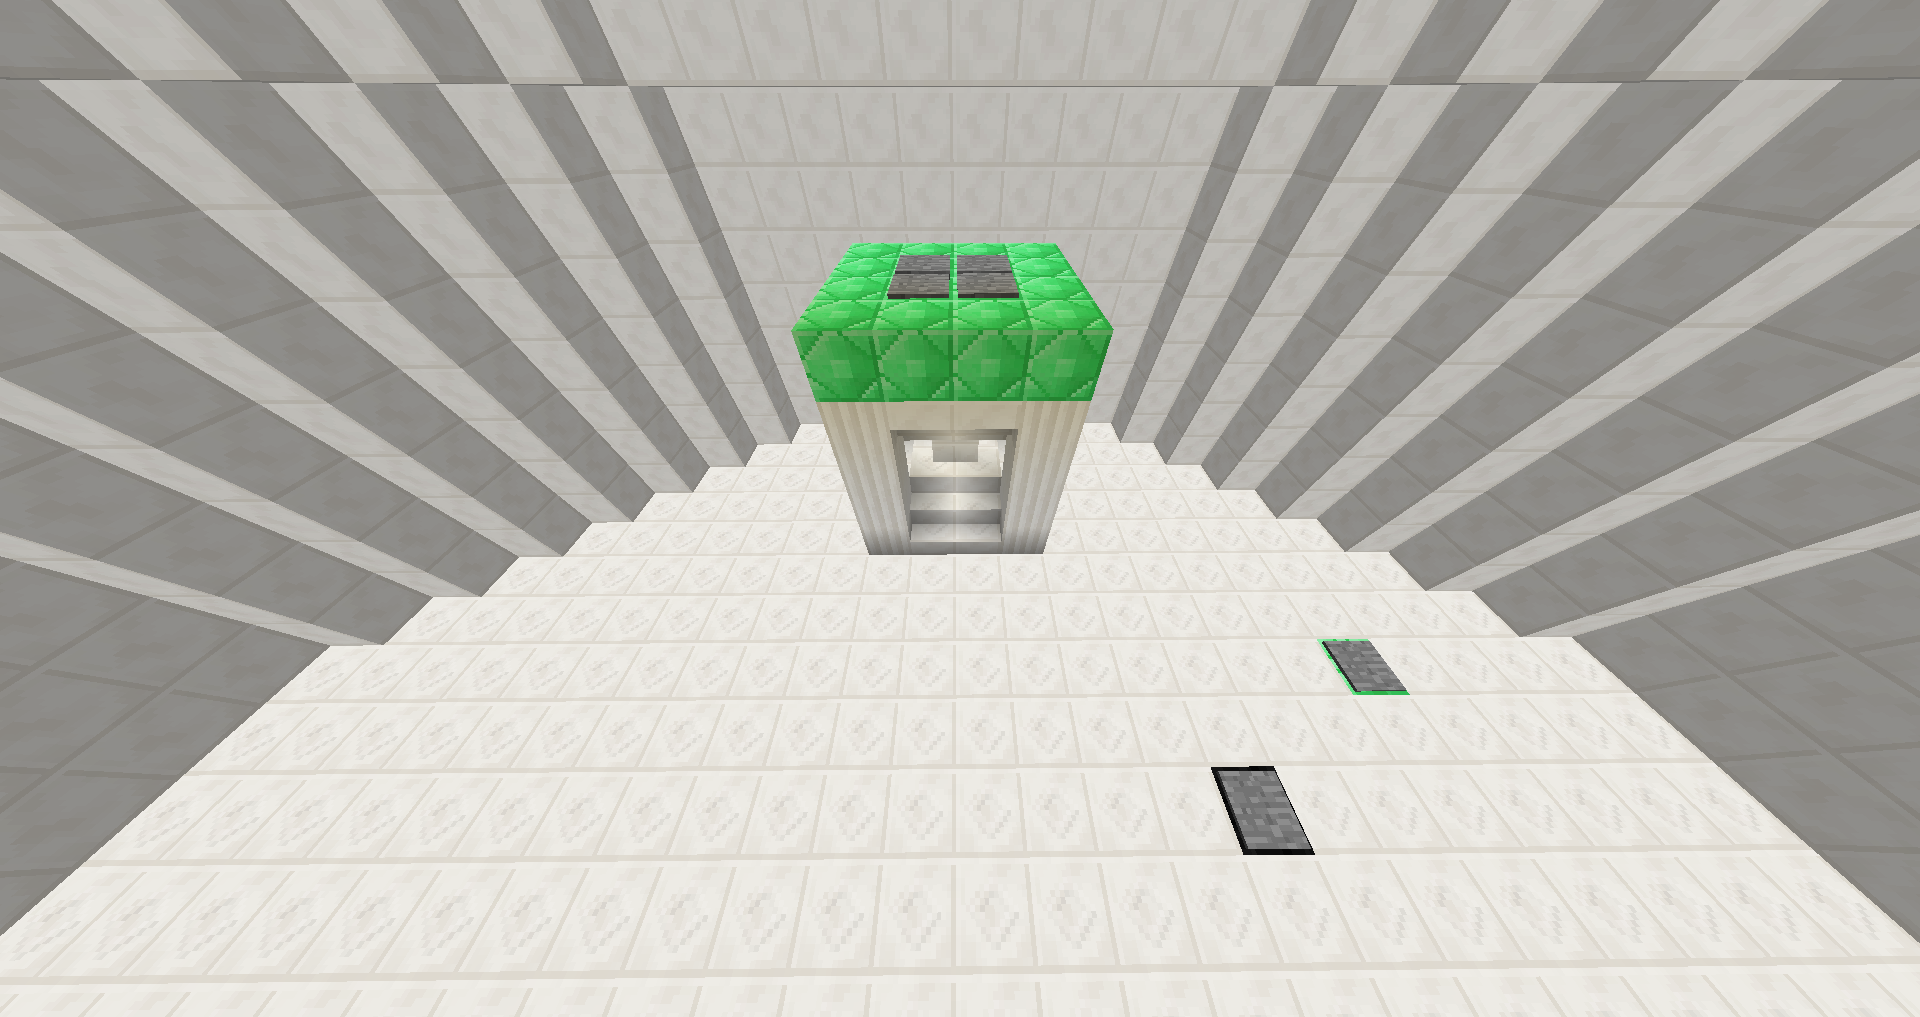
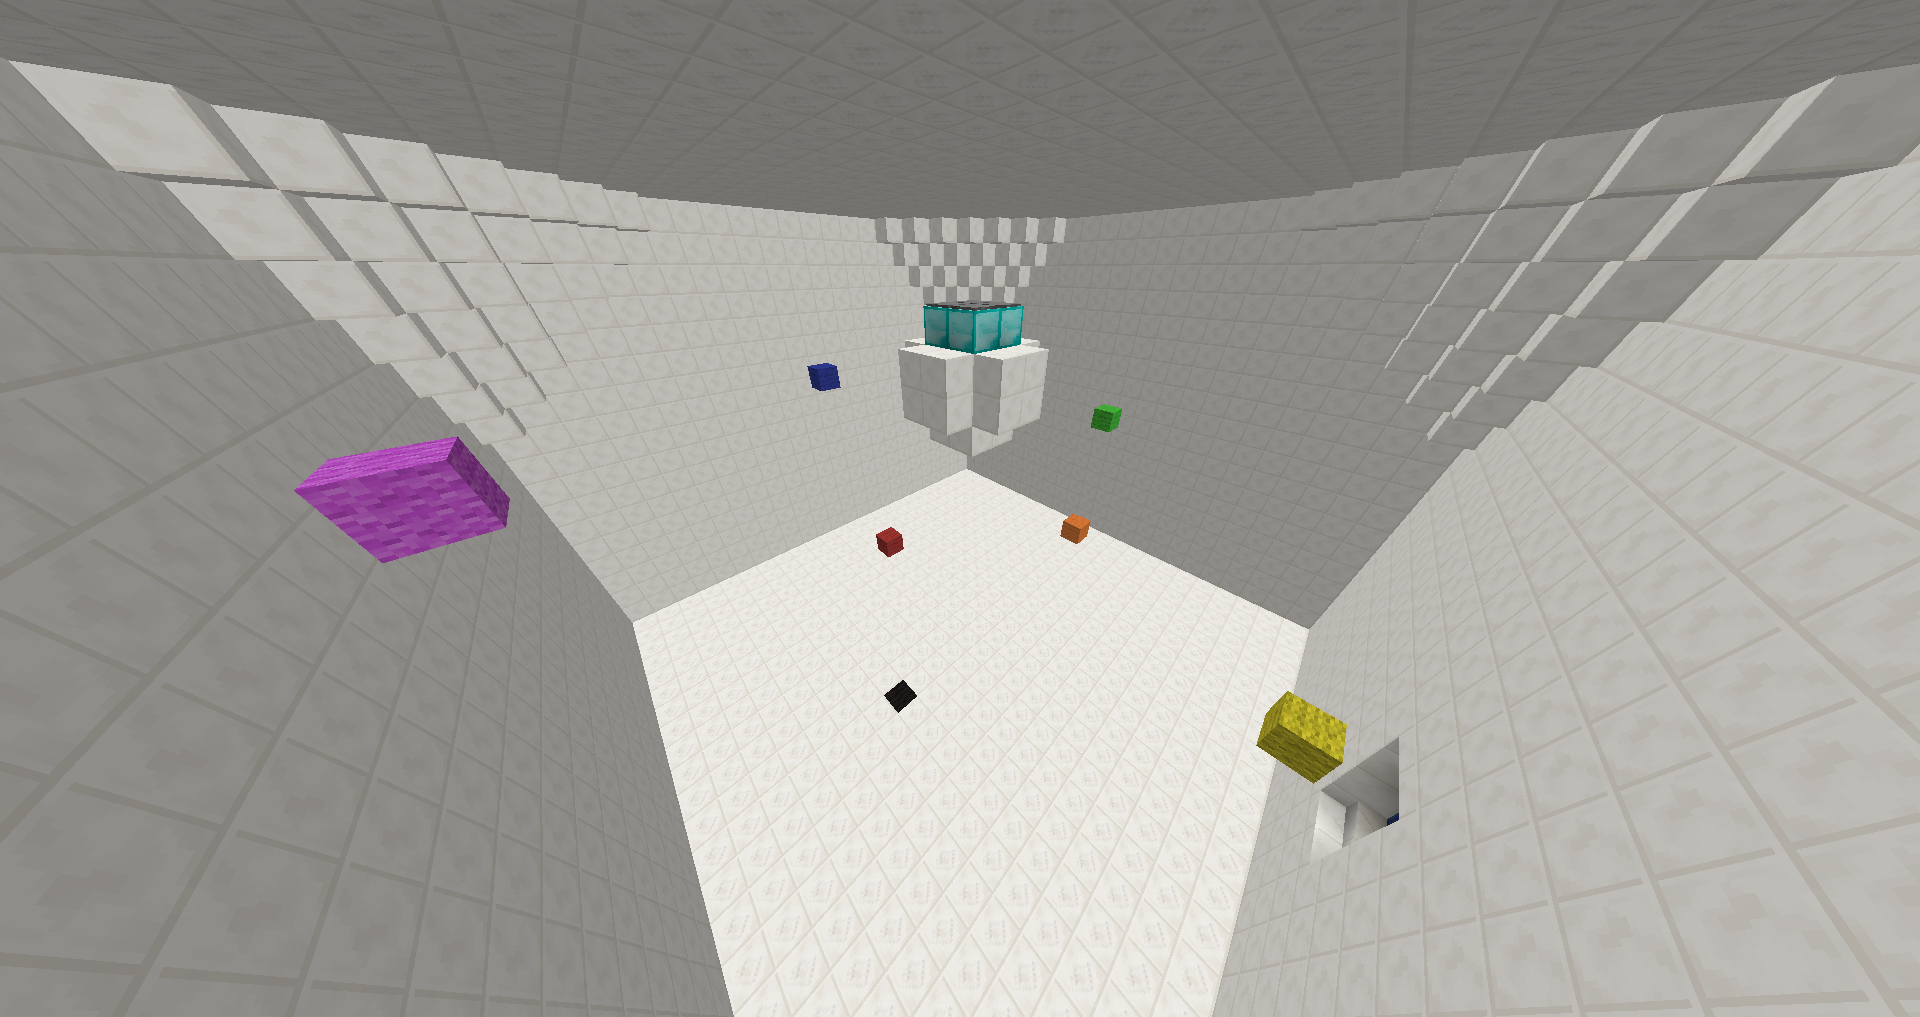
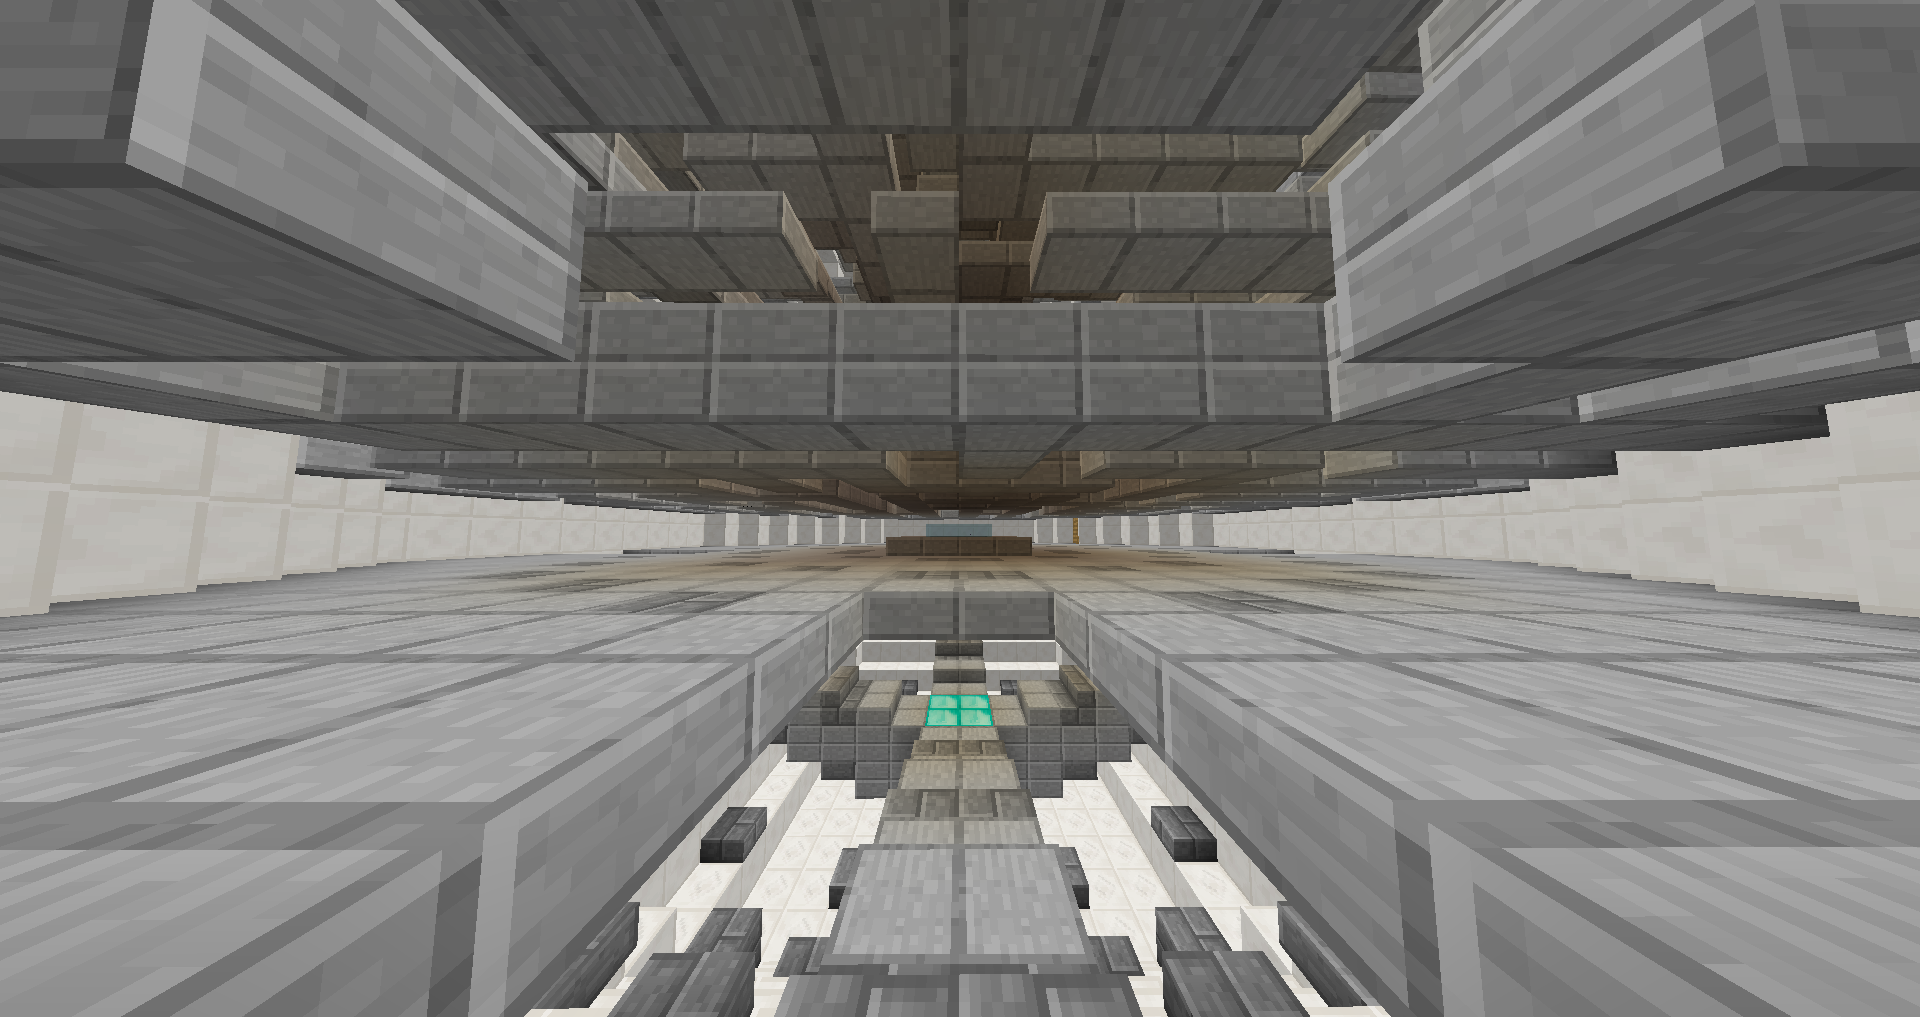
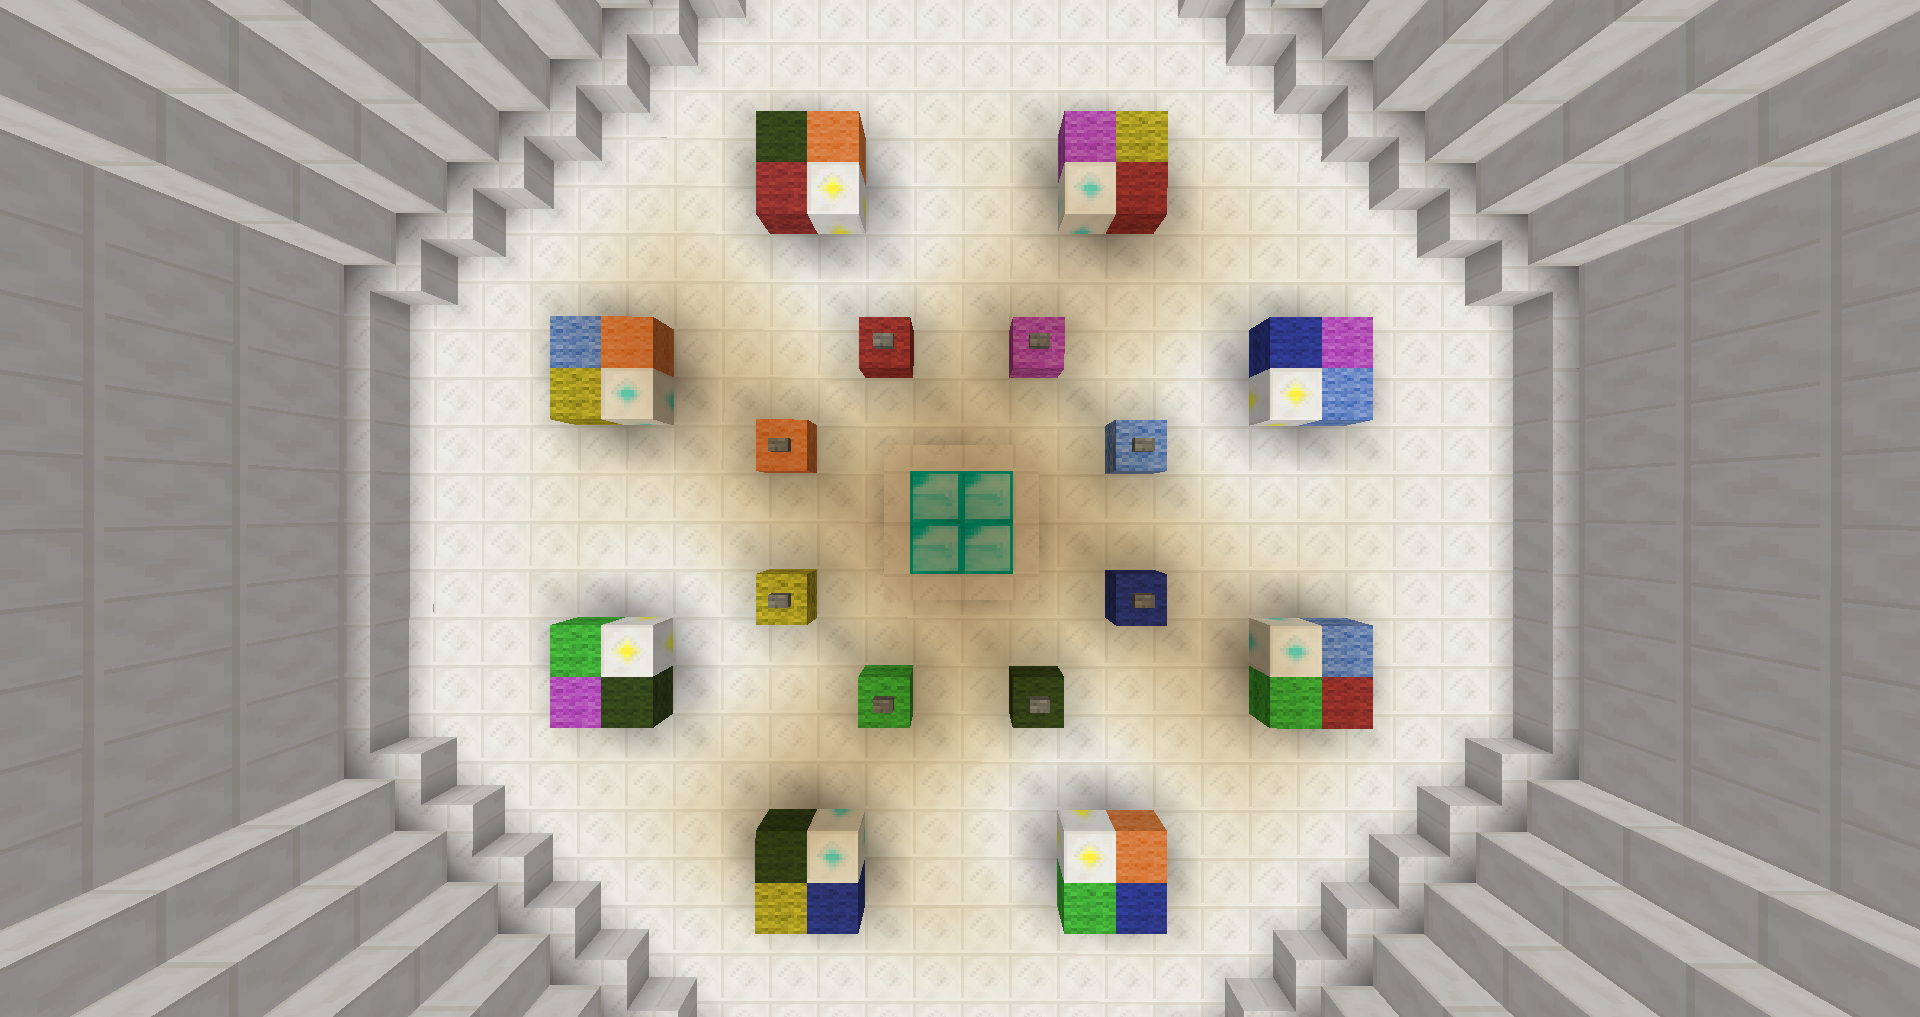
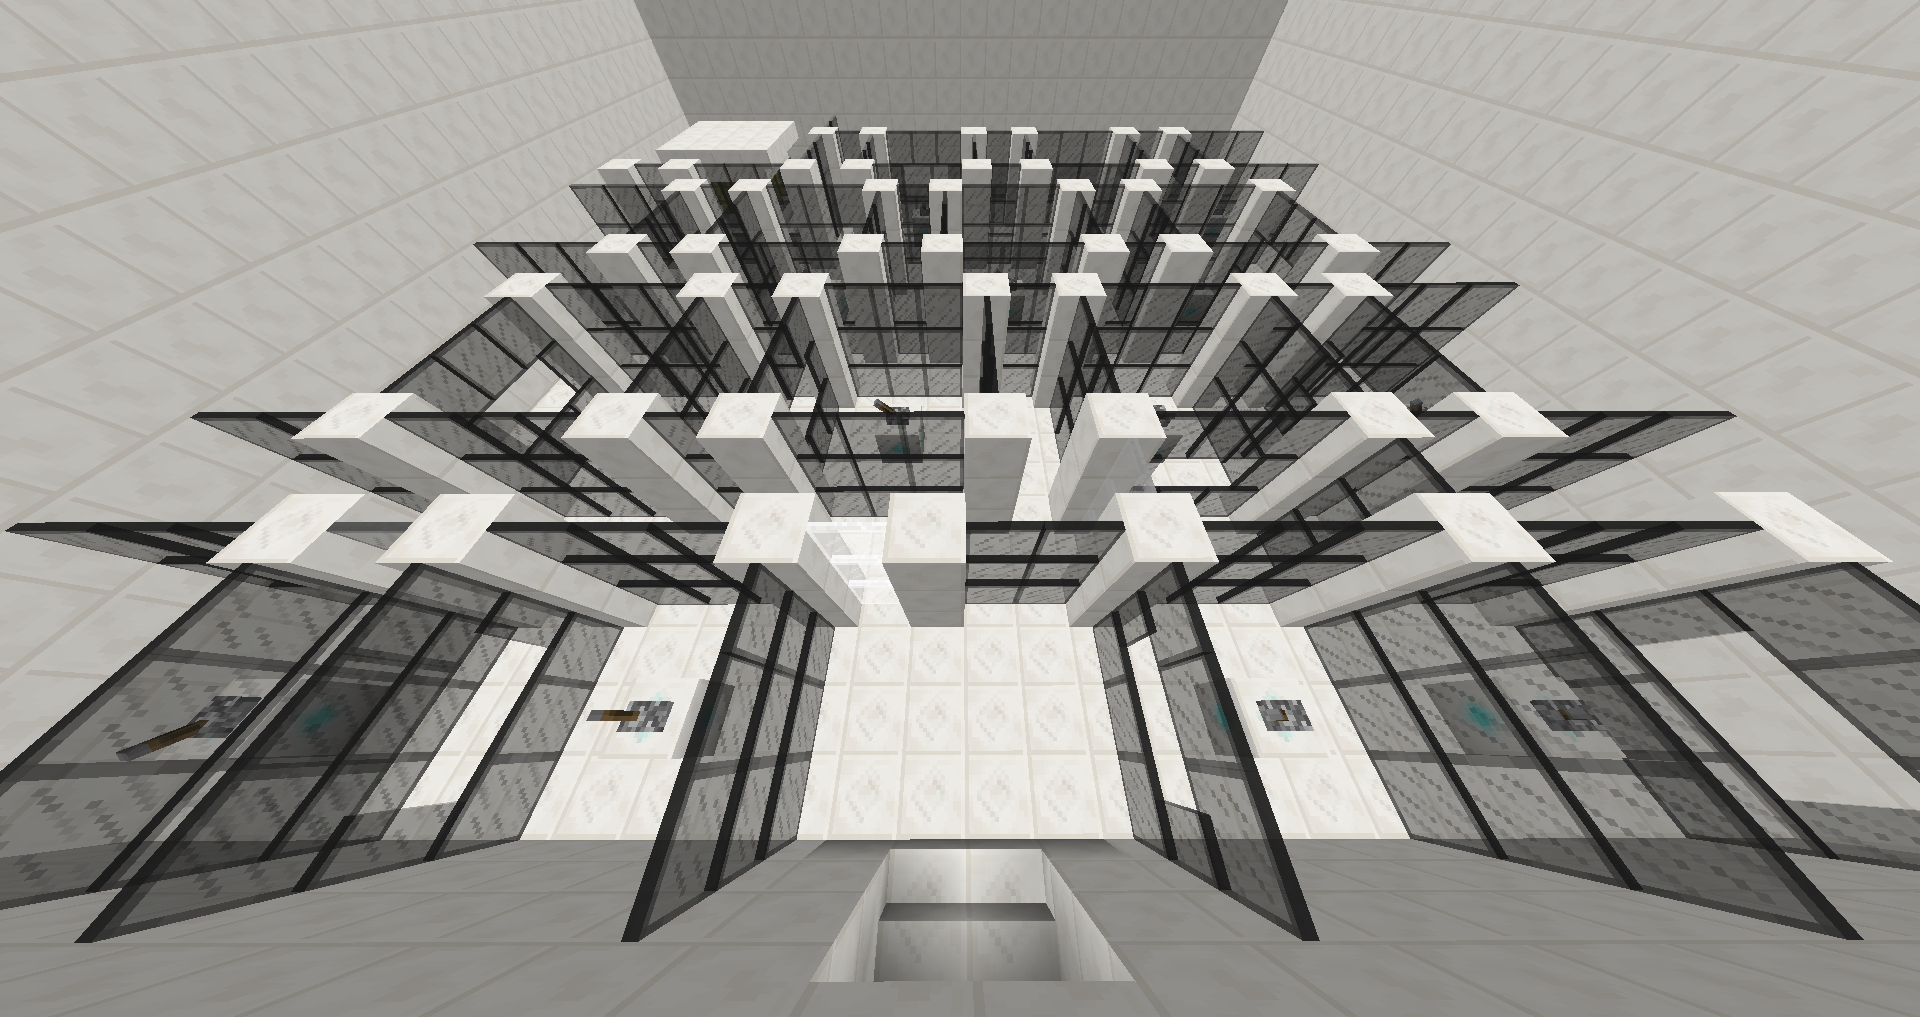
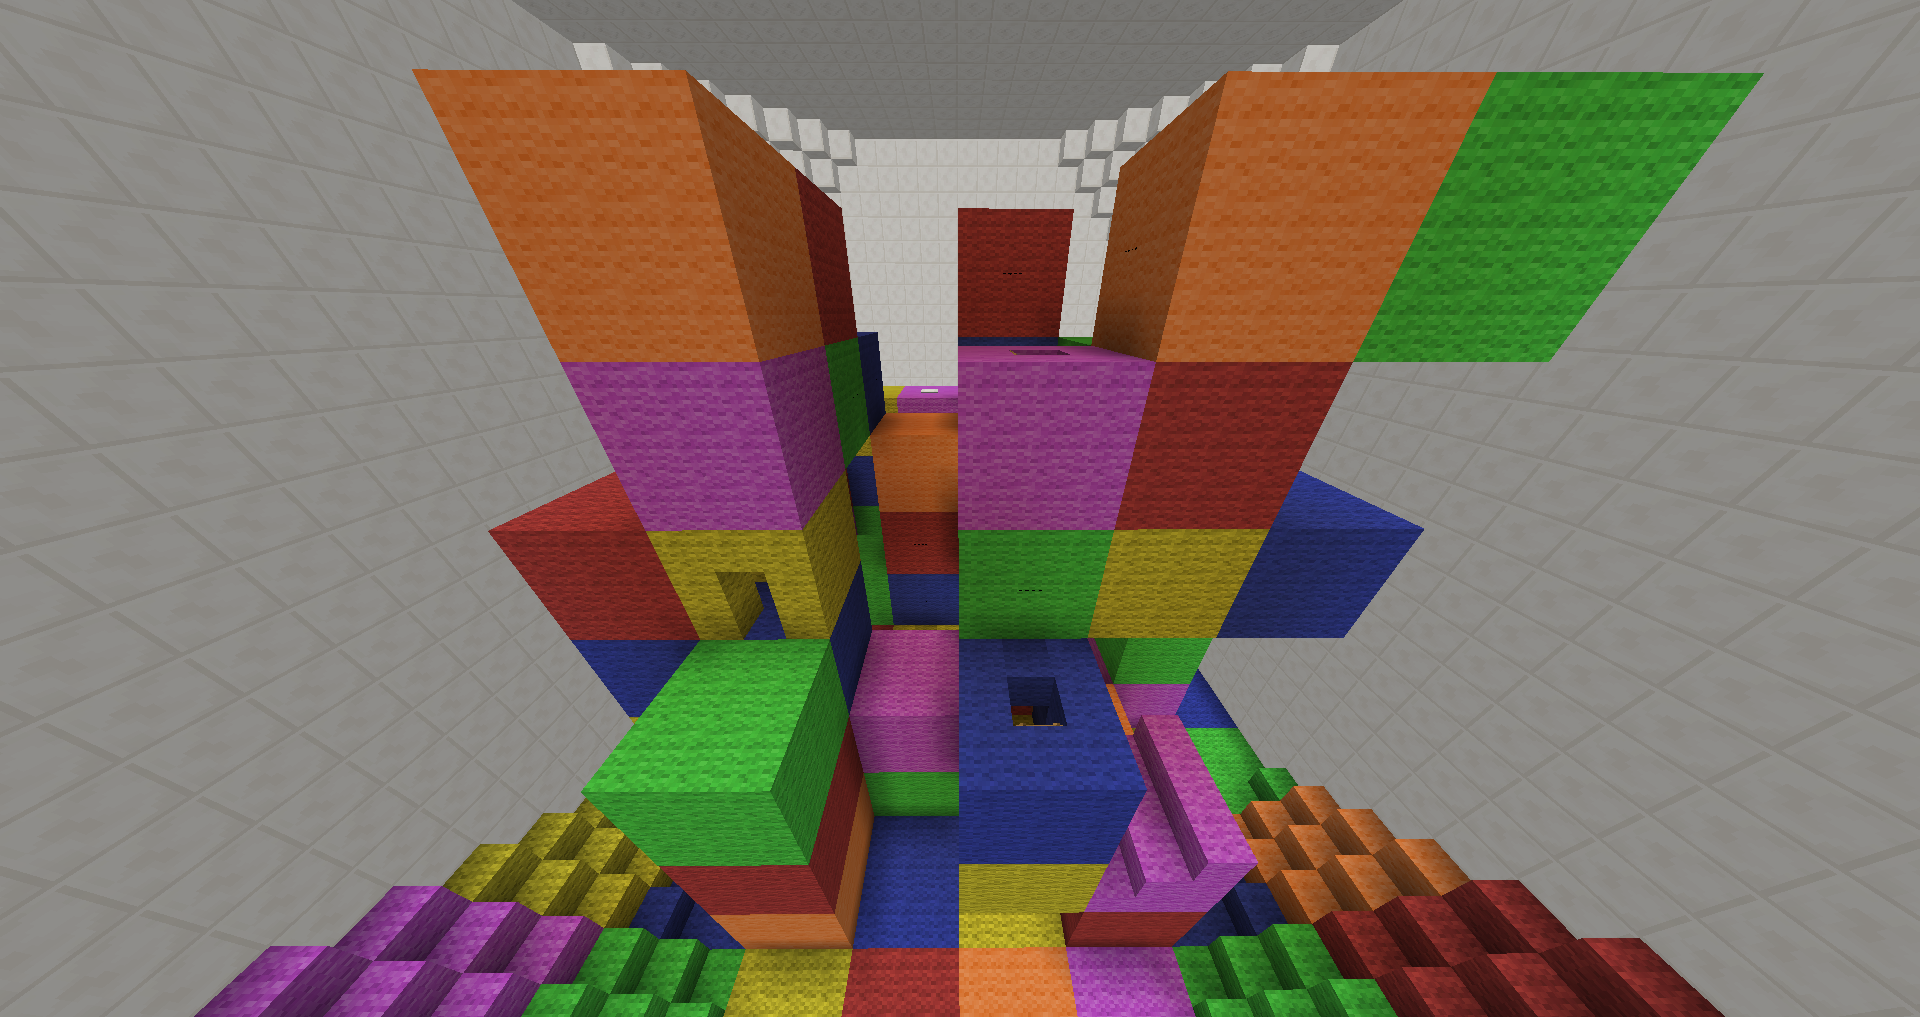
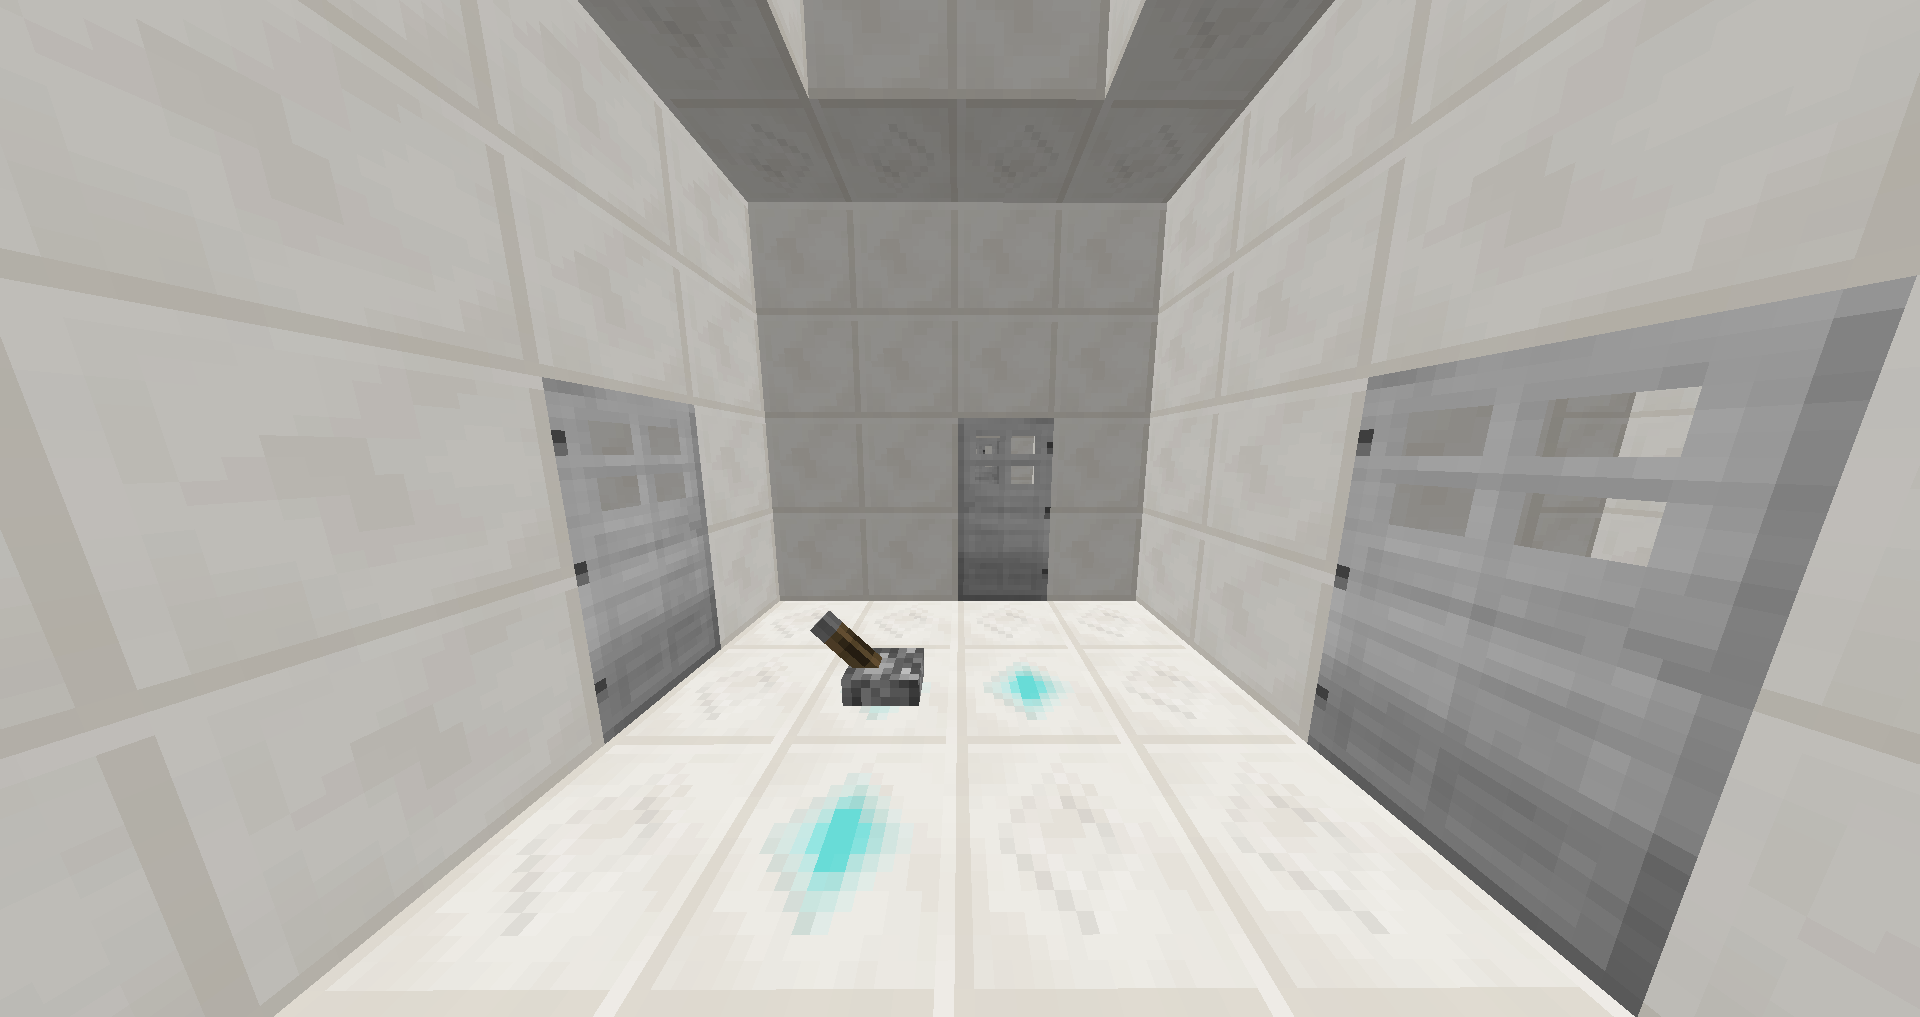
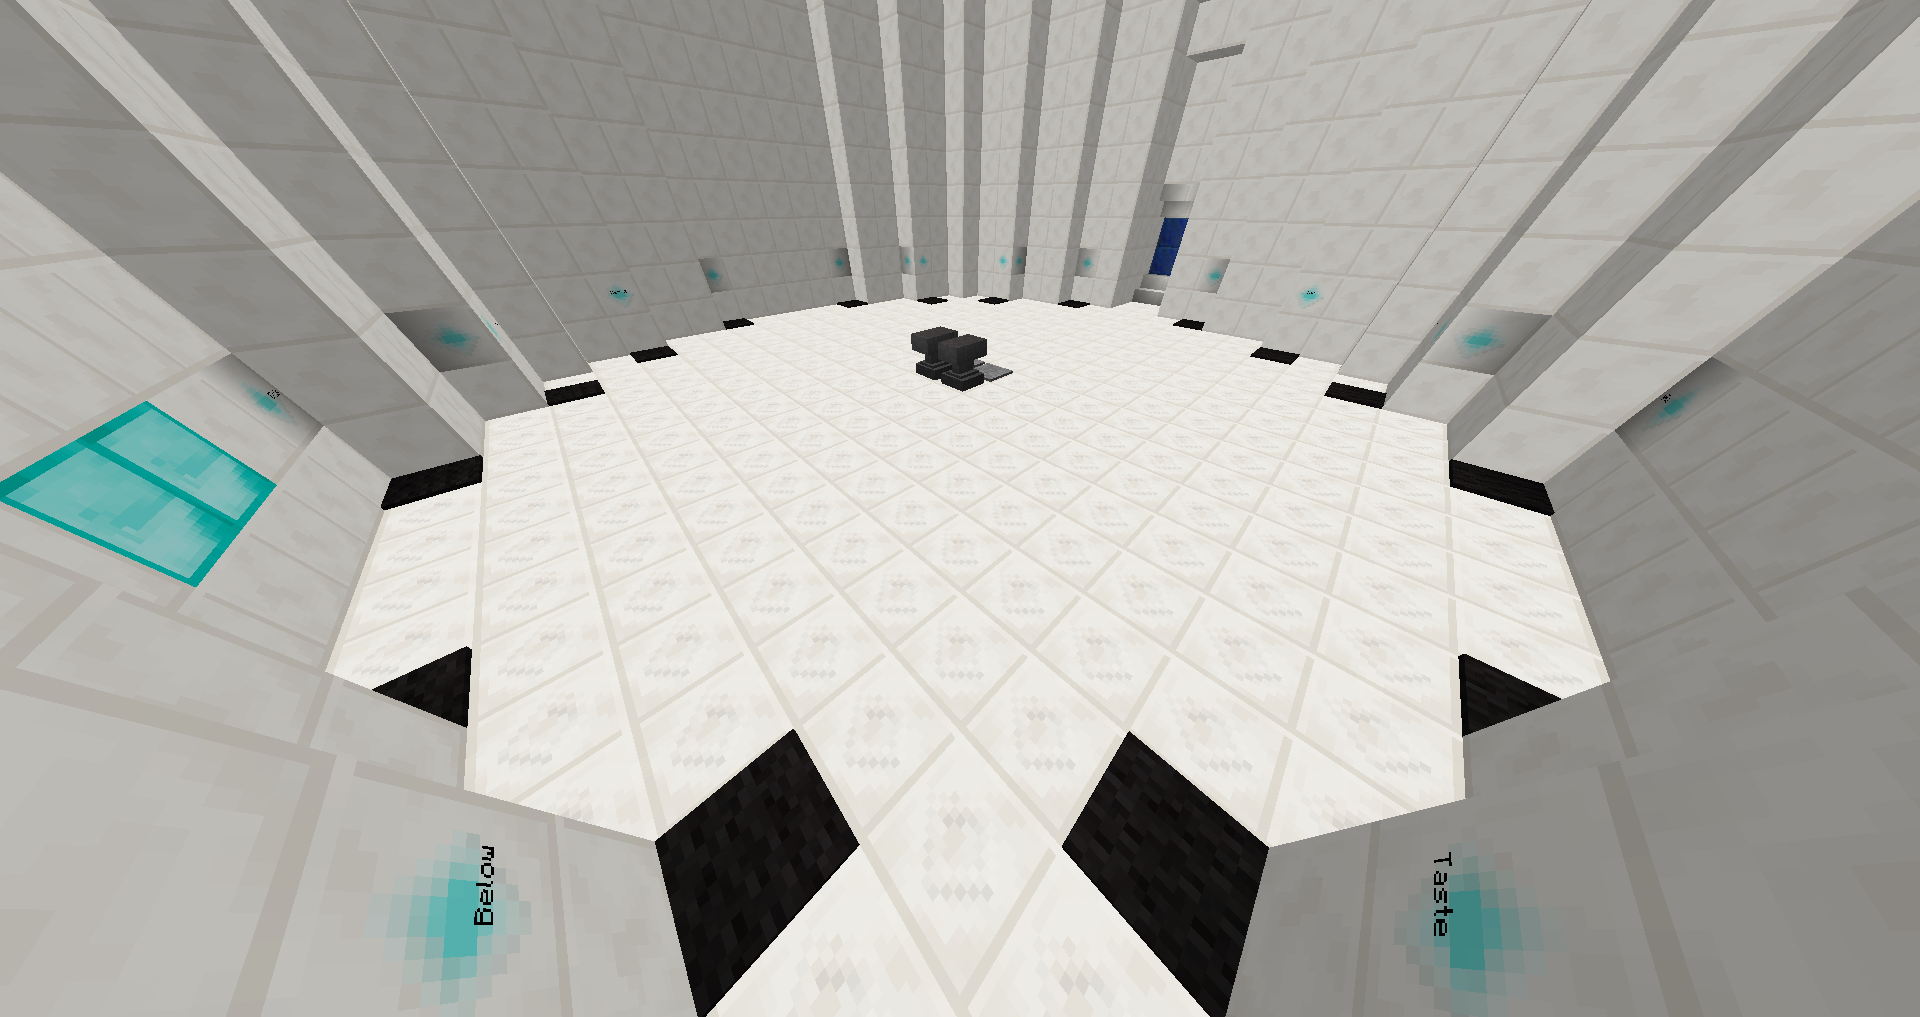
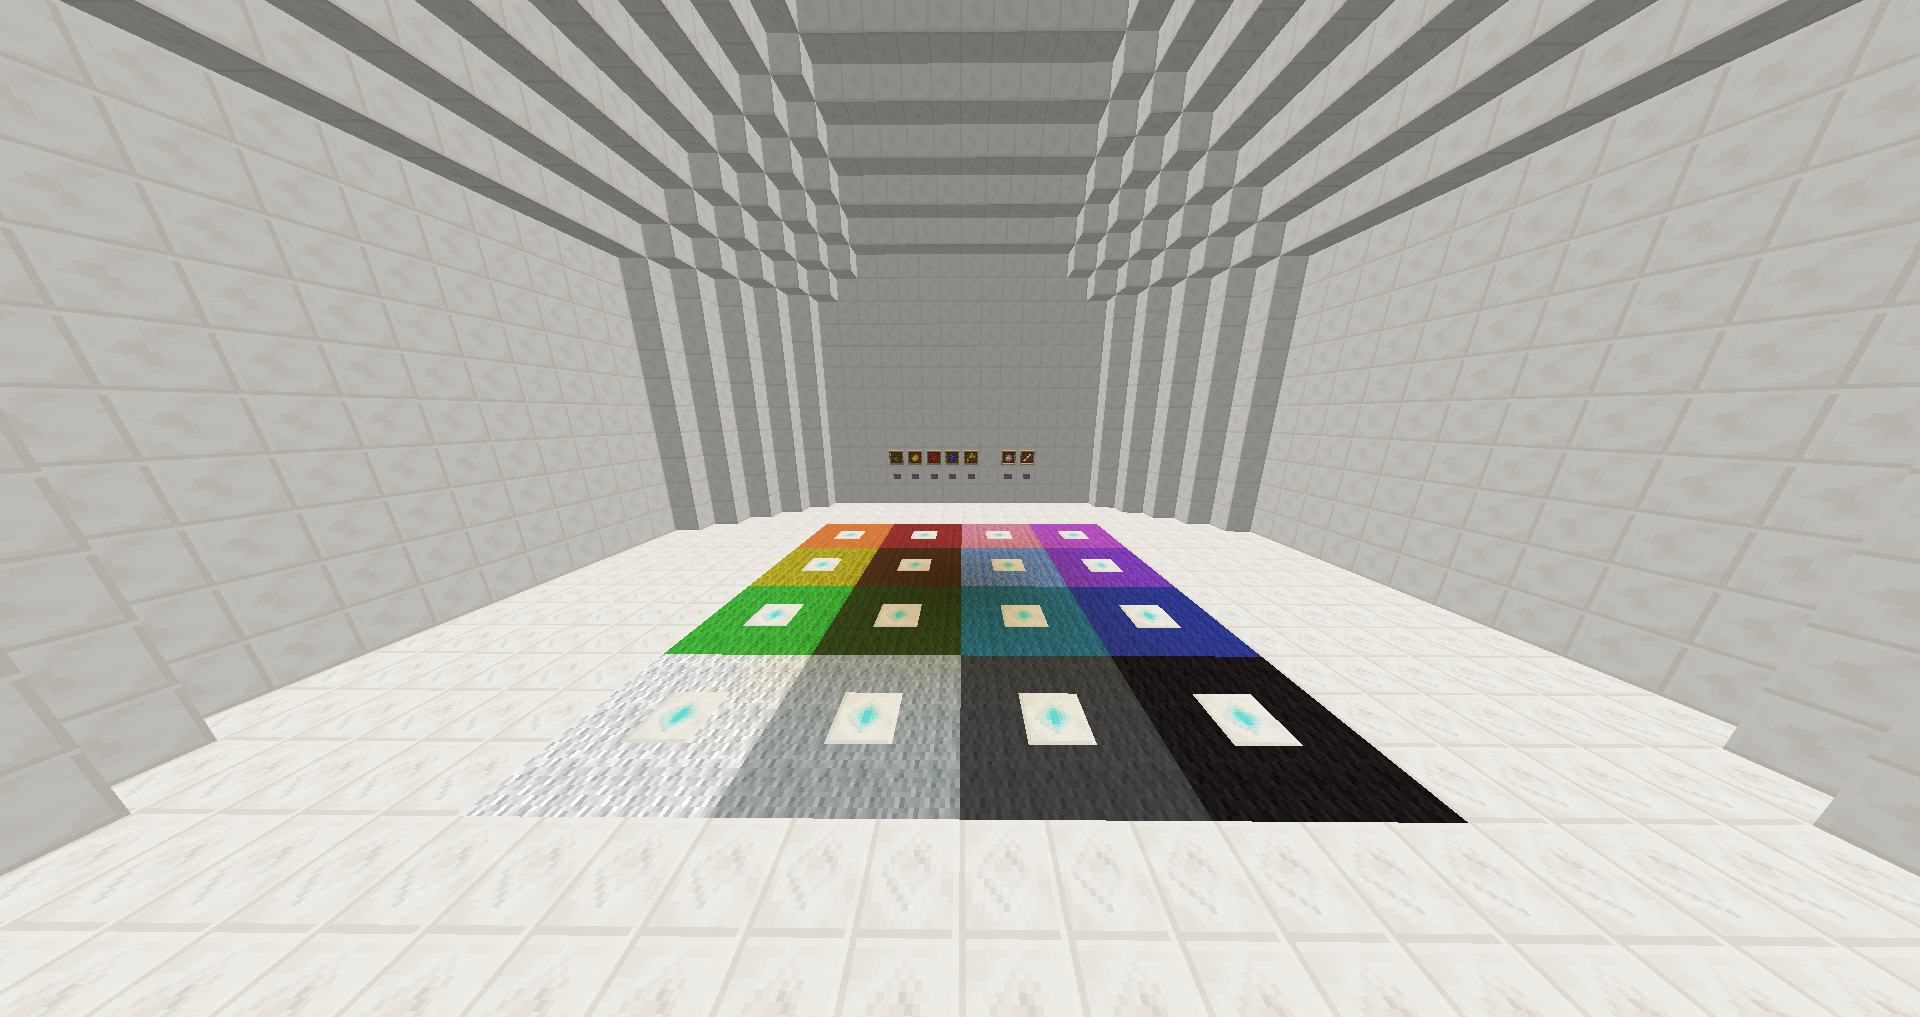
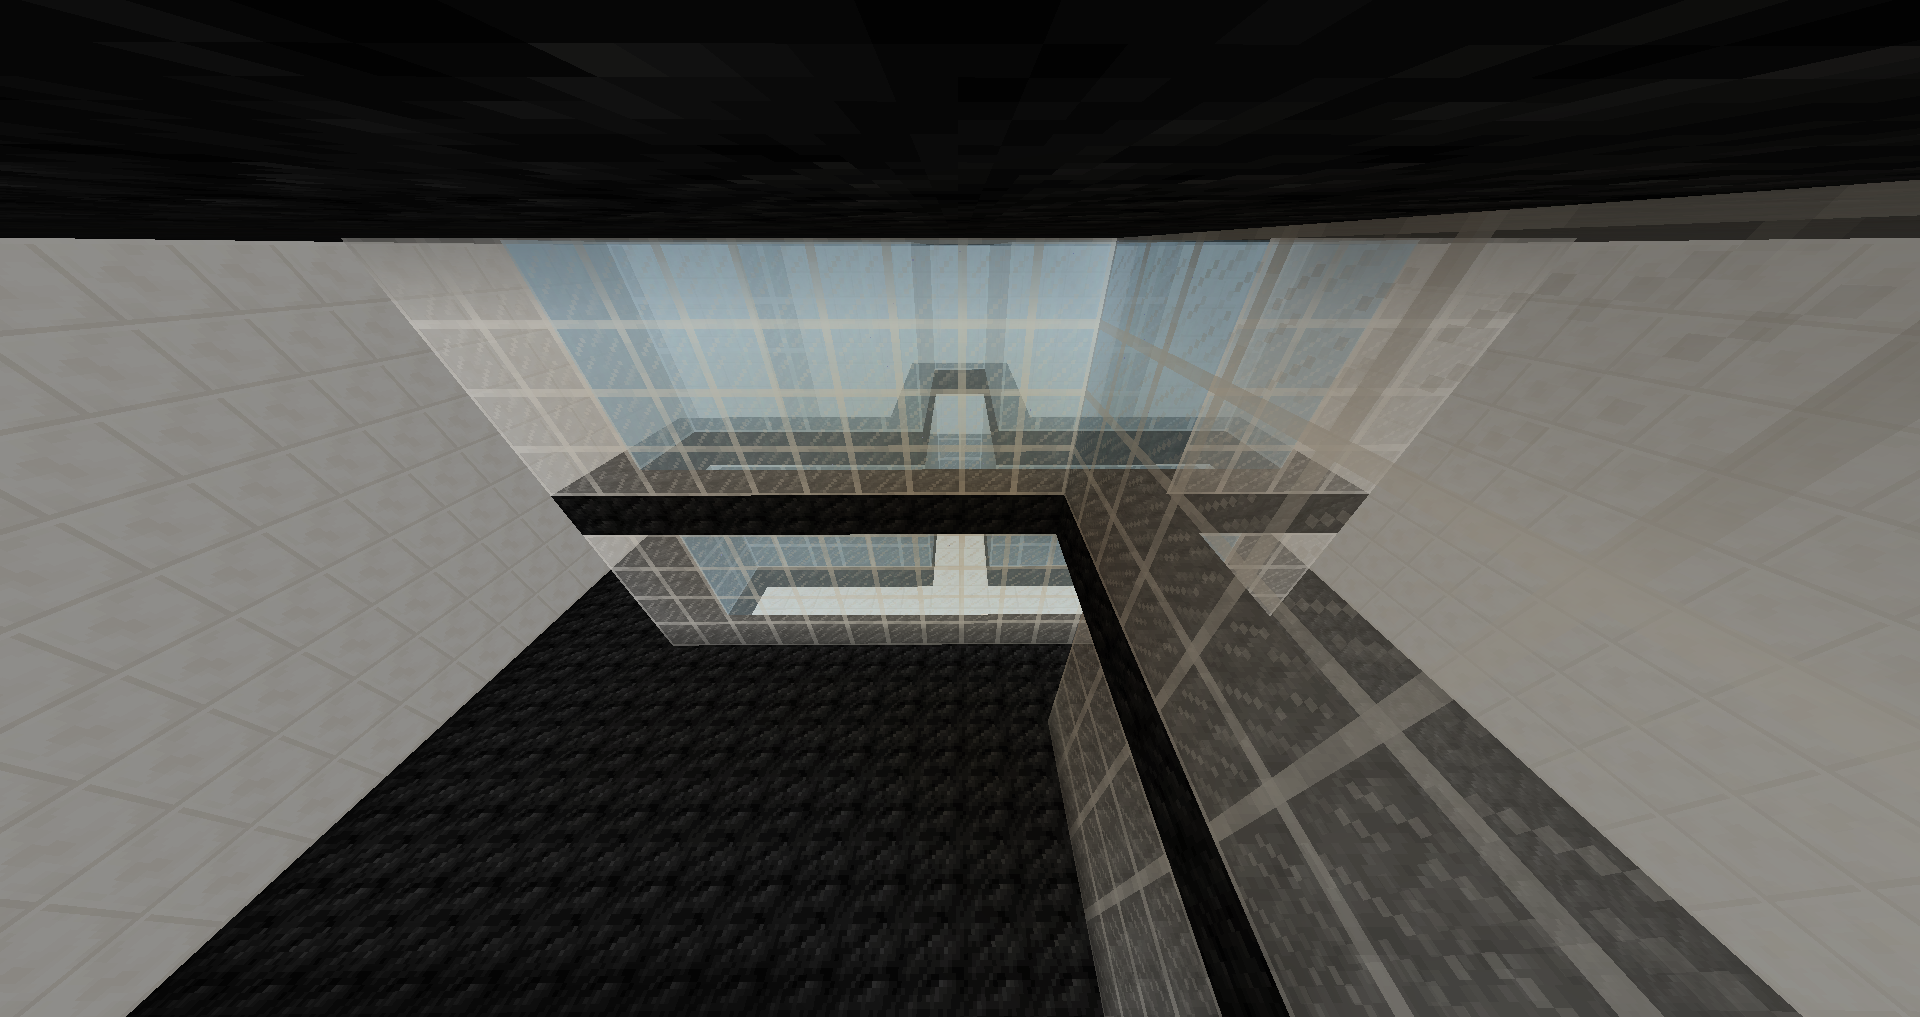
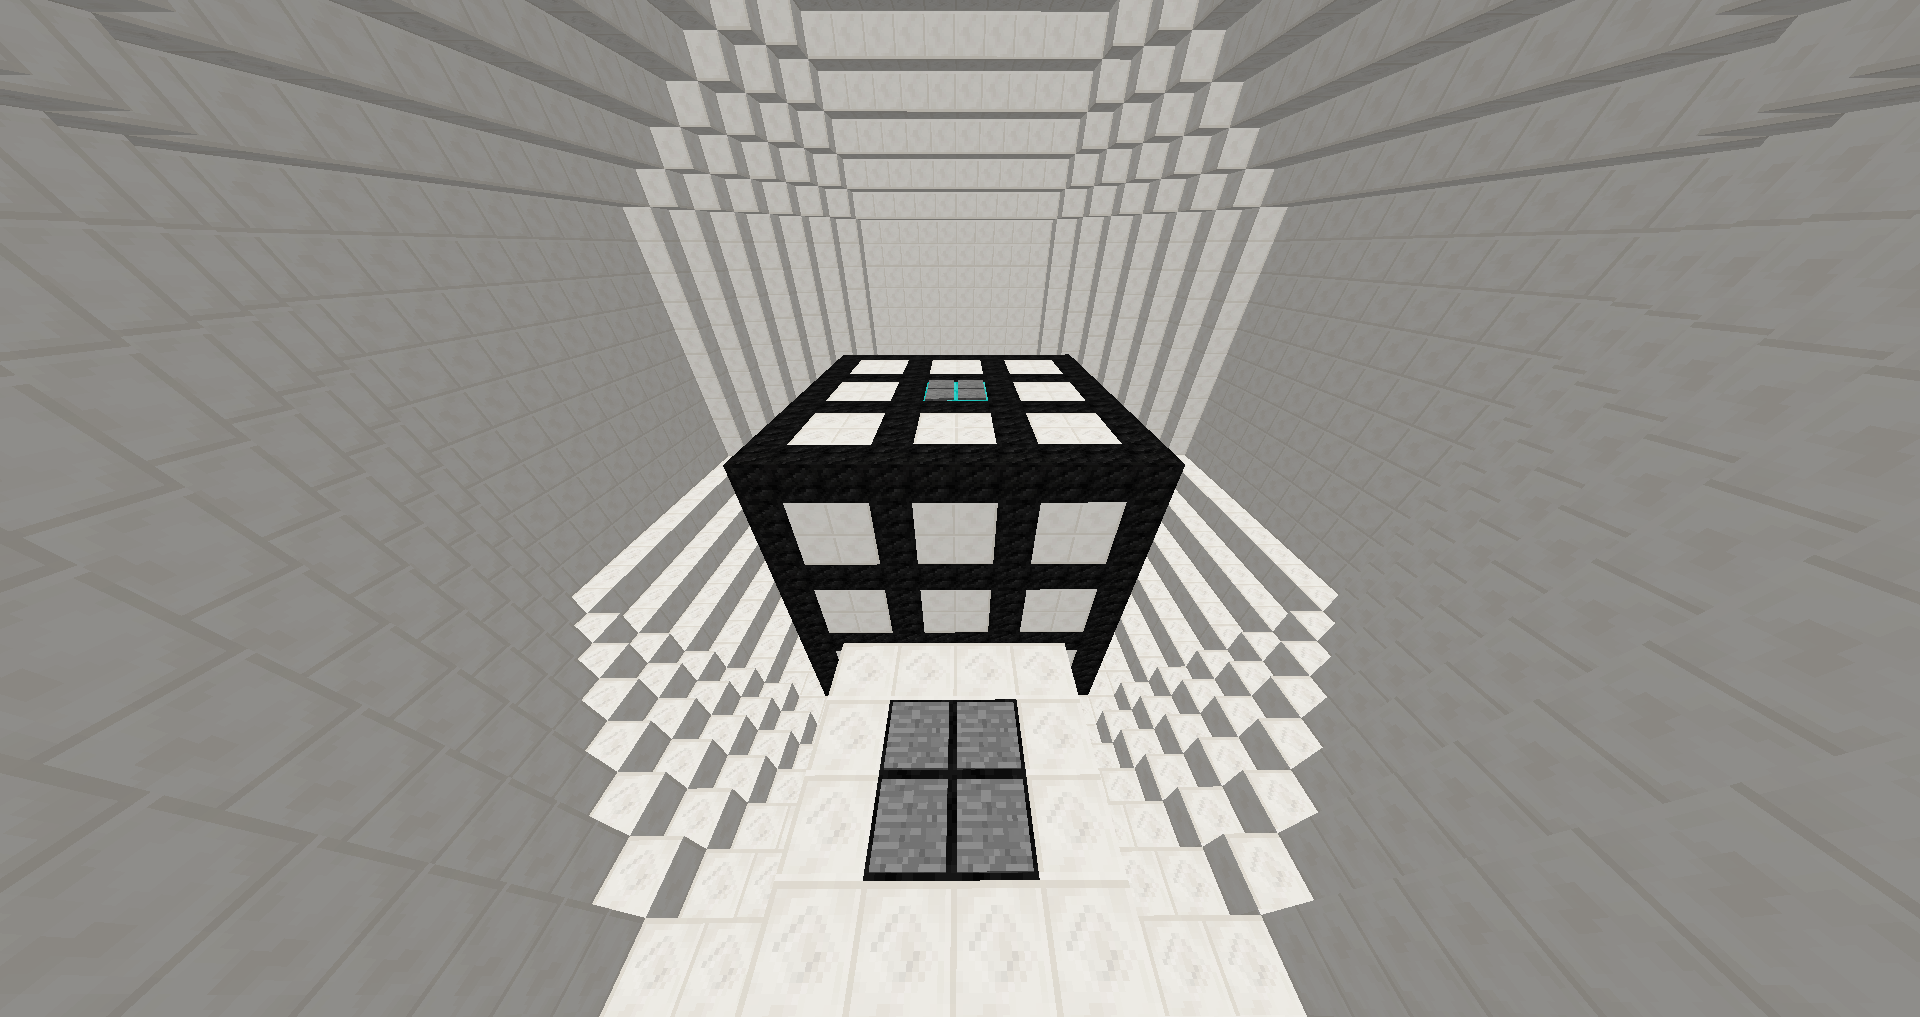
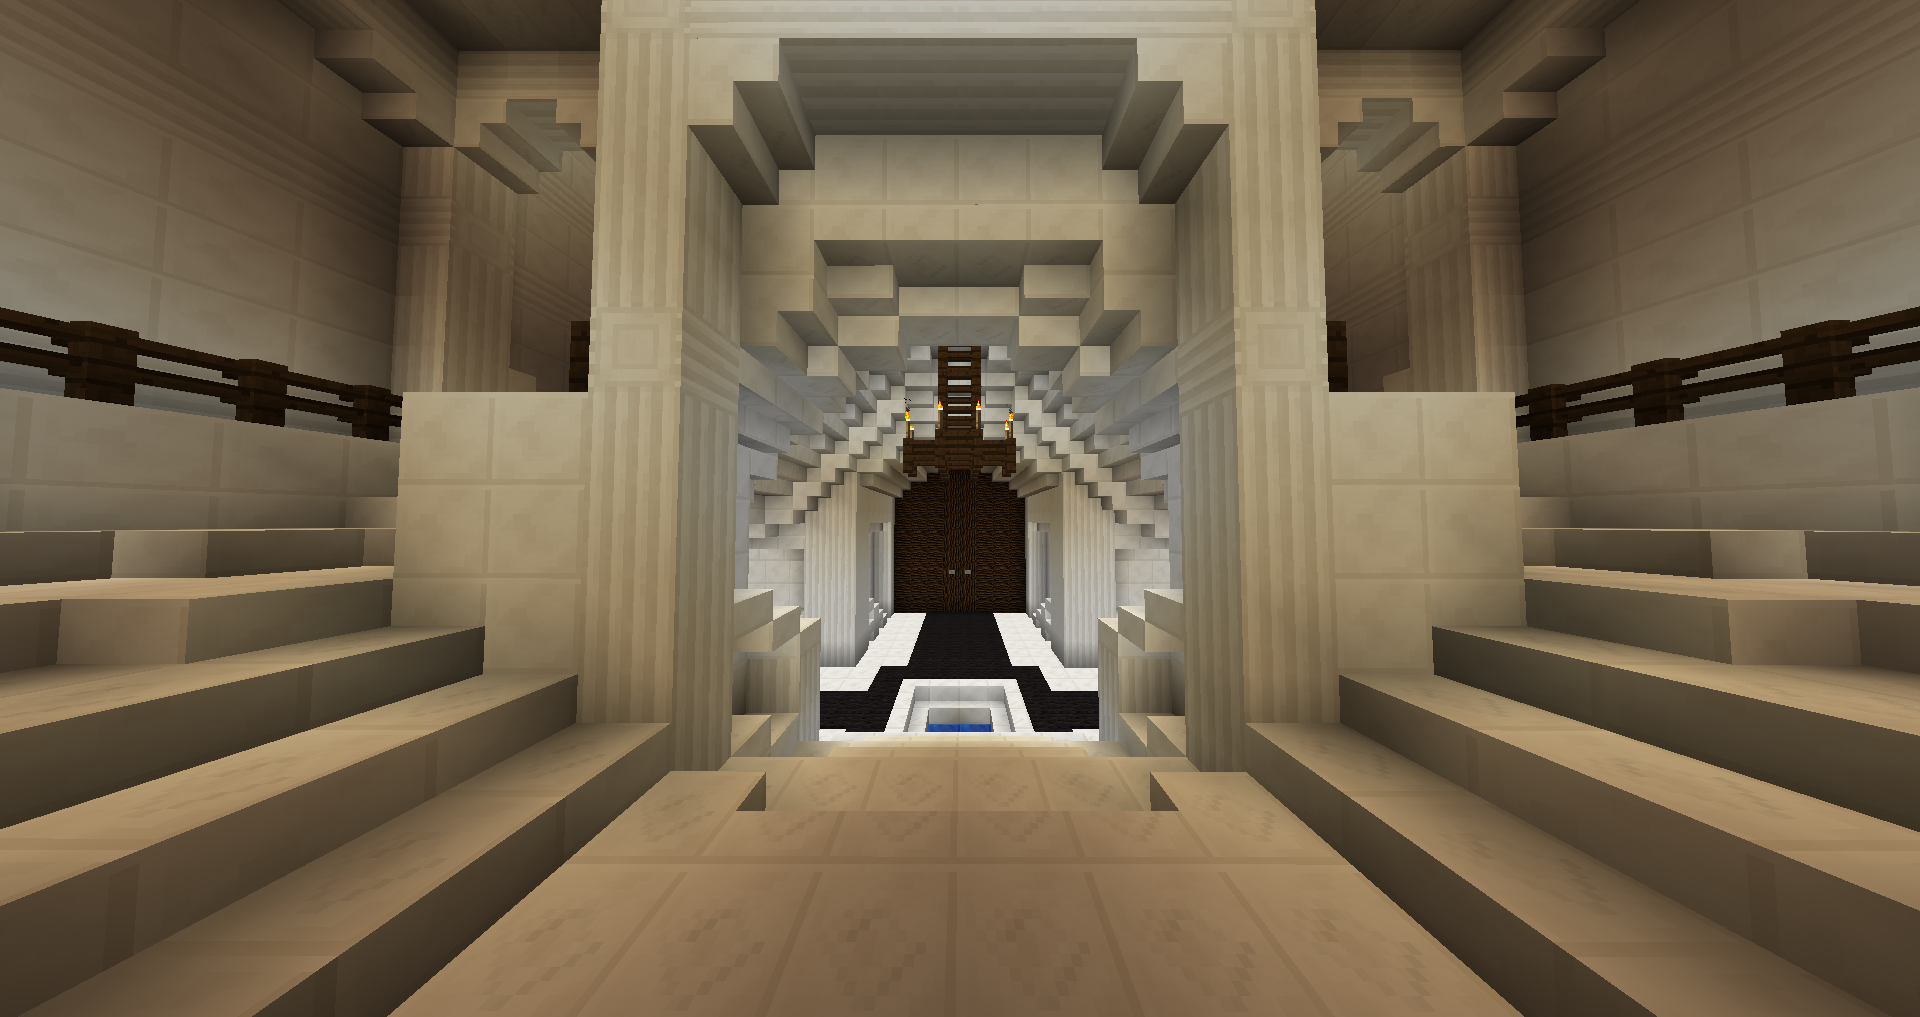
Central Hub: This is your "home" on the 4th floor. After finishing any room, you will be teleported back to this place. The floating structure in the middle represents the whole map and its rooms. The ones you've already finished will be colored yellow. In addition, one mark on the floor will switch from blue to yellow for each room. 1st Floor:
Clogged: In this room, you first need to let the water flow until it fills the sink. Then you can remove the debris from the drain. Once it's all cleared out and you turn on the water again, you will get the key.
Identity: Press all the buttons in the correct order. The book gives you one statement by each mob. Take notes and combine them to find out the correct order.
Not One Level: Complete the parkour before the time runs out. Each time, two jumps are added and the timer is increased. Keep completing it until you're done.
Trademark: All the trades in this room are actually just distractions. The actual key is dropped my the Mayor upon death. The diamond block is buried somewhere in the mine. 2nd Floor:
Abandoned: This abandoned city is a parkour. Follow the arrows on the signs to reach the goal.
Chicken Fun: Shoot the chickens before they fall to the floor! If a chicken reaches the ground, your score will be reduced. Reach enough points to receive the key.
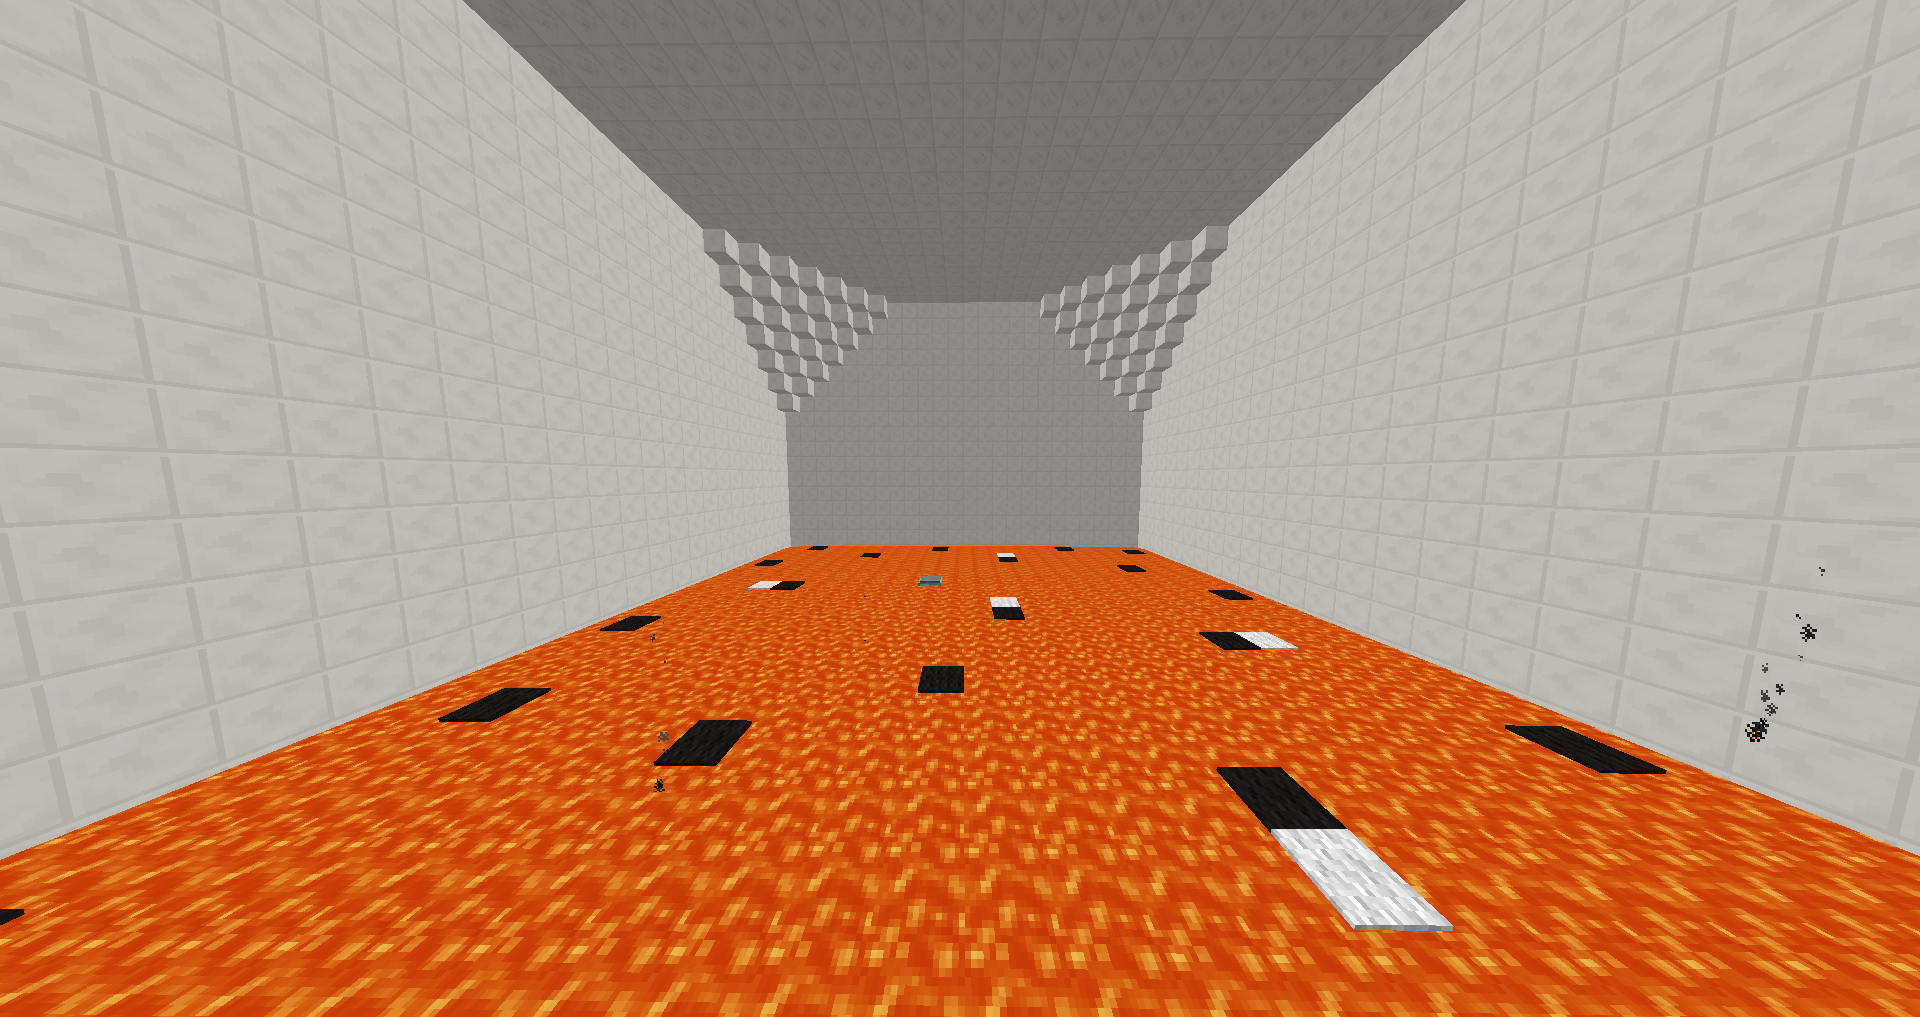
Falling Forge: Make it through the parkour without falling into the lava. And without getting squashed by the anvils. The white carpets are safe spots.
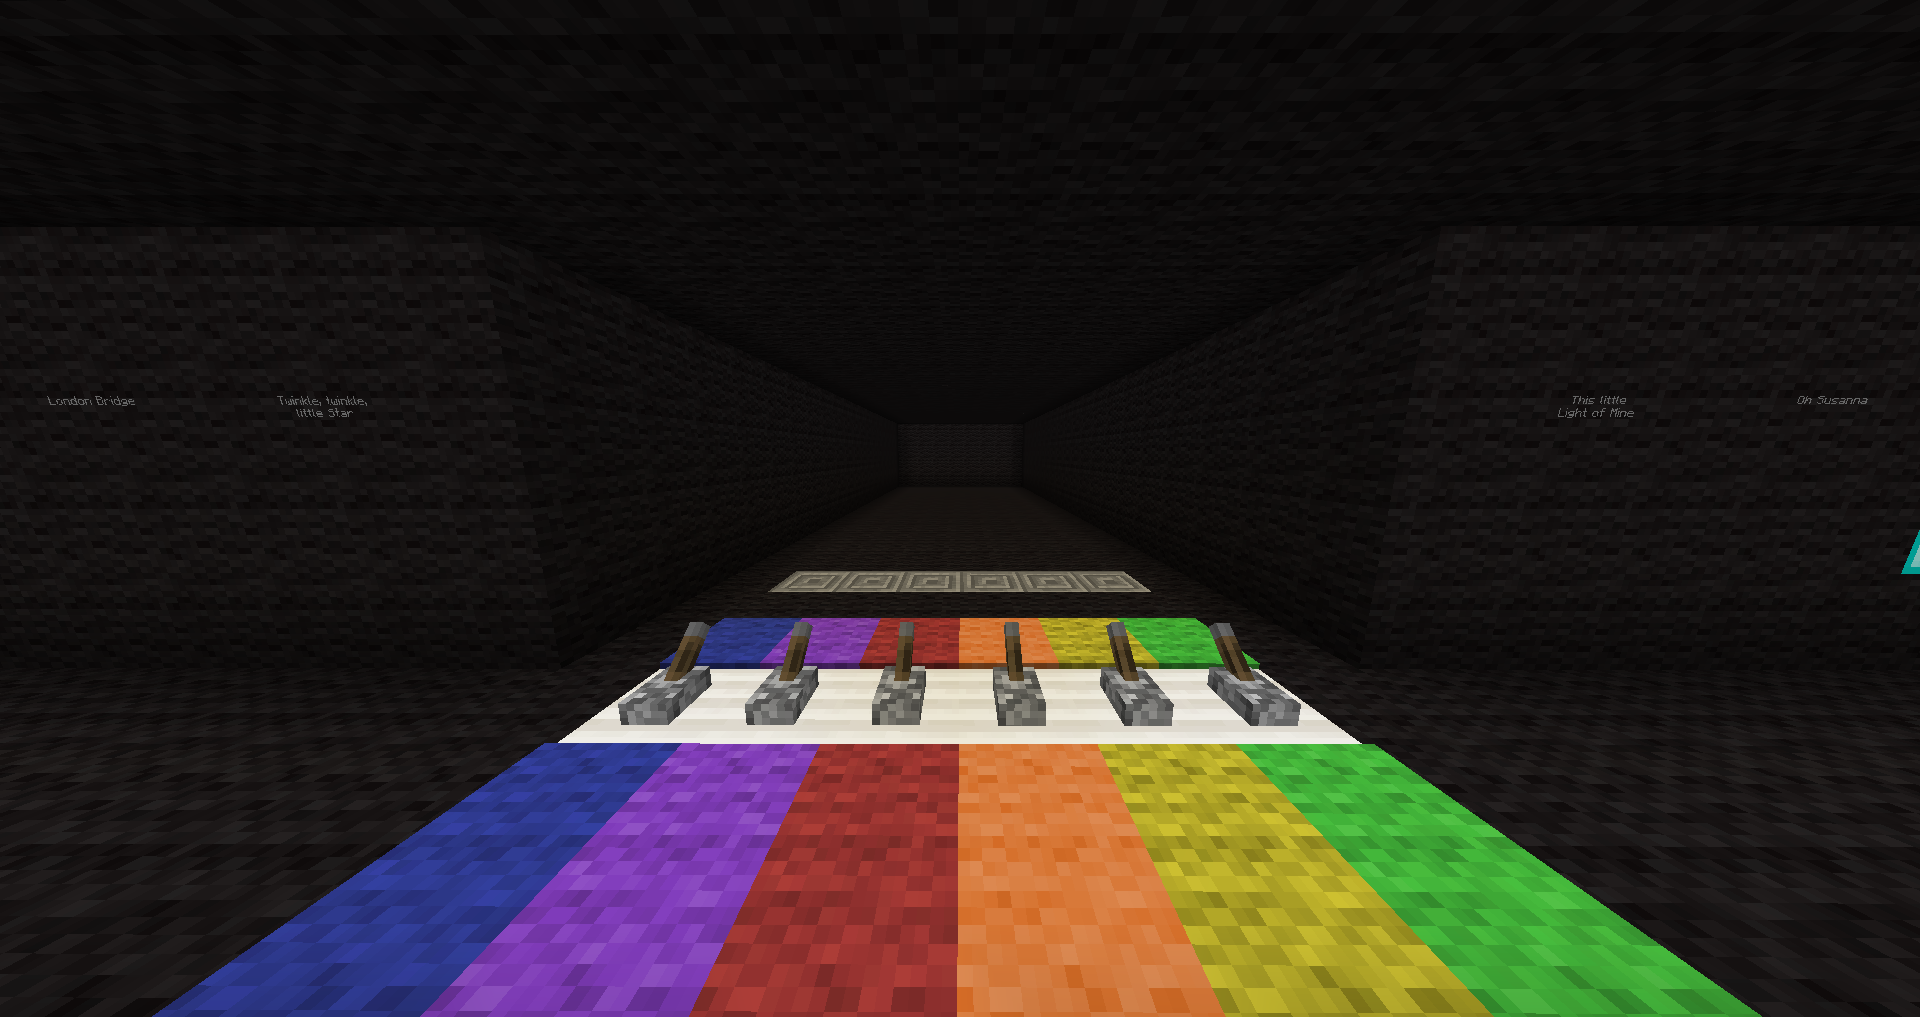
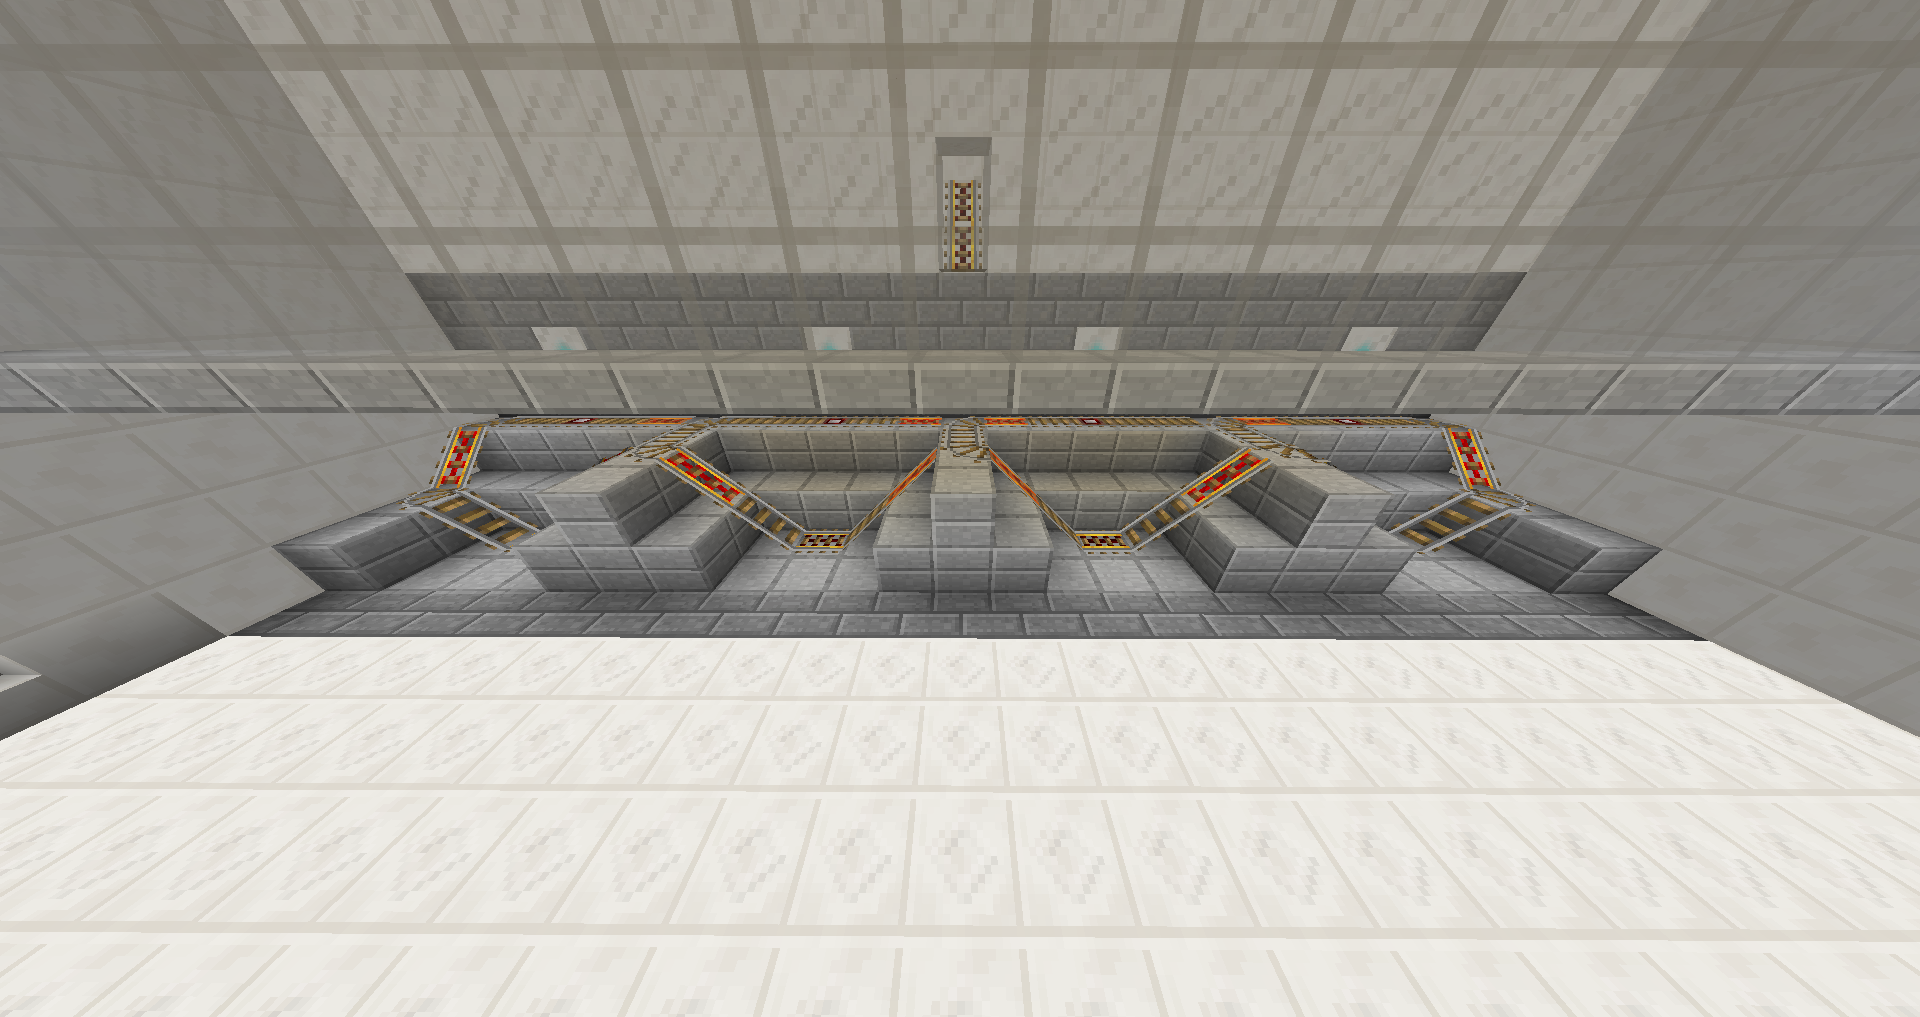
Glockenspiel: Play the melody by pulling the right levers. Follow the wool blocks and activate the right color as soon as a wool block is above the stone blocks. Depending on how well you play, you will unlock new songs. Collect enough points to finish the room.
Greek Spa: Items are raining from the ceiling. One of them is the key. Catch it before it disappears in the drain and place it behind the great amphora.
Memory: This is a simple memory game. Display two blocks of the same kind to lock the pair. Find all 32 pairs to complete the room.
Temporary: The blocks of this parkour appear and disappear in a periodic pattern. Make it to the wool blocks to take a break in a safe spot.
Whac a Mole: To complete a round, click all the buttons on the floor within the time limit. But watch out! The game becomes faster every round. Complete seven rounds to finish the room. 3rd Floor:
Brain Work: The key on the floor is a distraction! You might want to remove that pumpkin from your head to get rid of this darkness. And while you're in your inventory, you might notice that there's still something in your helmet slot...
Brewing: To finish this room comfortably, the following potions are recommended: Speed II, Jump Boost II, and Fire Resistance. You can look up the recipes by clicking on the text message at the start of this room.
Colorport: Your goal is to reach the diamond room. The floor continuously turns red, the further you are away. When entering the diamond room, you may be teleported to a whole different room instead! To avoid this, turn on the ceiling lights in the three red rooms. This will increase your chances of entering the diamond room and finishing the puzzle.
Slabbed: Climb up the floors to reach the button at the top. Look out for floating slabs that allow you to get to the next floor.
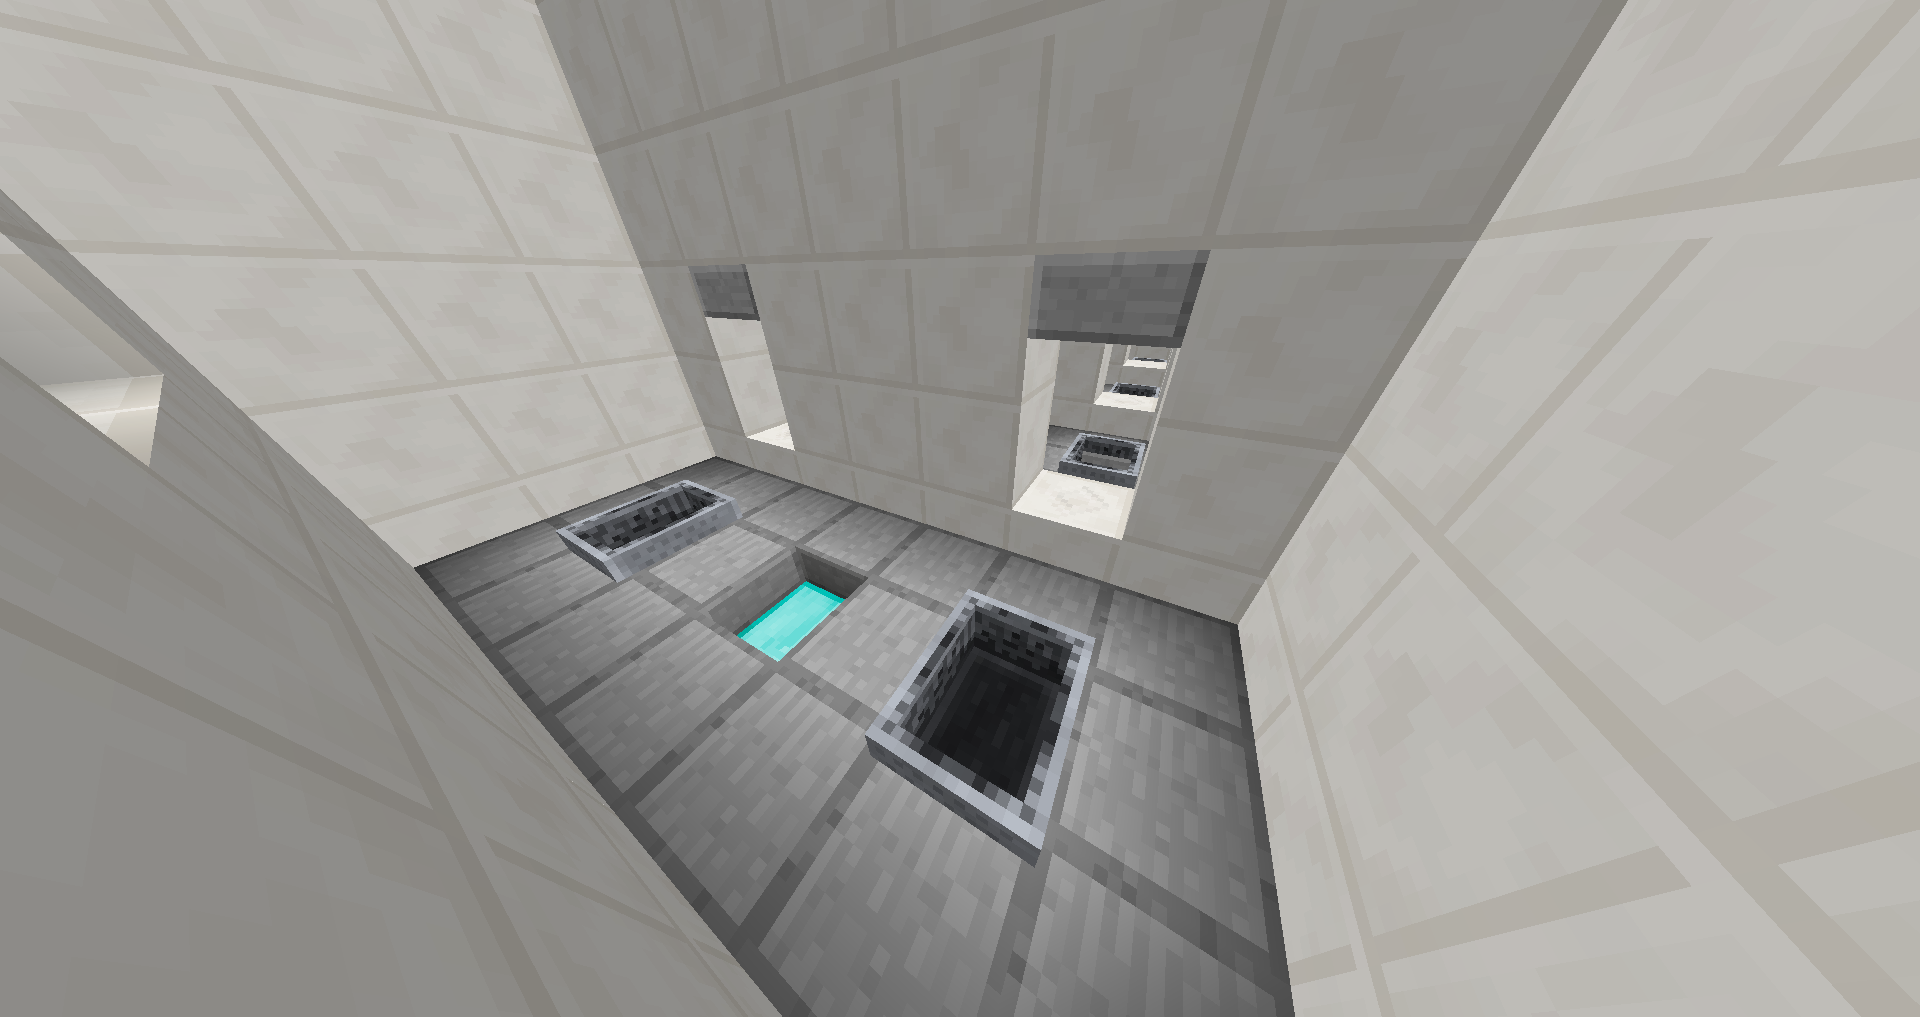
Spillway: Find the bucket in the hopper below the gold block. Use it to flush the key - which is located on top of that gold block - down to the lower floor and then into the funnel. The funnel can pick it up, whereas you can't.
Stacking: Any block in the chest can only be placed on one other type of block. Use them to build a way up to the platform. Be careful: If you break a block with the pickaxe, you cannot place it again.
Structure: This is a fairly straightforward parkour. Find the ladders to climb to the top floor, and try not to fall.
Switch On: Your goal is to light up all the lamps. The colors next to a lamp show you which buttons change its state. Hint: You can also turn off all the lights and then press every button once to turn them all on.
Target Practice: Dexterity is needed to hit the buttons inside the boxes with your bow. Try to activate all buttons at once. If you hit different targets fast enough, the timer will extend.
Transparent: What at first looks like an invisible bridge soon turns into a glass labyrinth. Watch out, the floors have holes! The final jump is safe.
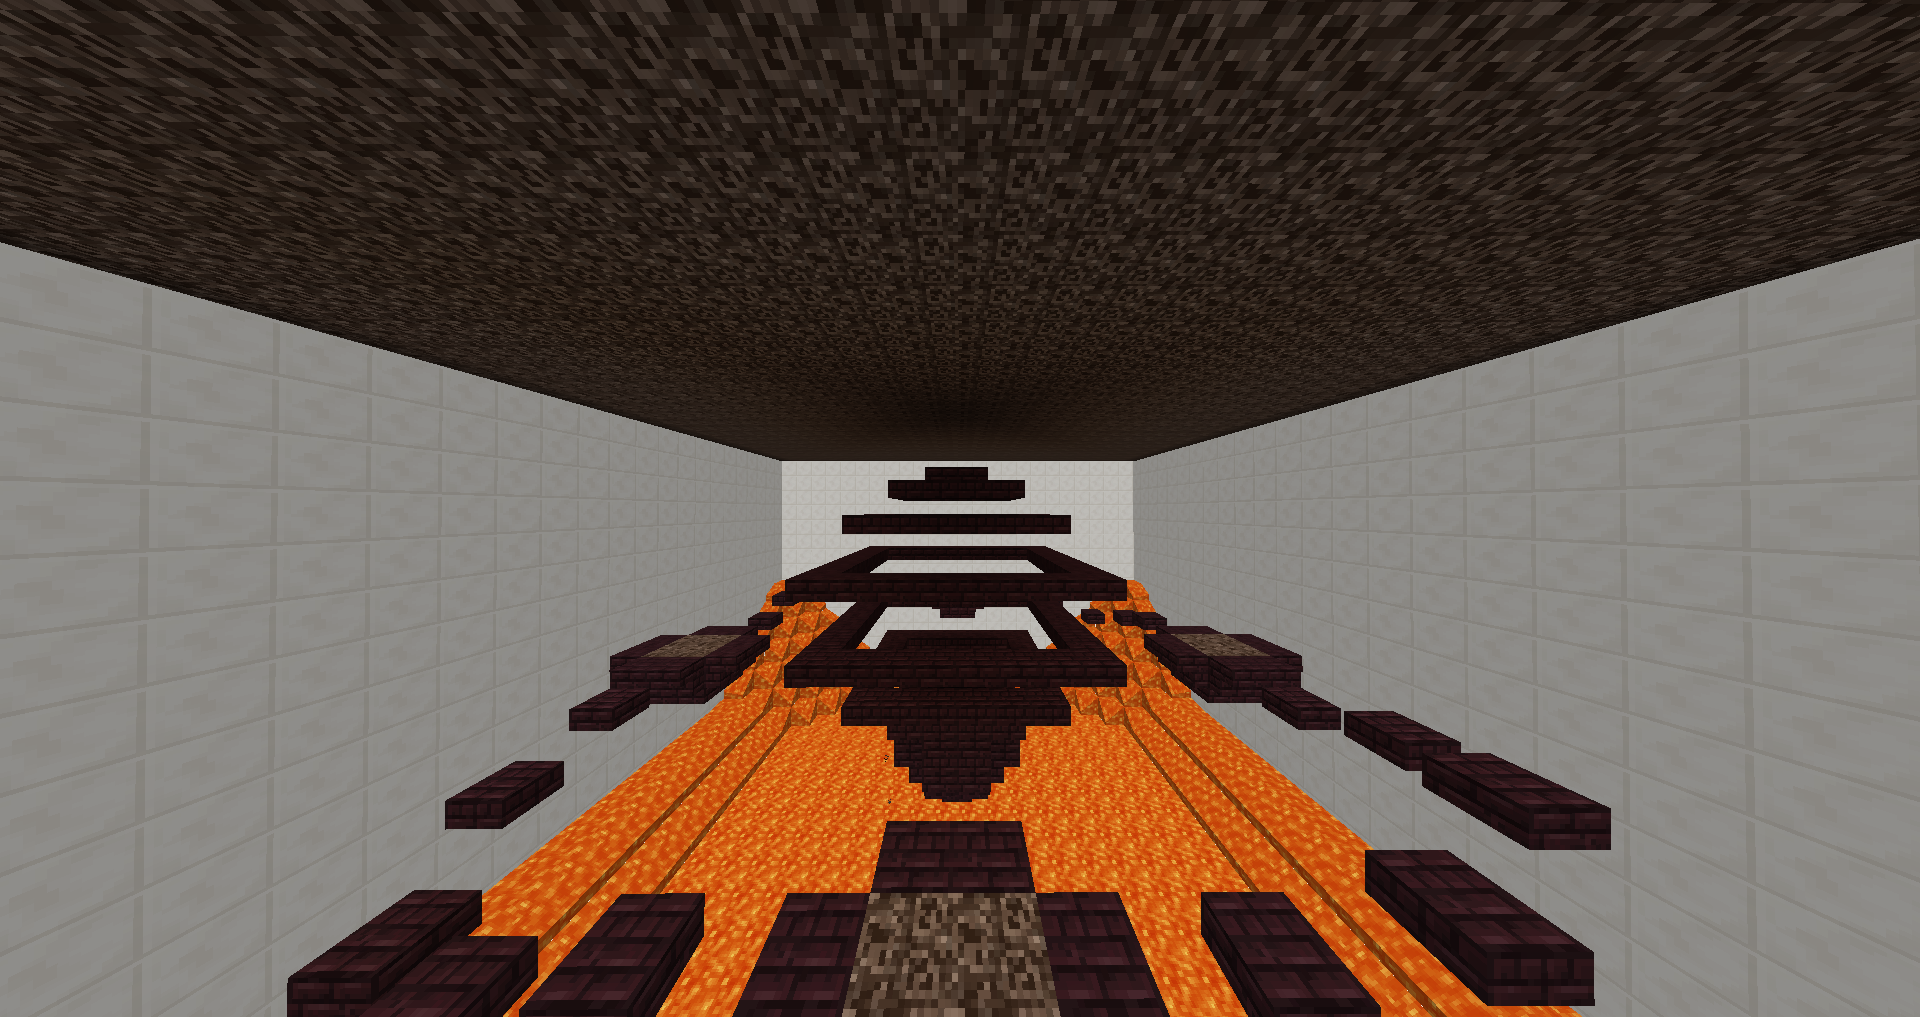
Volcano: Climb up the crater while the lava rises behind you. Don't burn yourself.
Wrong Step: If you step off the correct path, you will be teleported back to the start. The pattern on the ceiling shows you where it's safe. 4th Floor:
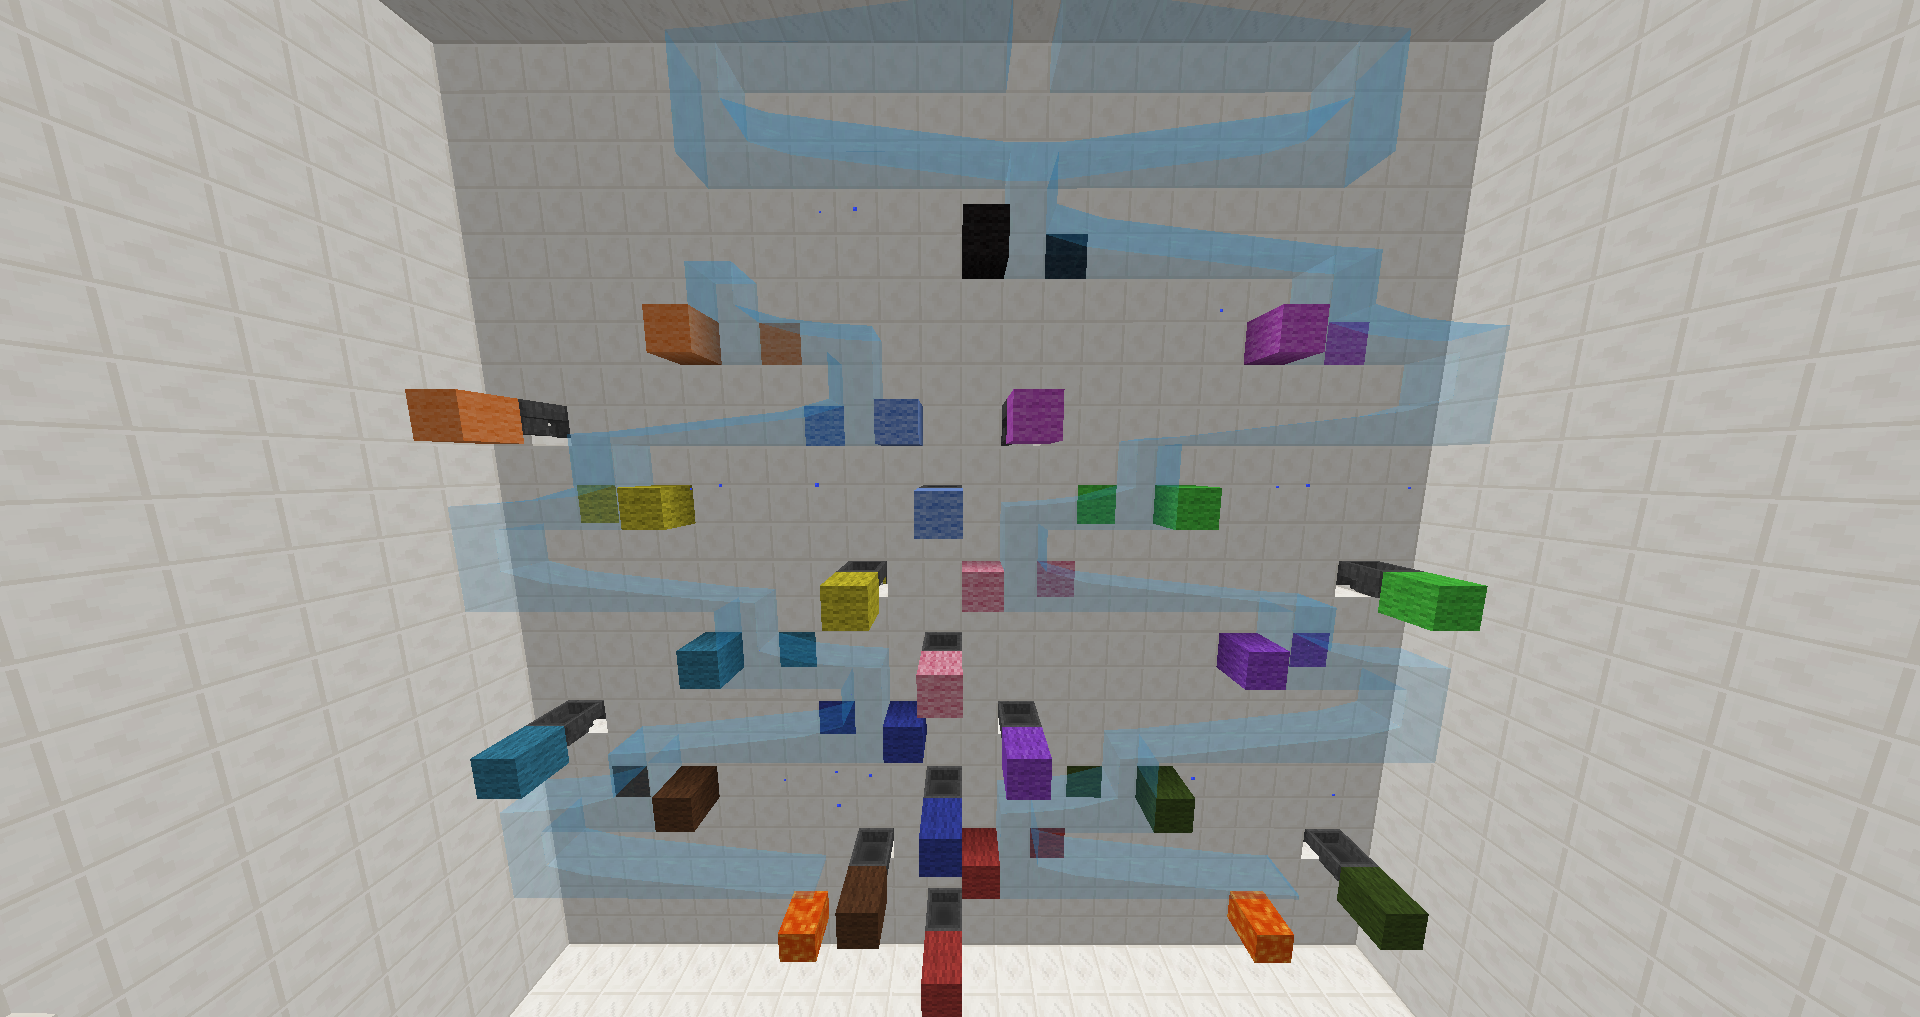
Changing Room: Watch the walls in this room appear and disappear randomly. Activate all eight colored rooms to open the central trapdoors.
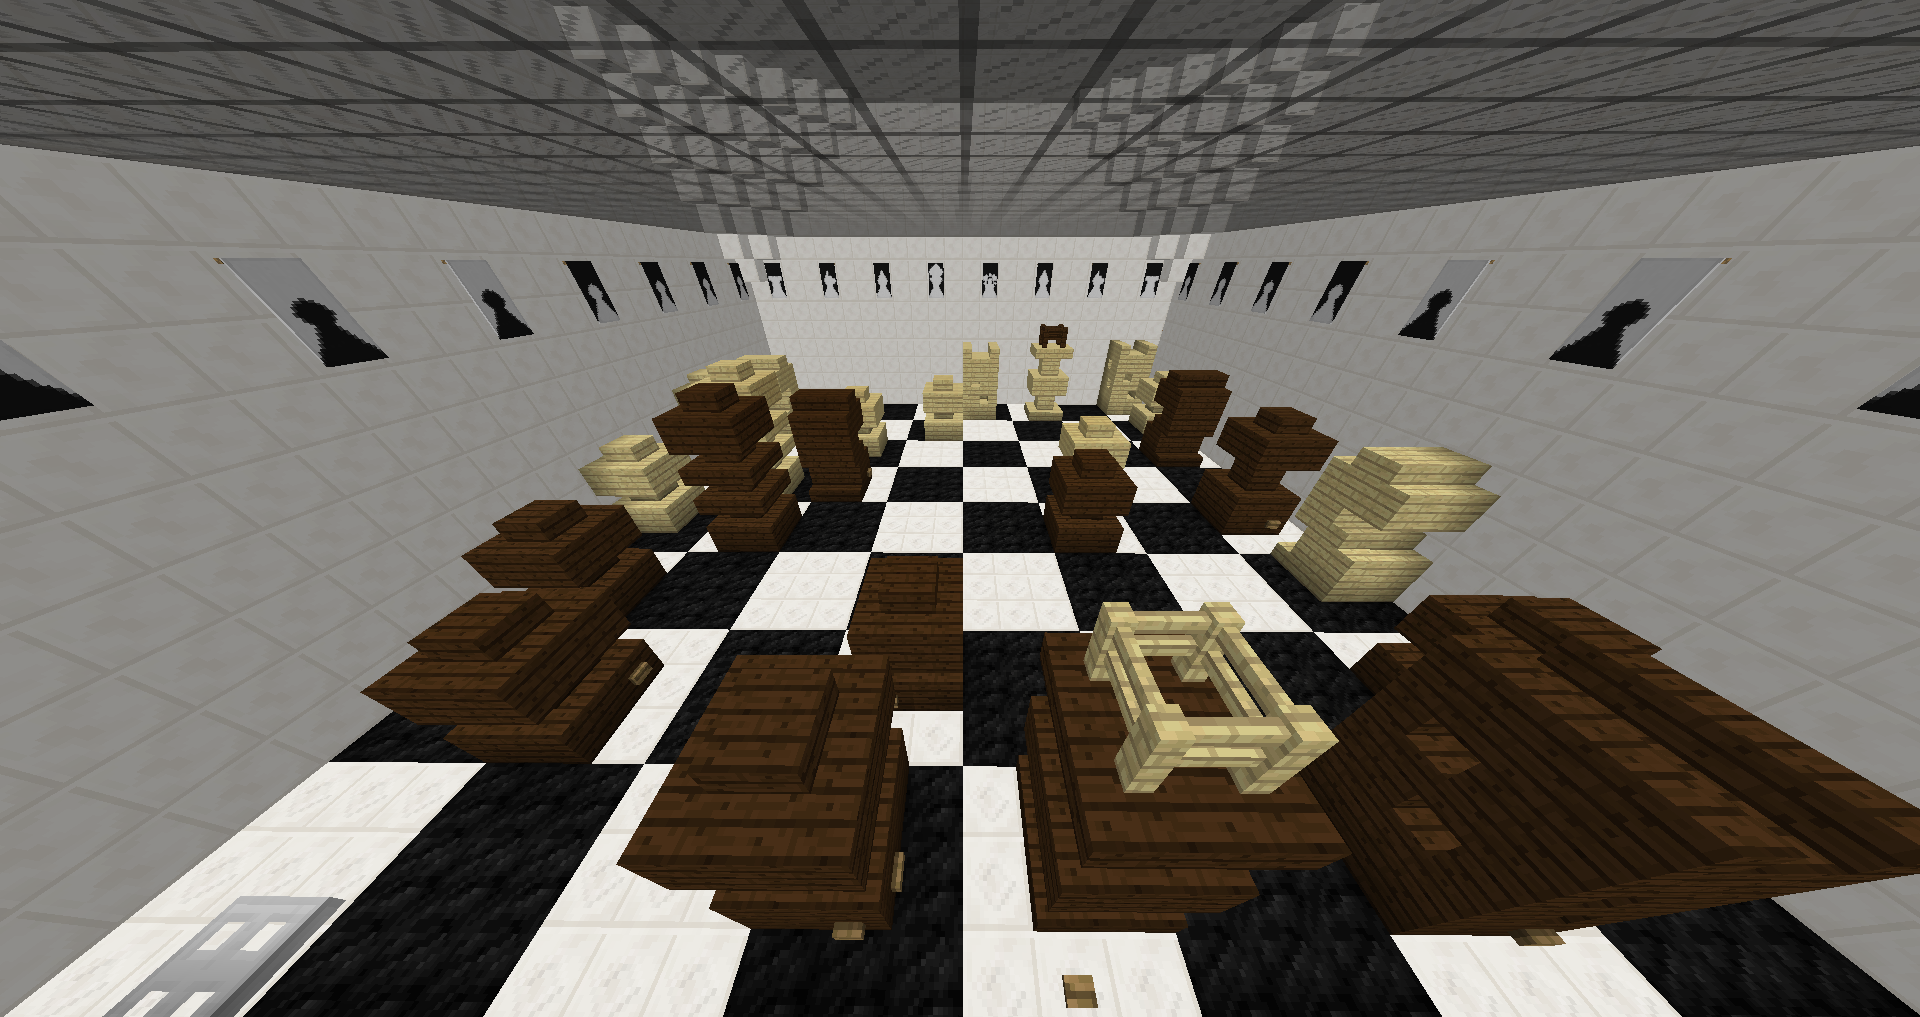
Checkmate: There is only one move that secures your victory in this situation. Find it to get the key. Then complete a parkour over the pieces to reach the diamond block.
Déjà Vu: Have you been here before? This confusing room has four copies of the same yard, connected by a maze on multiple floors. The button is hidden somewhere on the bottom floor.
Firewall Invader: Each lever opens a new path and weakens other walls. Find your way through and don't get burnt by the defense system.
Flow: Guide the flow to drop wool blocks into the right funnels. Use the levers to change directions.
Funland: Follow the signs to complete the colorful parkour.
Lever Lab: Each lever opens a new room somewhere. Find it, pull the lever there to open another room... and so on.
Quicksand: Sand gets pushed down the staircase. Can you still make your way up? Watch out for strips of lava!
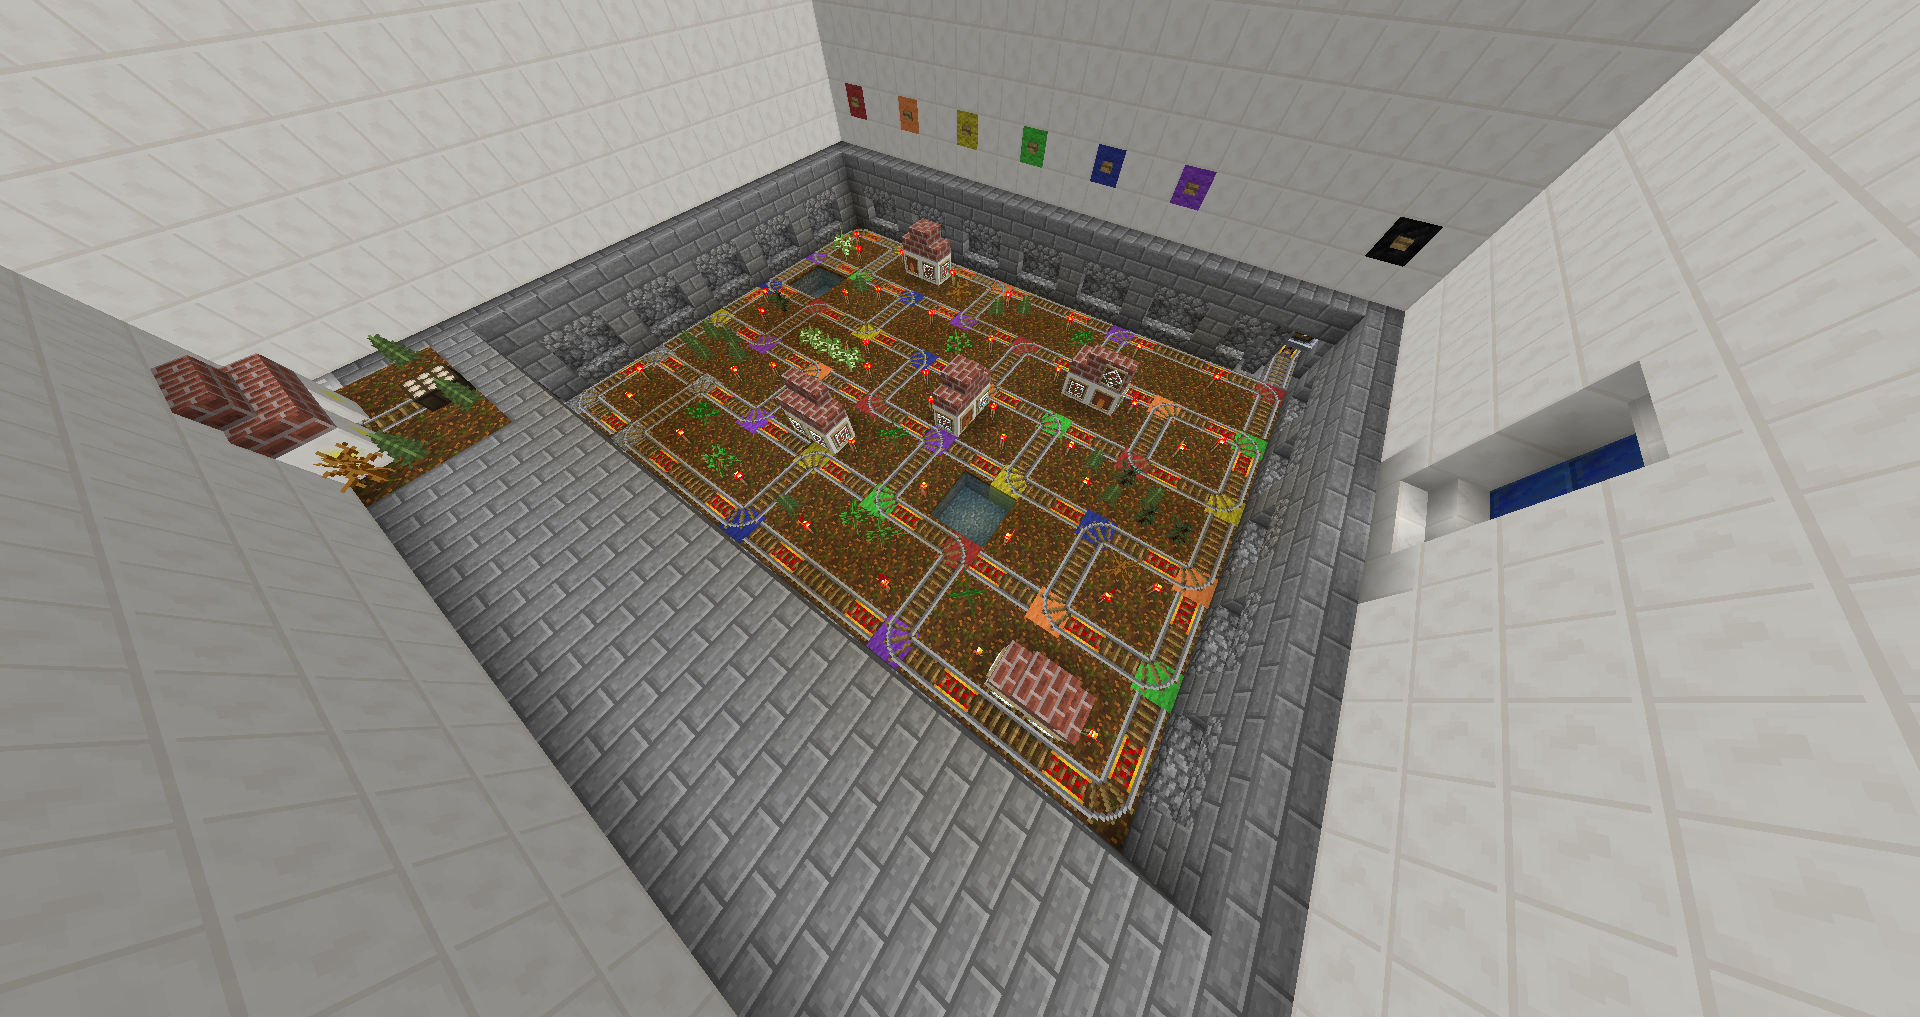
Railway: Change the switches to guide the minecart to the other side. Push the buttons to change all switches of that color. Can you find out which colors the four gray switches are connected to?
Shell Game: Follow the rules and guides in the chat to play this game. Remember which mine carts contain buttons, and push the ones on the blocks next to them. Complete three rounds to finish the room. Tip: If your guess was wrong, look at the lights above the minecarts. The ones that are on contain buttons.
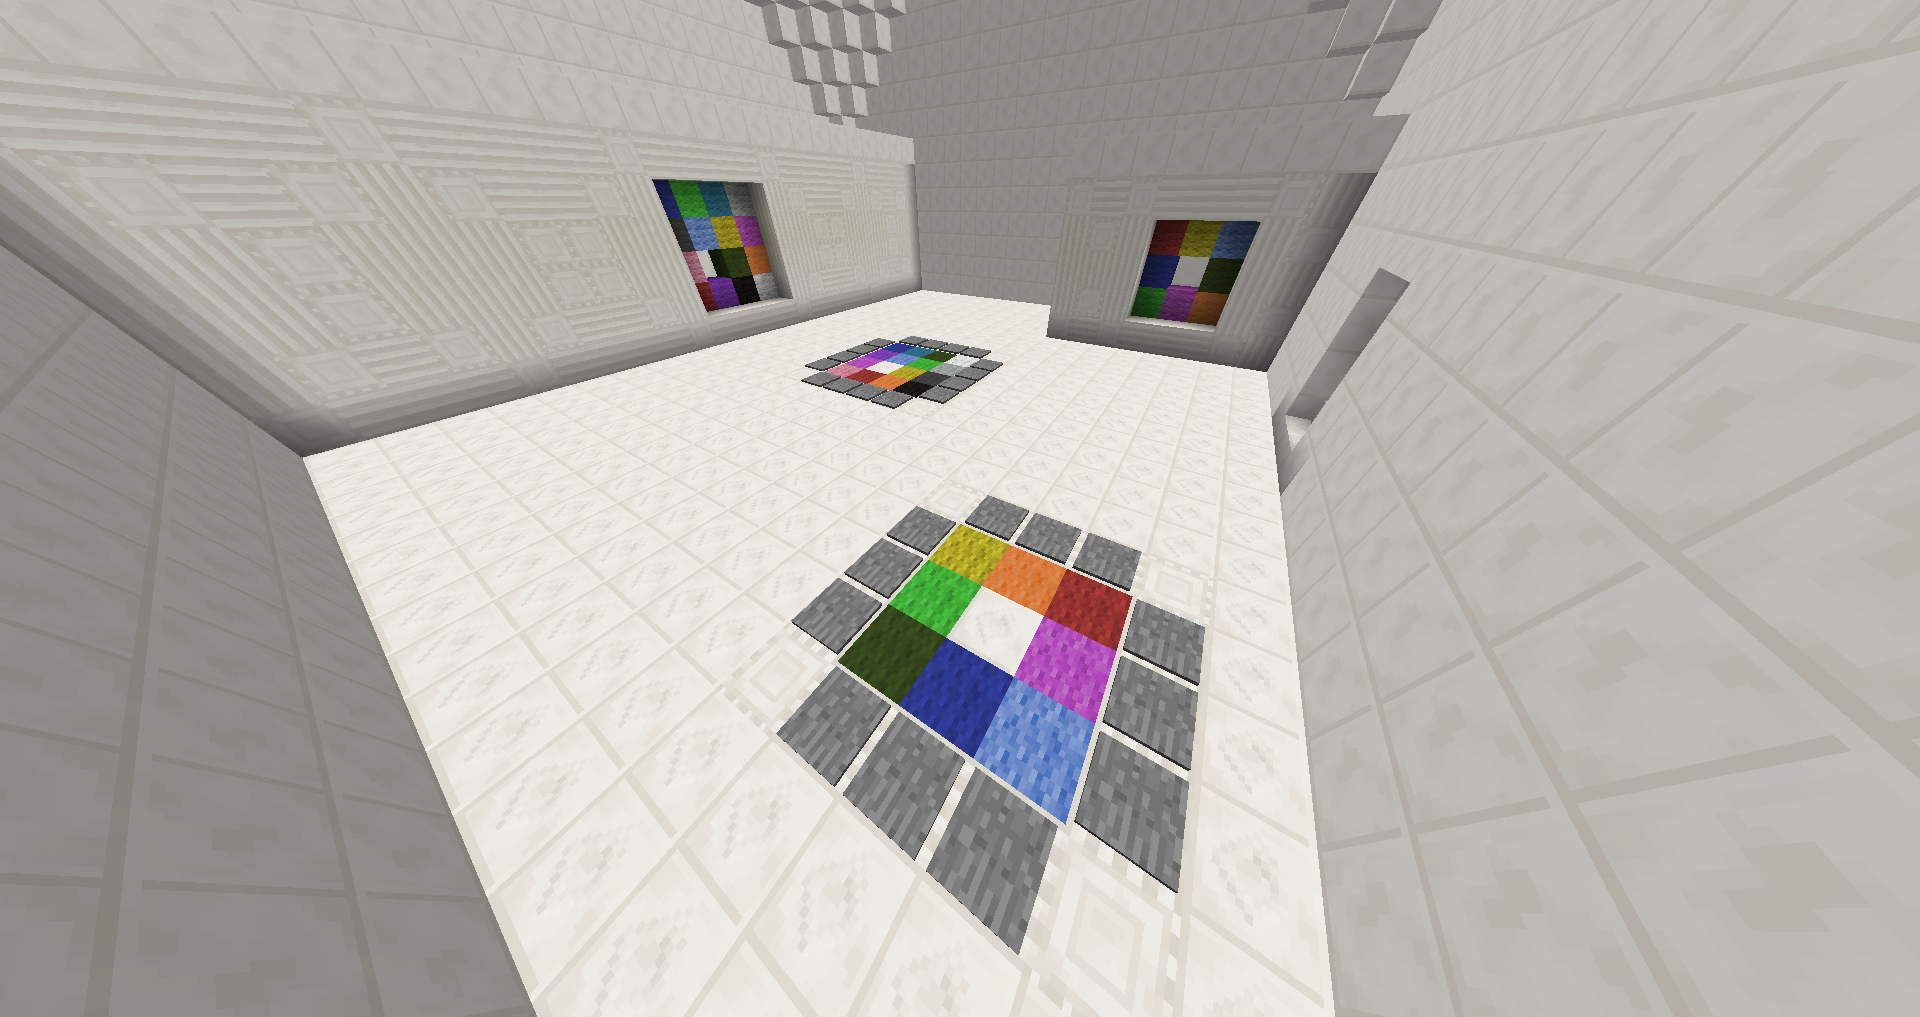
Shifty: In this room, there are two puzzles. You have to complete only the 3x3 one to finish the room. The 4x4 one is optional. It might seem a bit tricky to get the hang of it. Tip: Try to solve a row first, then working with the remaining pieces will be easier.
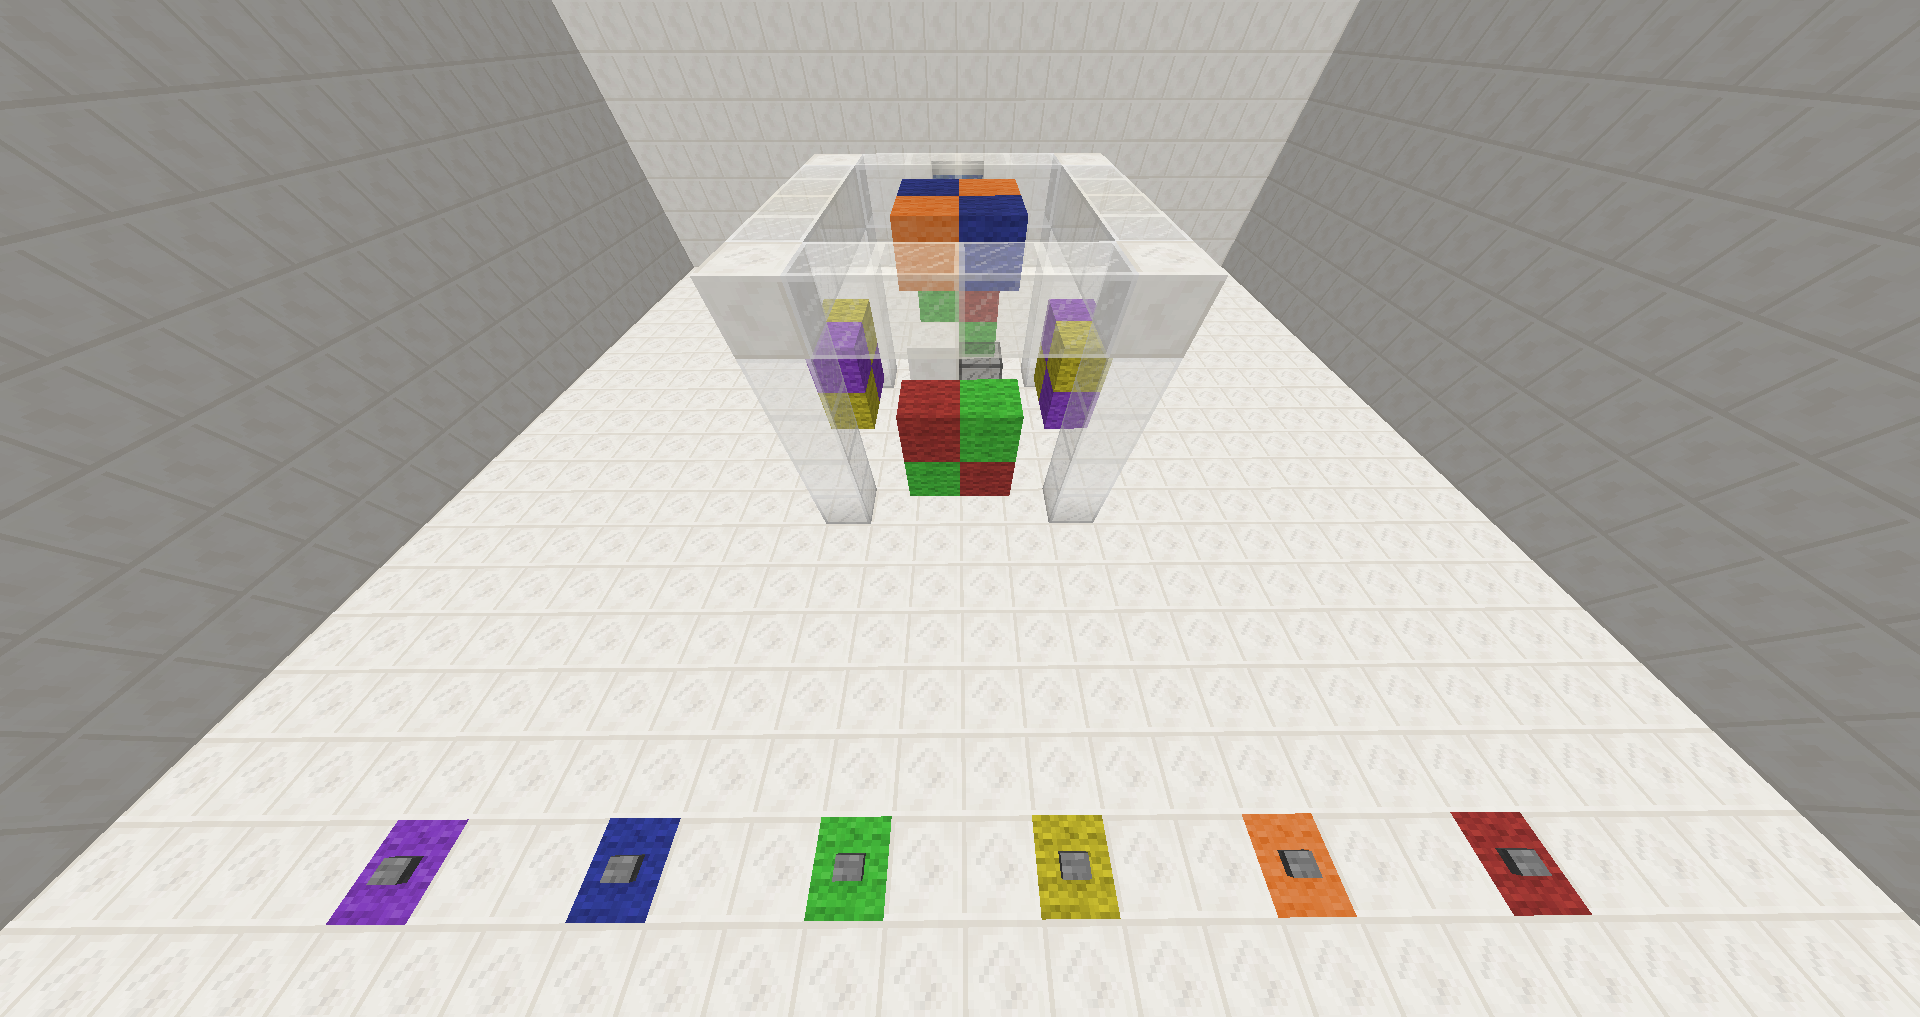
Simon Says: While this technically isn't a Simon Says, it kind of looks like one, hence the name. Your task is to shift the white cube into the black glass. Pushing a button will push the cube away from that color. Complete eight rounds to finish the room. 5th Floor:
Anagram: Rearrange the letters on each sign to form a new word. Change a nametag to that word on the anvil. You can use a nametag only once. All answers are single words. Find at least 12 of the 16 words to complete the room.
Anticipation: There is an invisible parkour floating above the wool blocks on the floor. To find out whether the next block is located higher, lower or at the same height, take a look at the hidden signs on the lower floor. + means up, - means down, and 0 means the same height.
Caged: A simple iron bar maze. Climb up the floors and try not to fall.
Chicking Rod: Catch all the chickens and drag them out of the pit. If none are left, you will be able to finish the room.
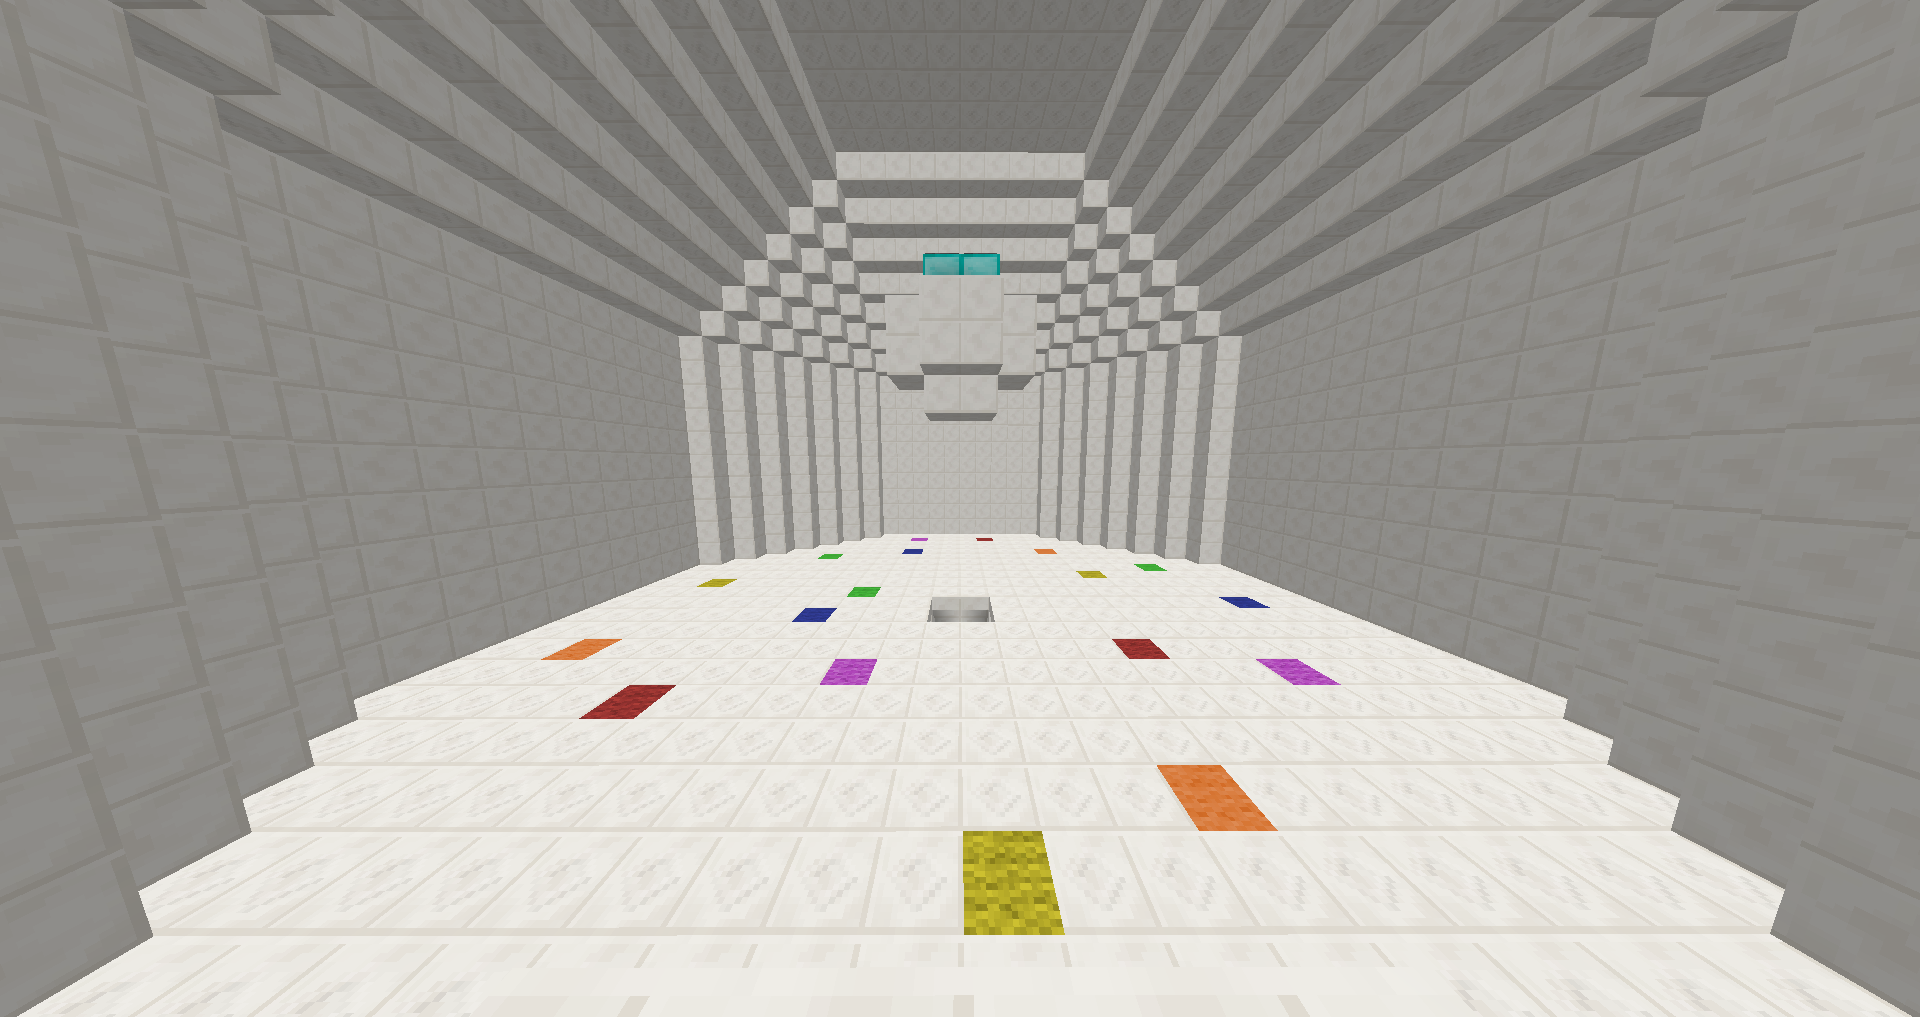
Color Theory: Are you familiar with Minecraft's color system? Make a sheep of every single color at the same time. Summon, color, breed. Tip: Hitting the "kill all sheep" button will give you brown and black dye in case you need it.
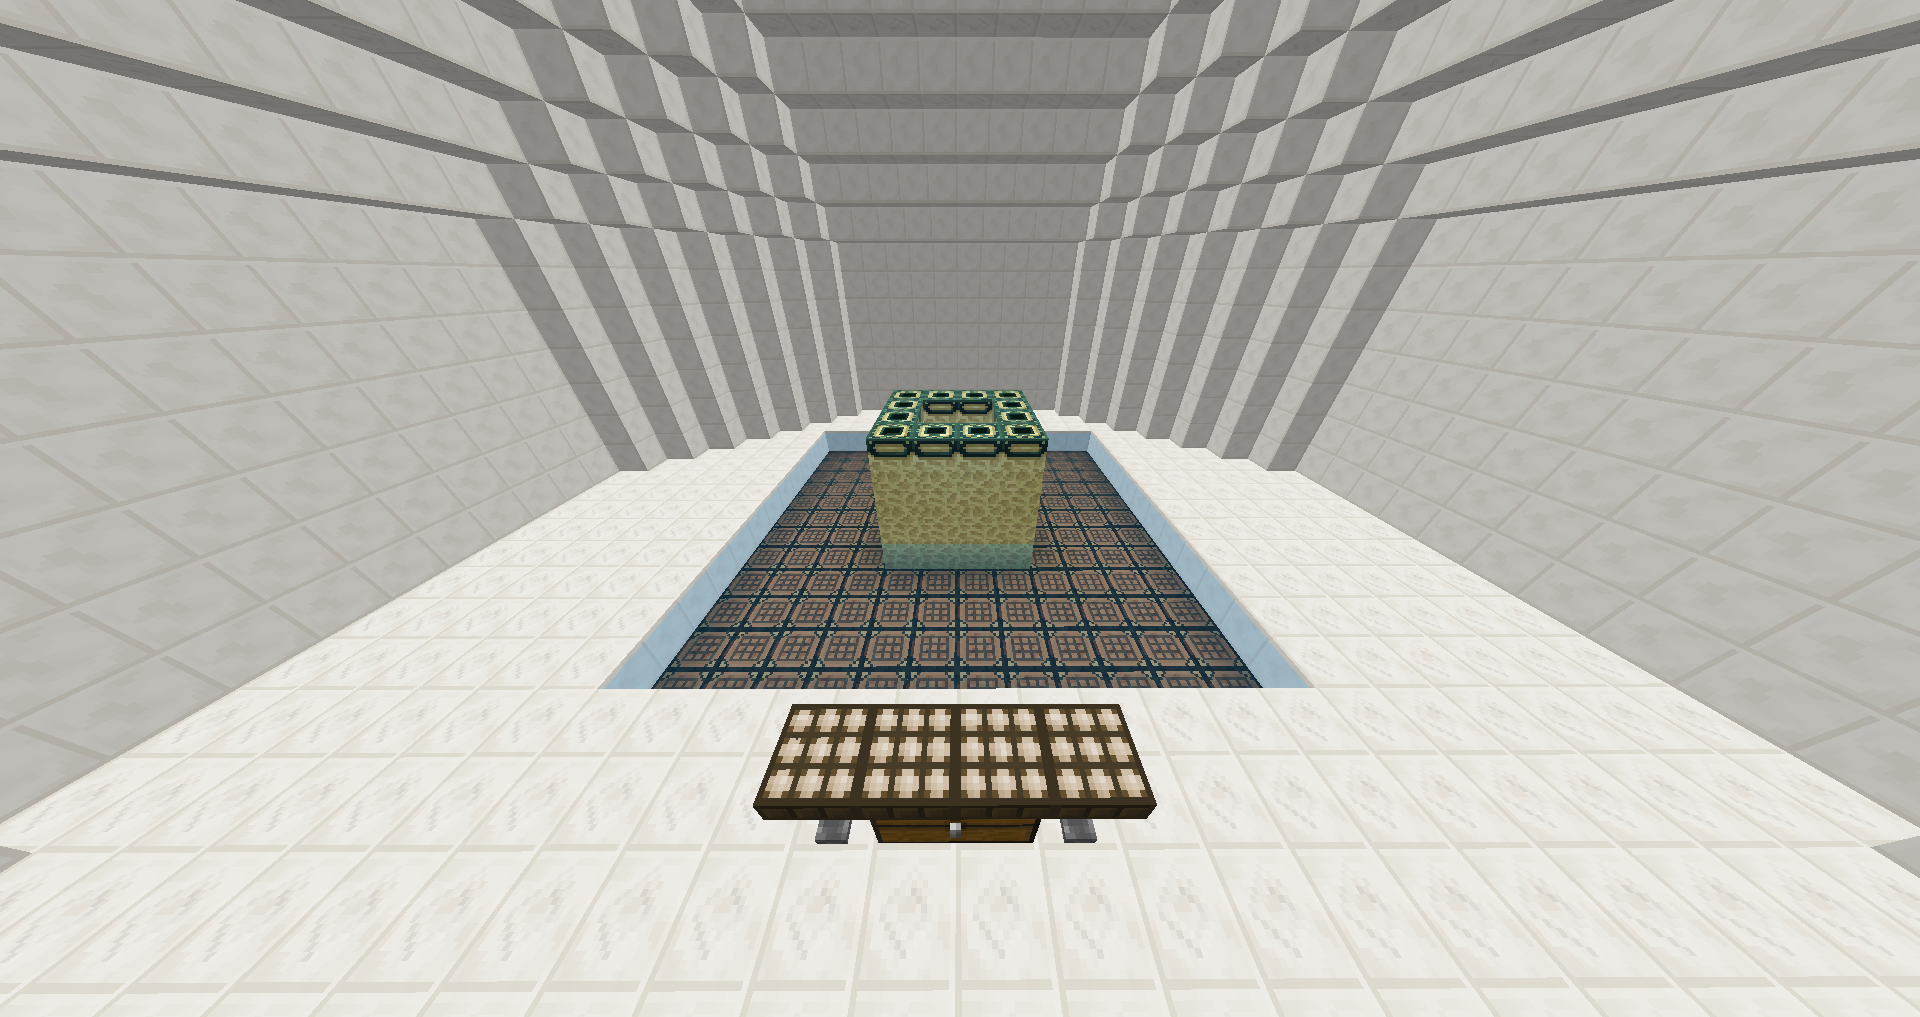
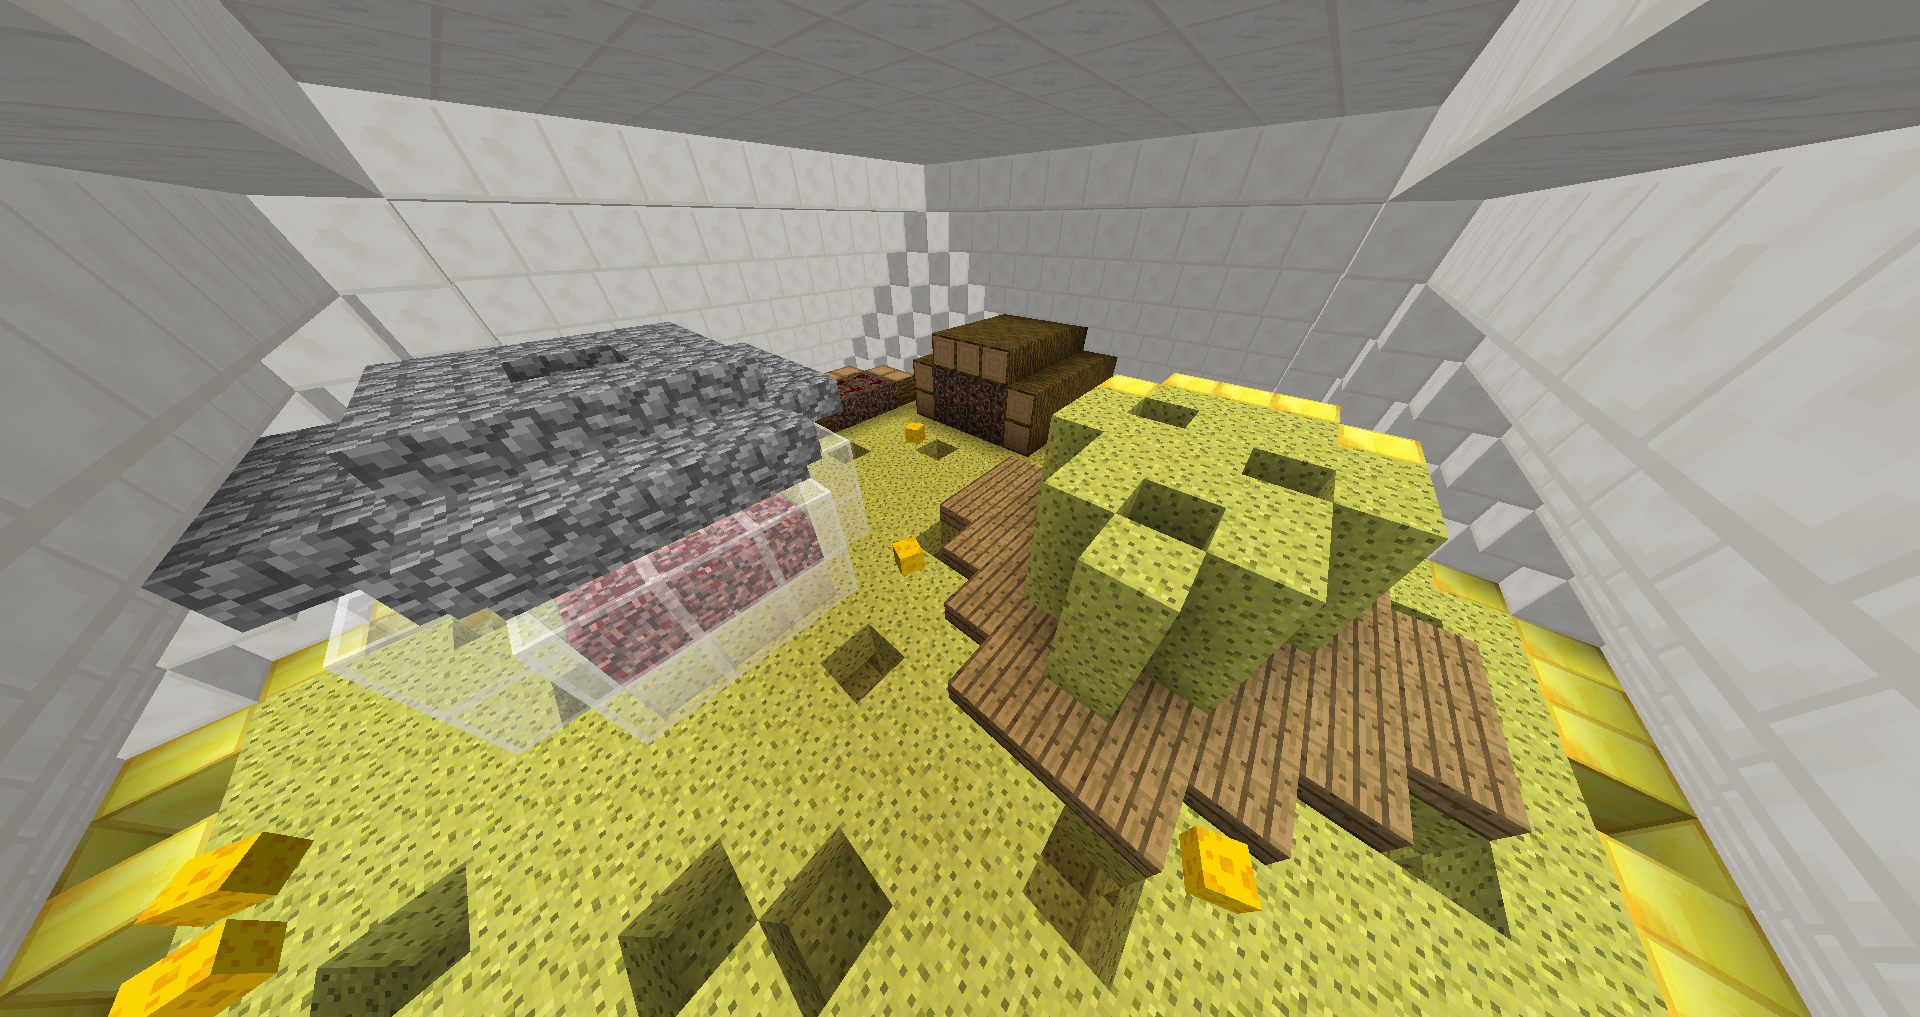
Dig A Hole: Simple as that: There's a chest with a key buried somewhere in this room. The diamond blocks are located in the middle of the floor.
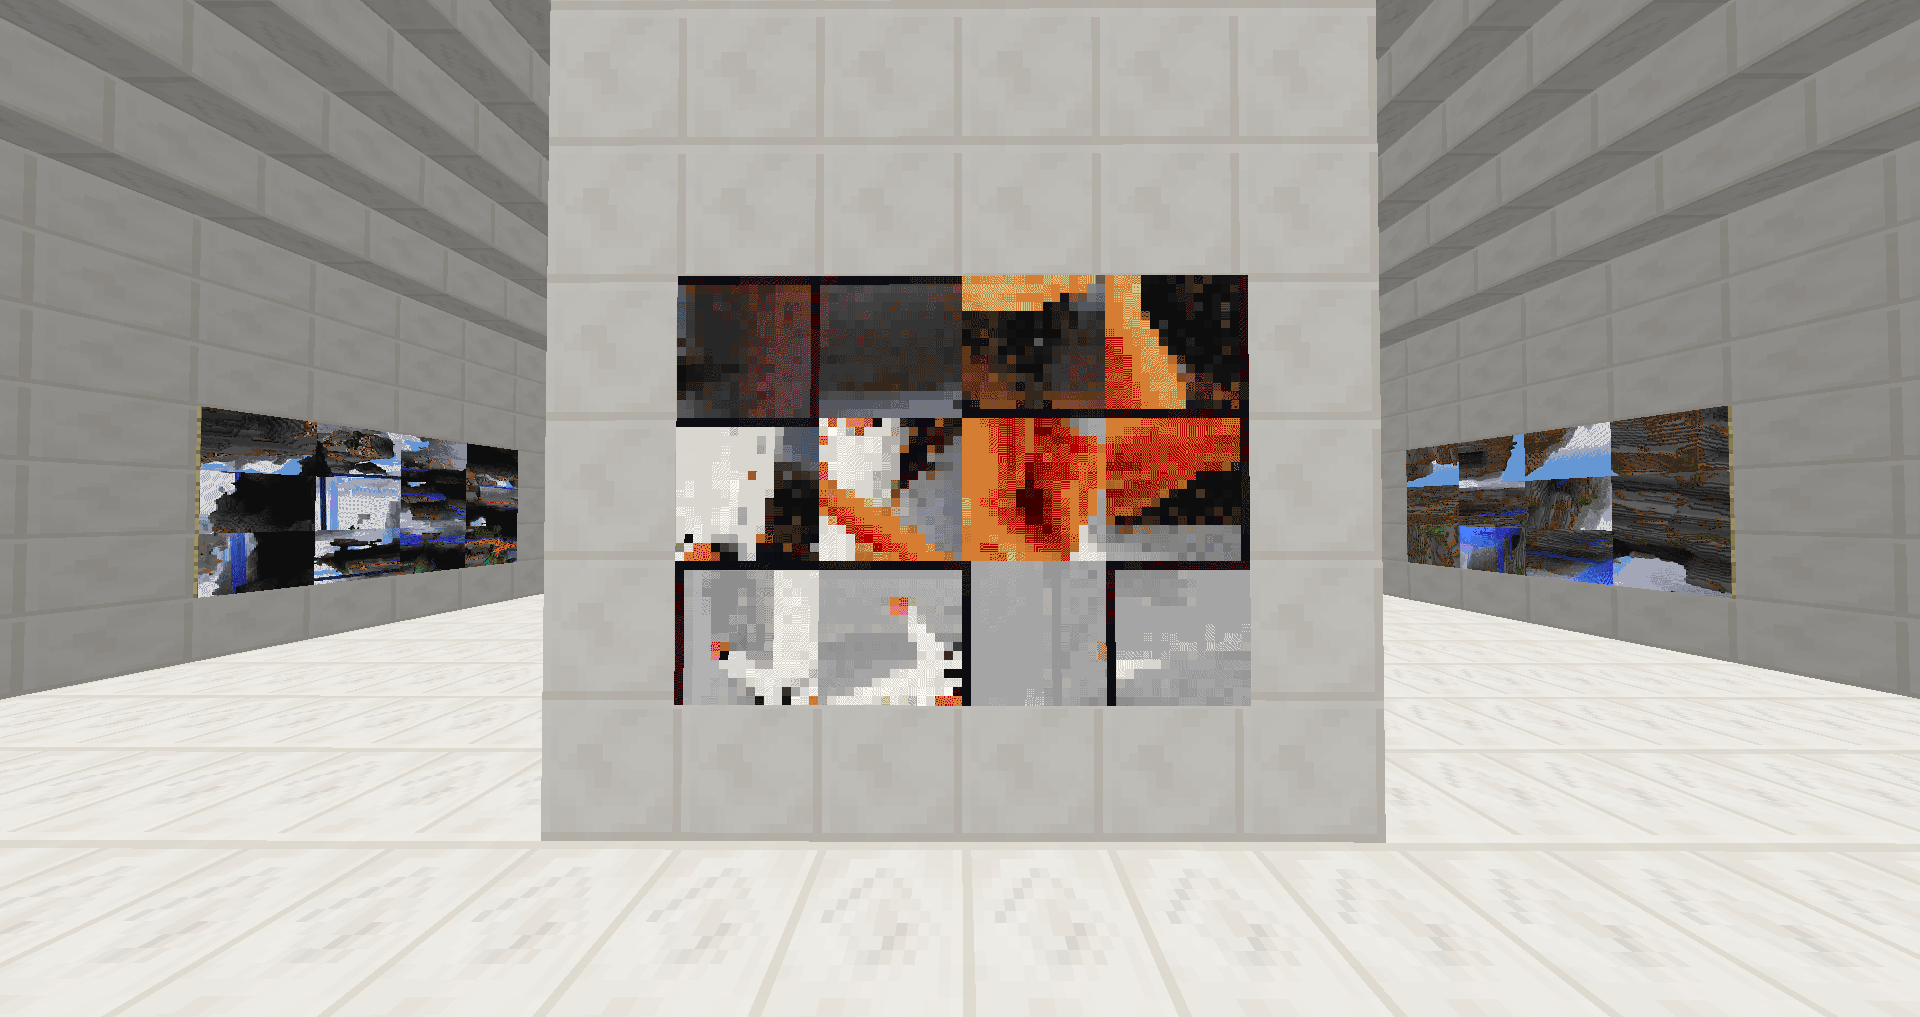
Gallery: Rotate the picture frames to the right positions to restore the paintings. Fix all the paintings to complete the room.
Hazard Level 1: This parkour consists of several stages. Although slightly different, the left and right sides are basically identical. Be careful, falling off at a later stage could throw you all the way back to the start.
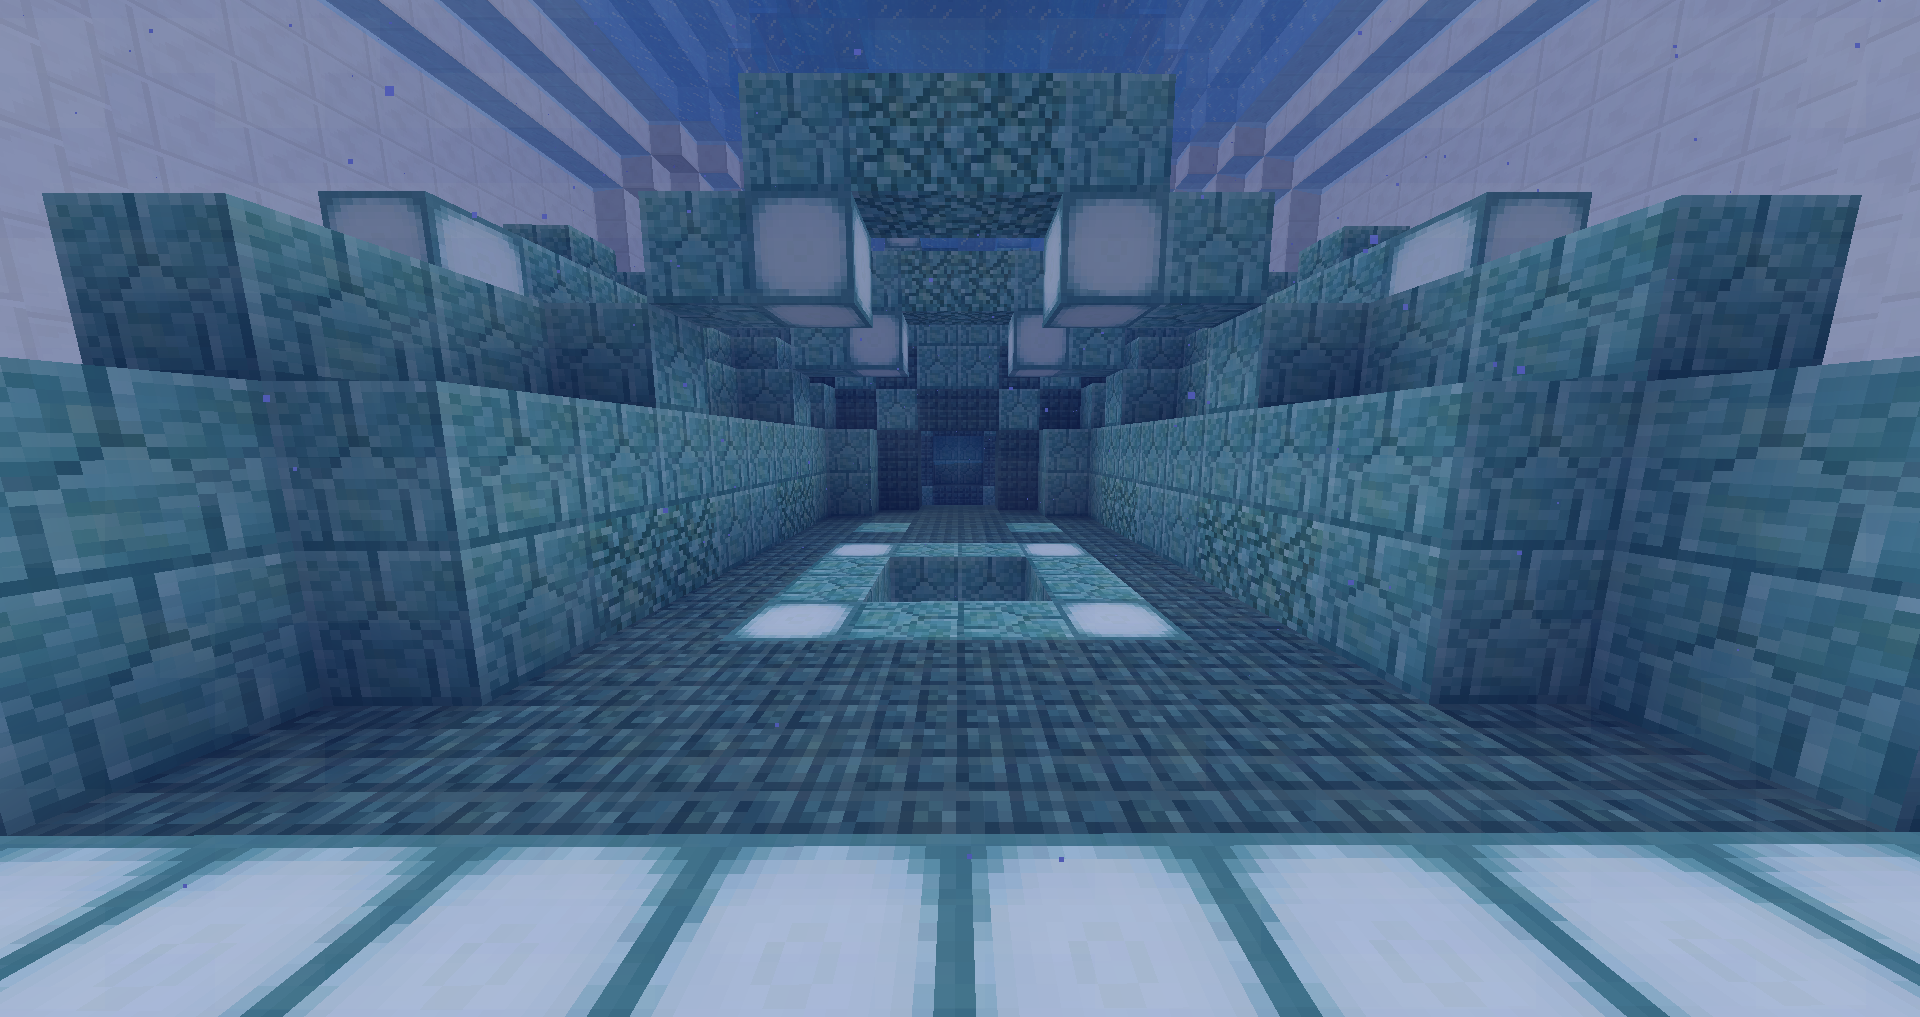
Ice Diver: Find the two vents to open the hot spring and melt the ice. There are two main parts to the maze on the inside of this monument, each of which contains one button. Once the spring is open, the ice above the tower will start to melt, allowing you to reach the surface.
Jumpcart: Use the minecarts to get from one room to another. There are ten levers to find in this maze. Once all are activated, a button will appear on the diamond block near the entrance.
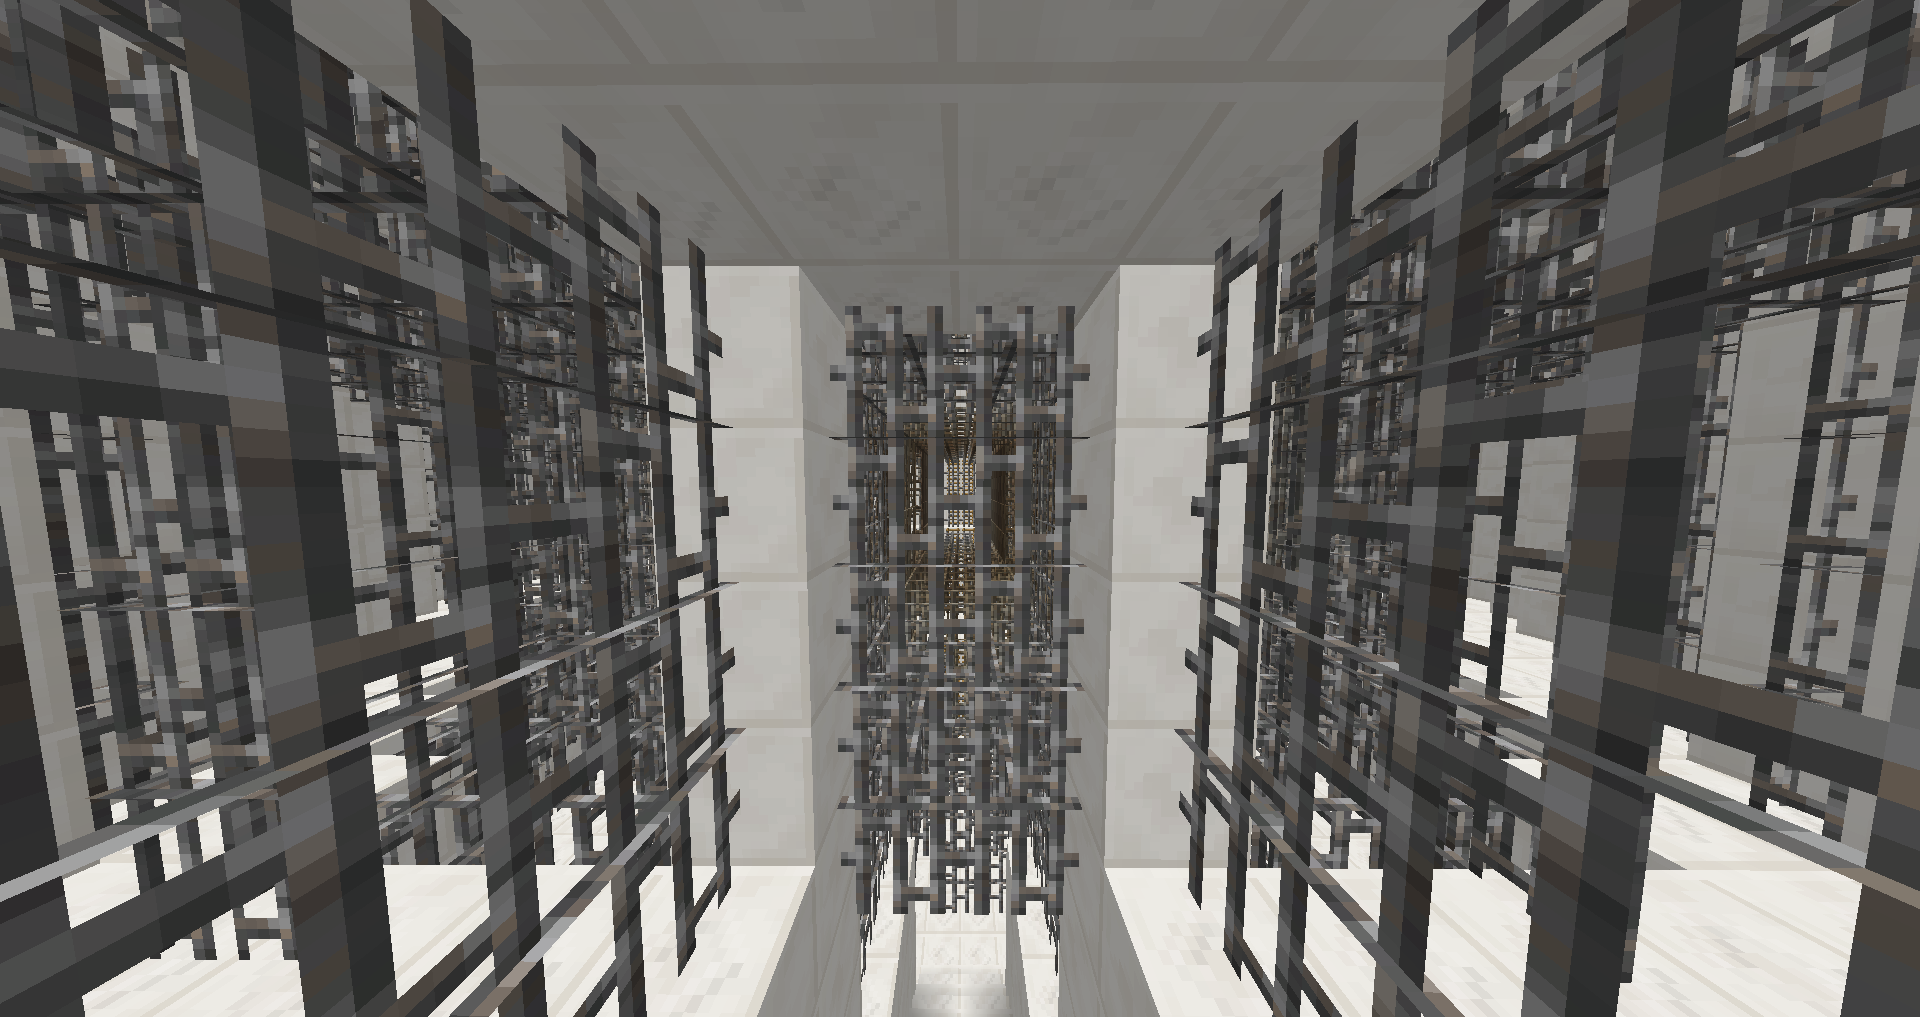
Mouse Heaven: This is a 3D-maze resembling cheese. Find your way to the top to complete this room.
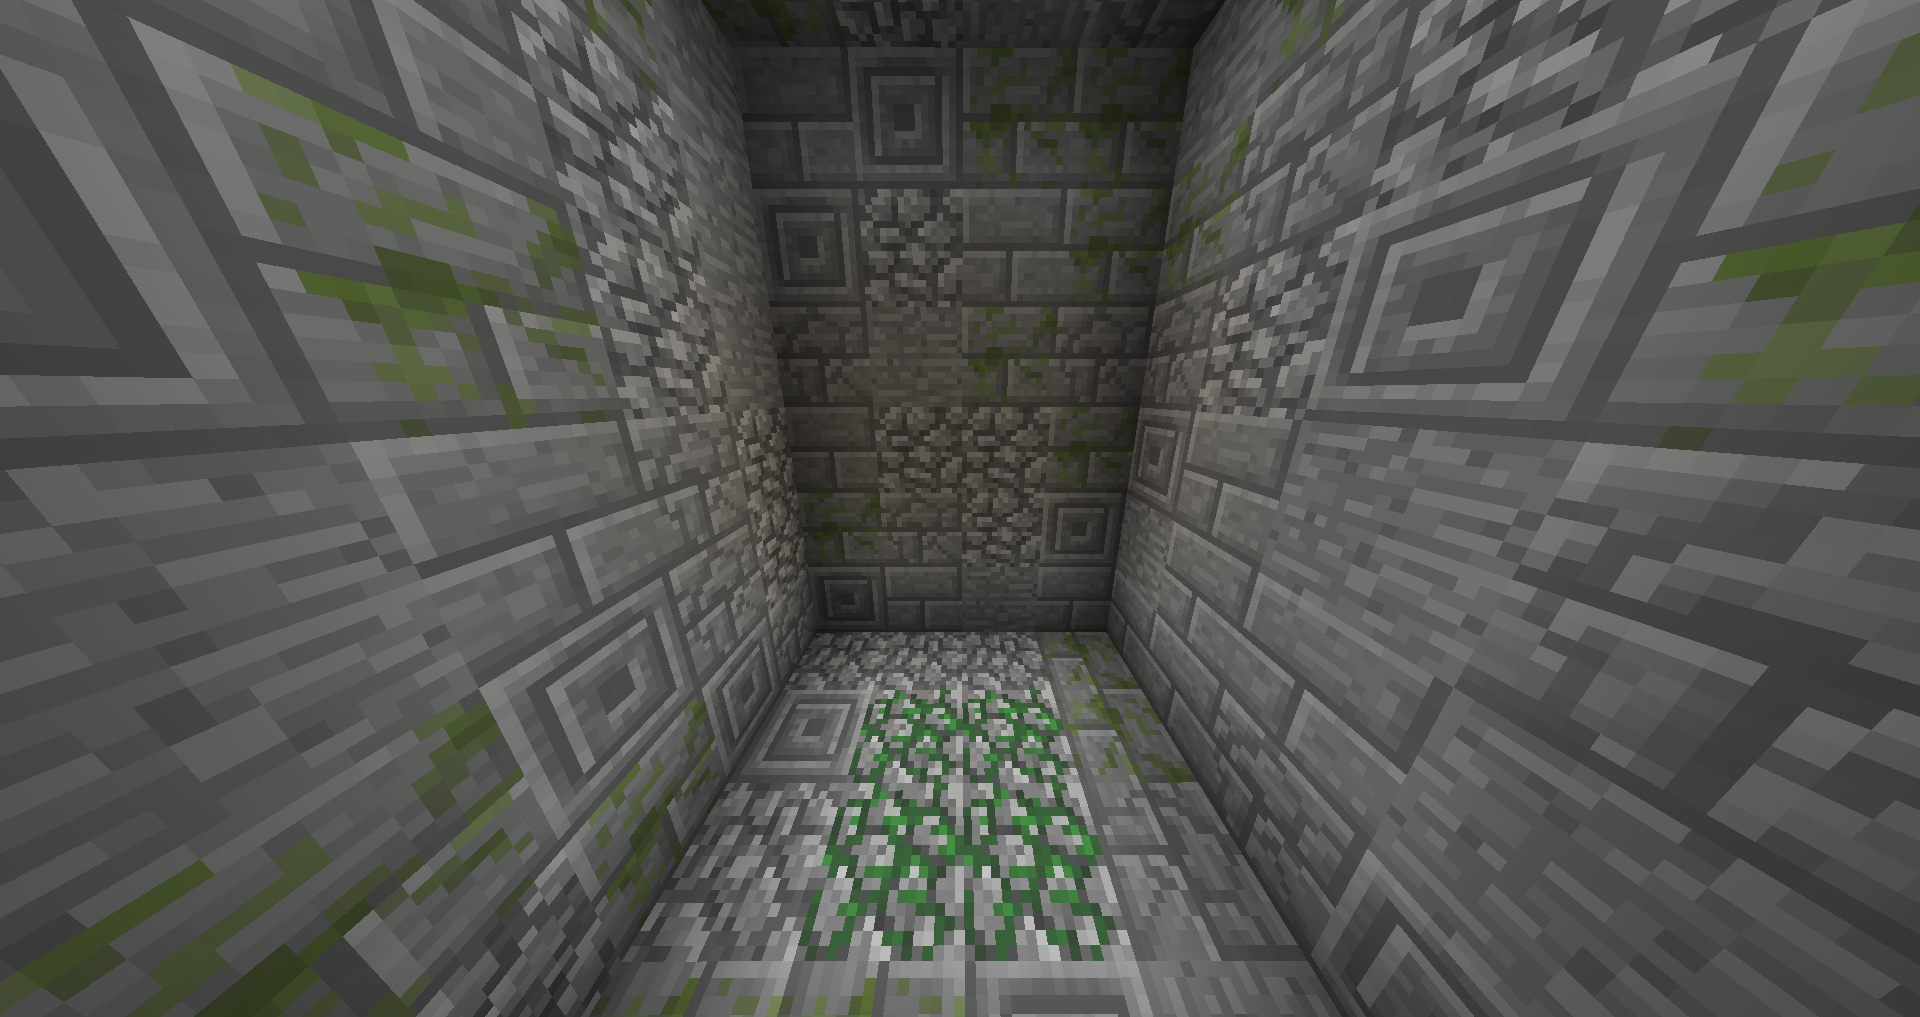
Silver Mine: This room is filled with stone, and the goal is hidden somewhere. Will you follow the winding path of mossy cobblestone or try your luck by breaking through the other walls? You can only finish the room if there are no Silverfish alive. 6th Floor:
Blockparty: Dance to the music while trying to stay on the floor. The text and block in your inventory will tell you which color to stand on. Each round is a little faster than the previous one, so try not to fall off!
Nether Cage: Fight these beasts from the nether with different techniques: Redirect the Ghast's fireball to kill itself. Shoot the Blaze with snowballs. Don't use your bow against the Wither! We all know you can only kill that beast in melee. And that arrow really looks sharp...
Padded Room: Use the pistons to catapult you from one platform to the next. The parkour can be quite tricky. Keep an eye out for pistons that can launch you sideways and checkpoints to make your life easier.
Sheepy Defense: Keep your sheep safe from the wolves! Use your bow and powerups to protect your sheep for eight rounds to complete this room. Hold a powerup for two seconds to activate its effect.
Space Ride: Steer your spaceship through the field of asteroids to make it home safely. Stepping on the two pressure plates will move the ship left or right.
Stone Punk: A room full of crazy machines and a lot of parkour to do. Follow the signs and look out for checkpoints to help you if you fall off.
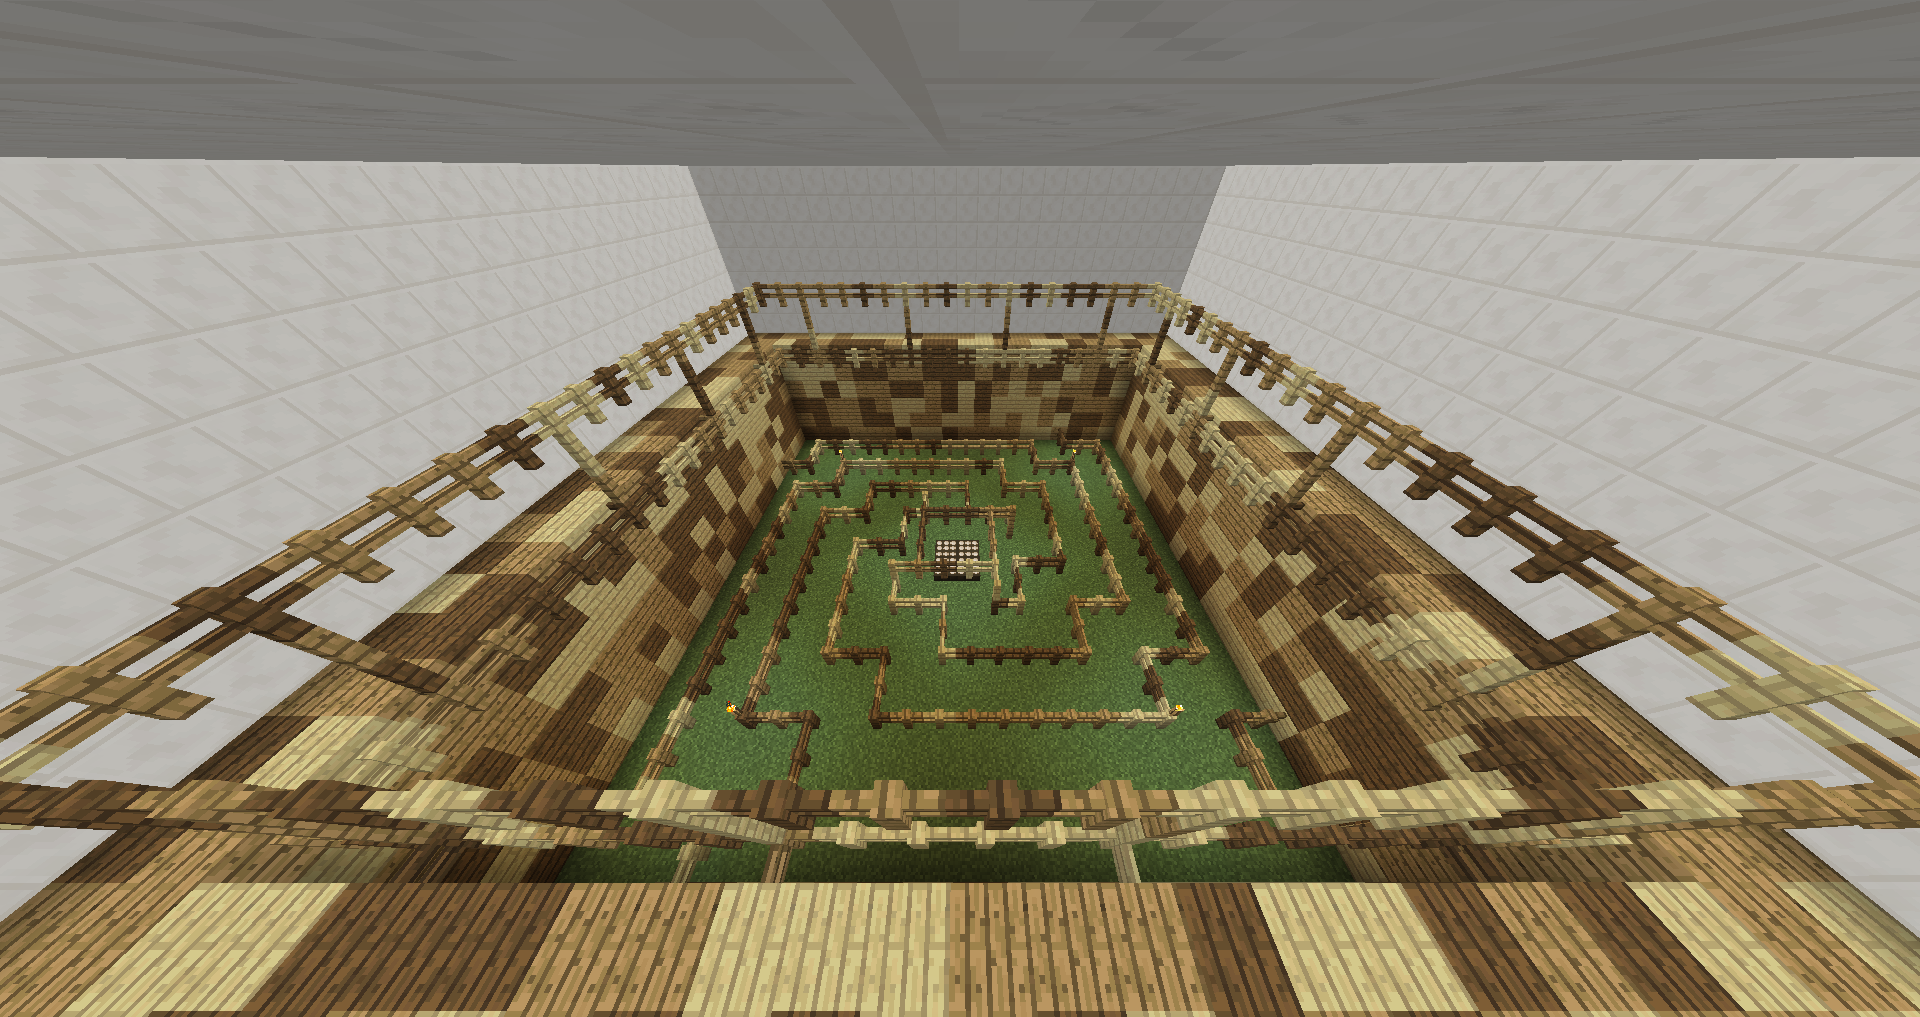
Timber: All these trunks may look confusing at first, but there is only one way to climb to the top. Tip: You can only climb one block at a time, and if you don't plan ahead, you might find yourself stuck in a dead end. Climb smart, not fast.
Tricky Bridge: The floor of this room constantly switches between being visible and invisible. Look at the glass to predict where it's safe to stand: Green glass will turn into safe barriers, and red glass will dissolve into thin air. 7th Floor:
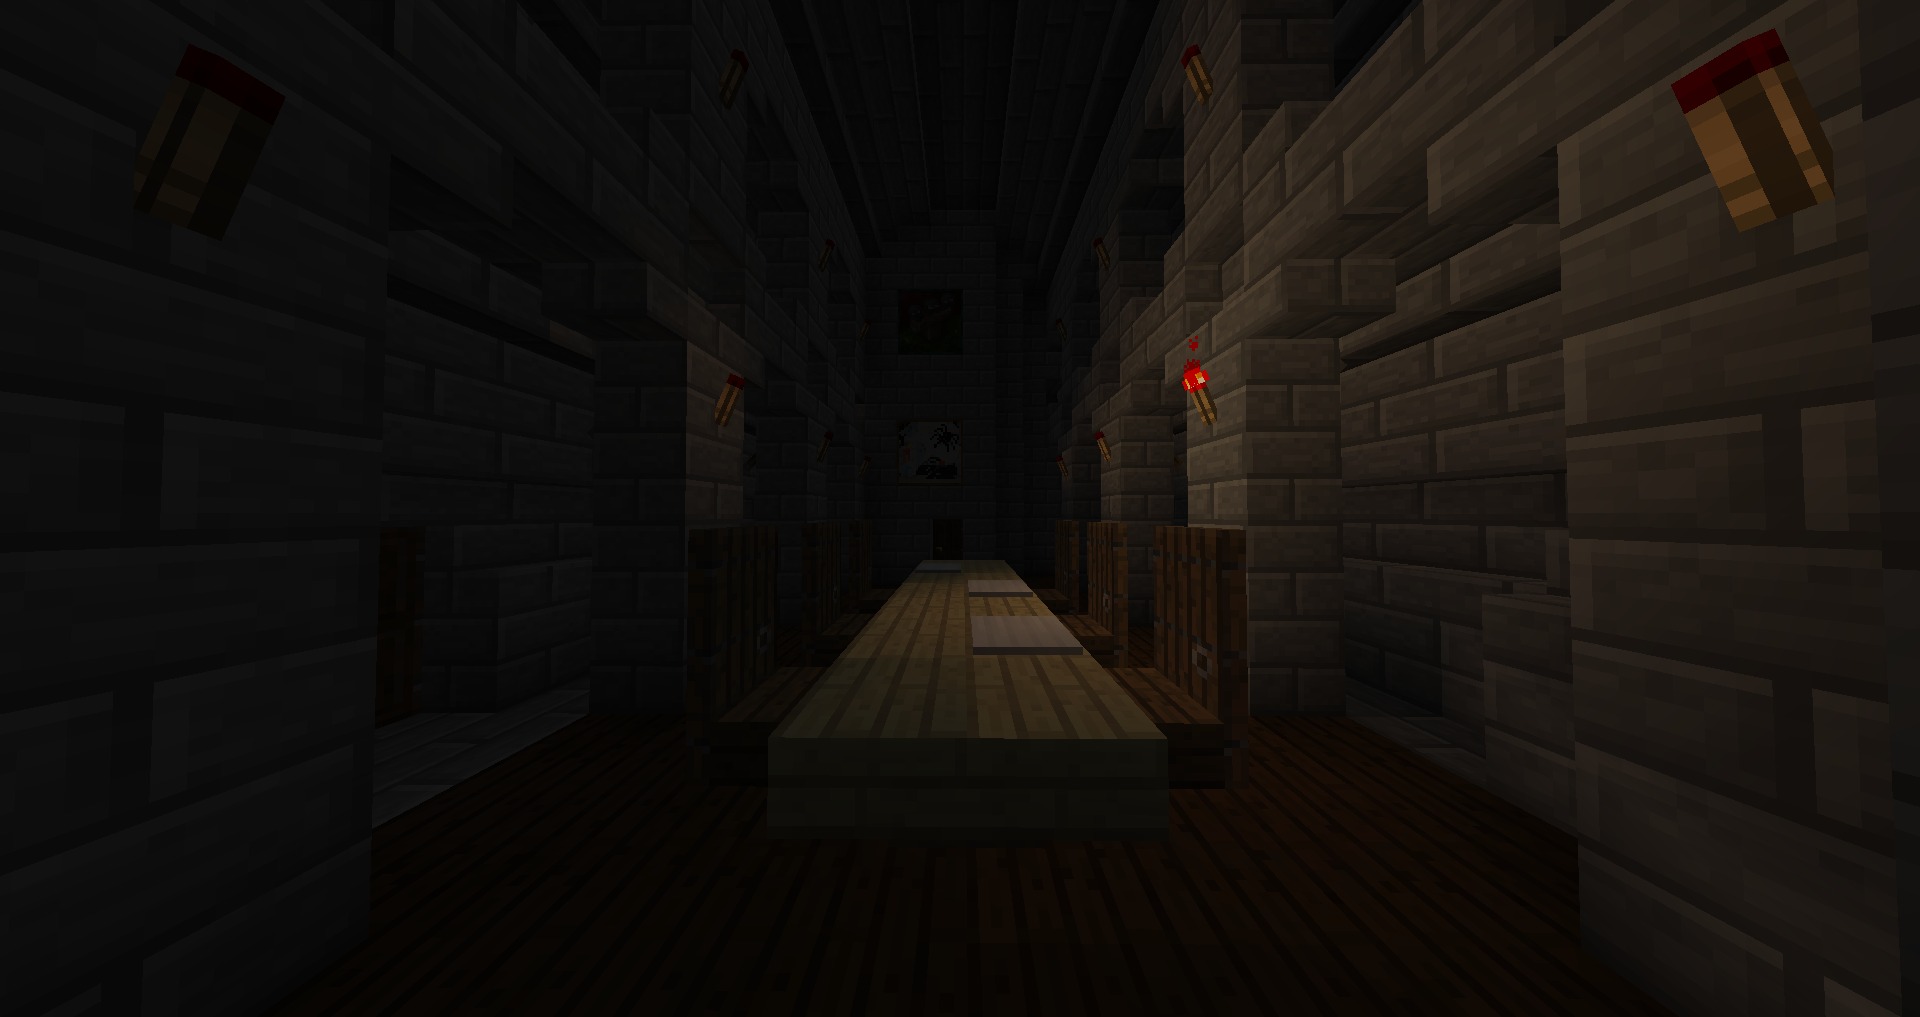
Cursed: The lost ghost of a child haunts these halls and speaks to you. Can you find out about their tragic past? Follow the chat to learn more and solve this mystery.
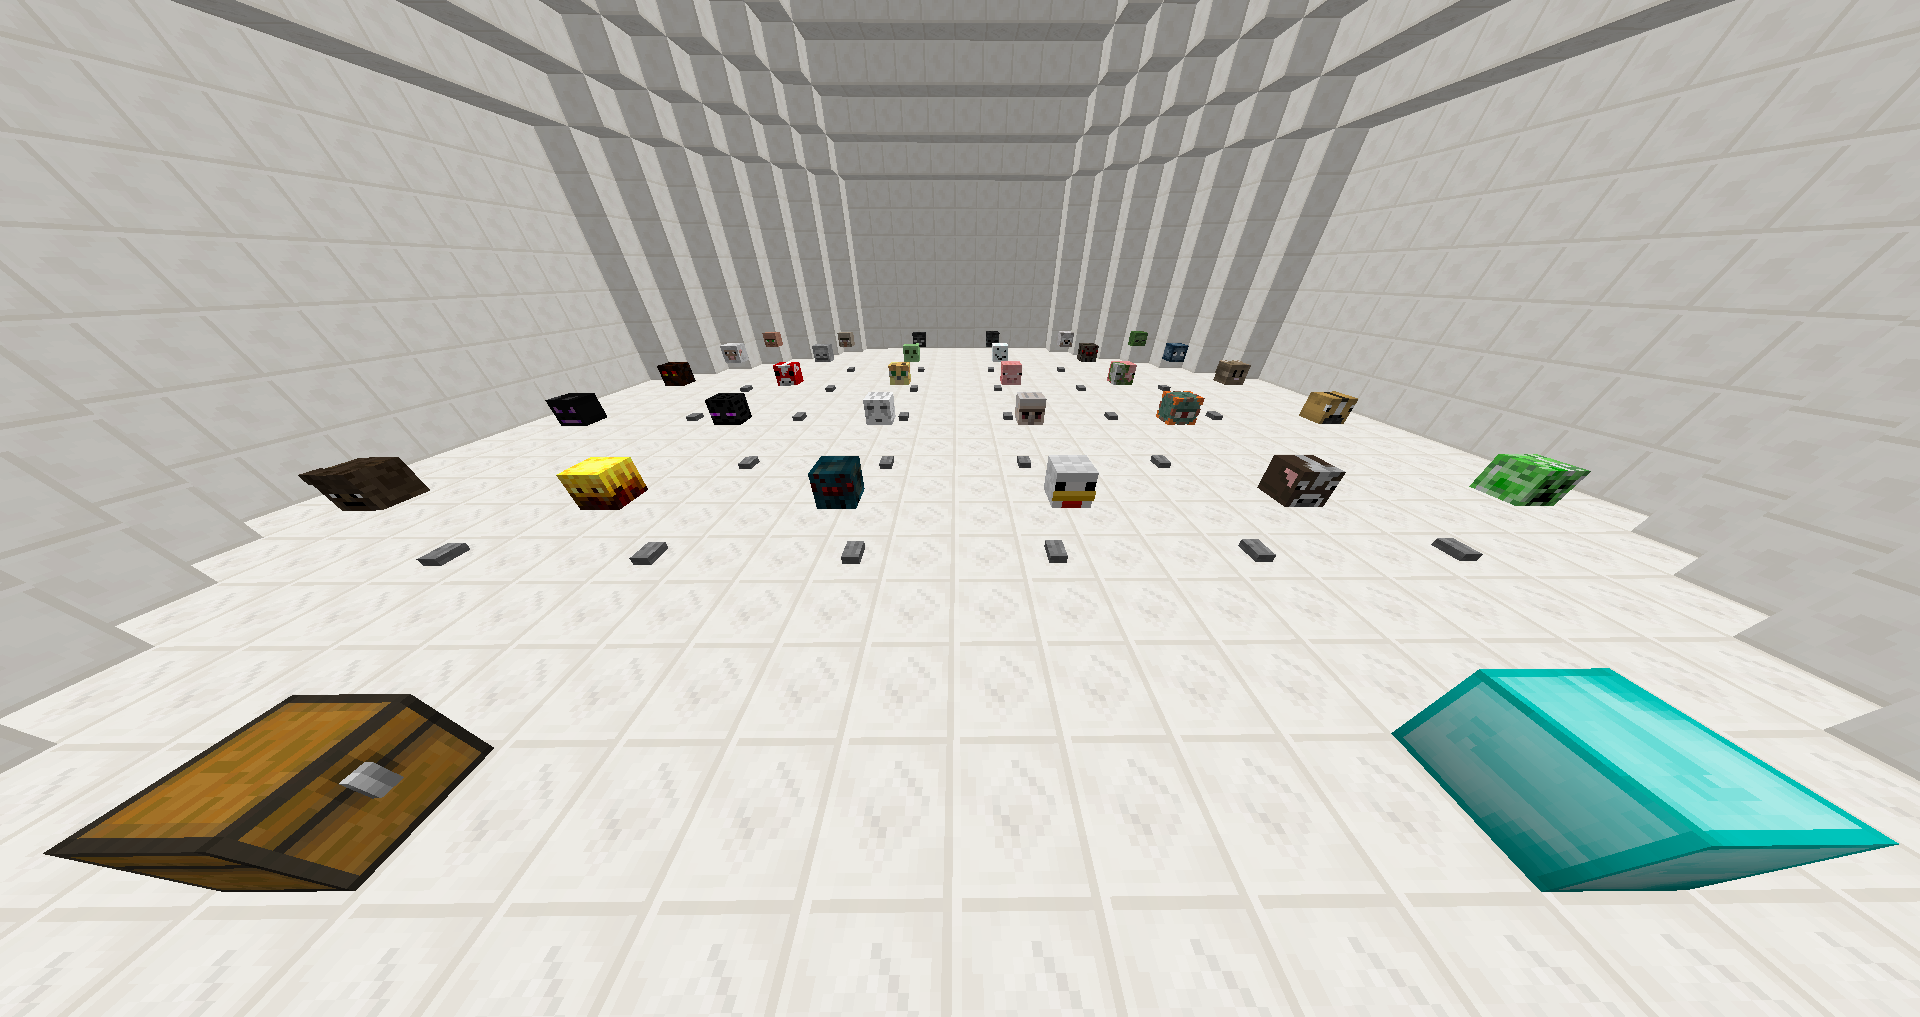
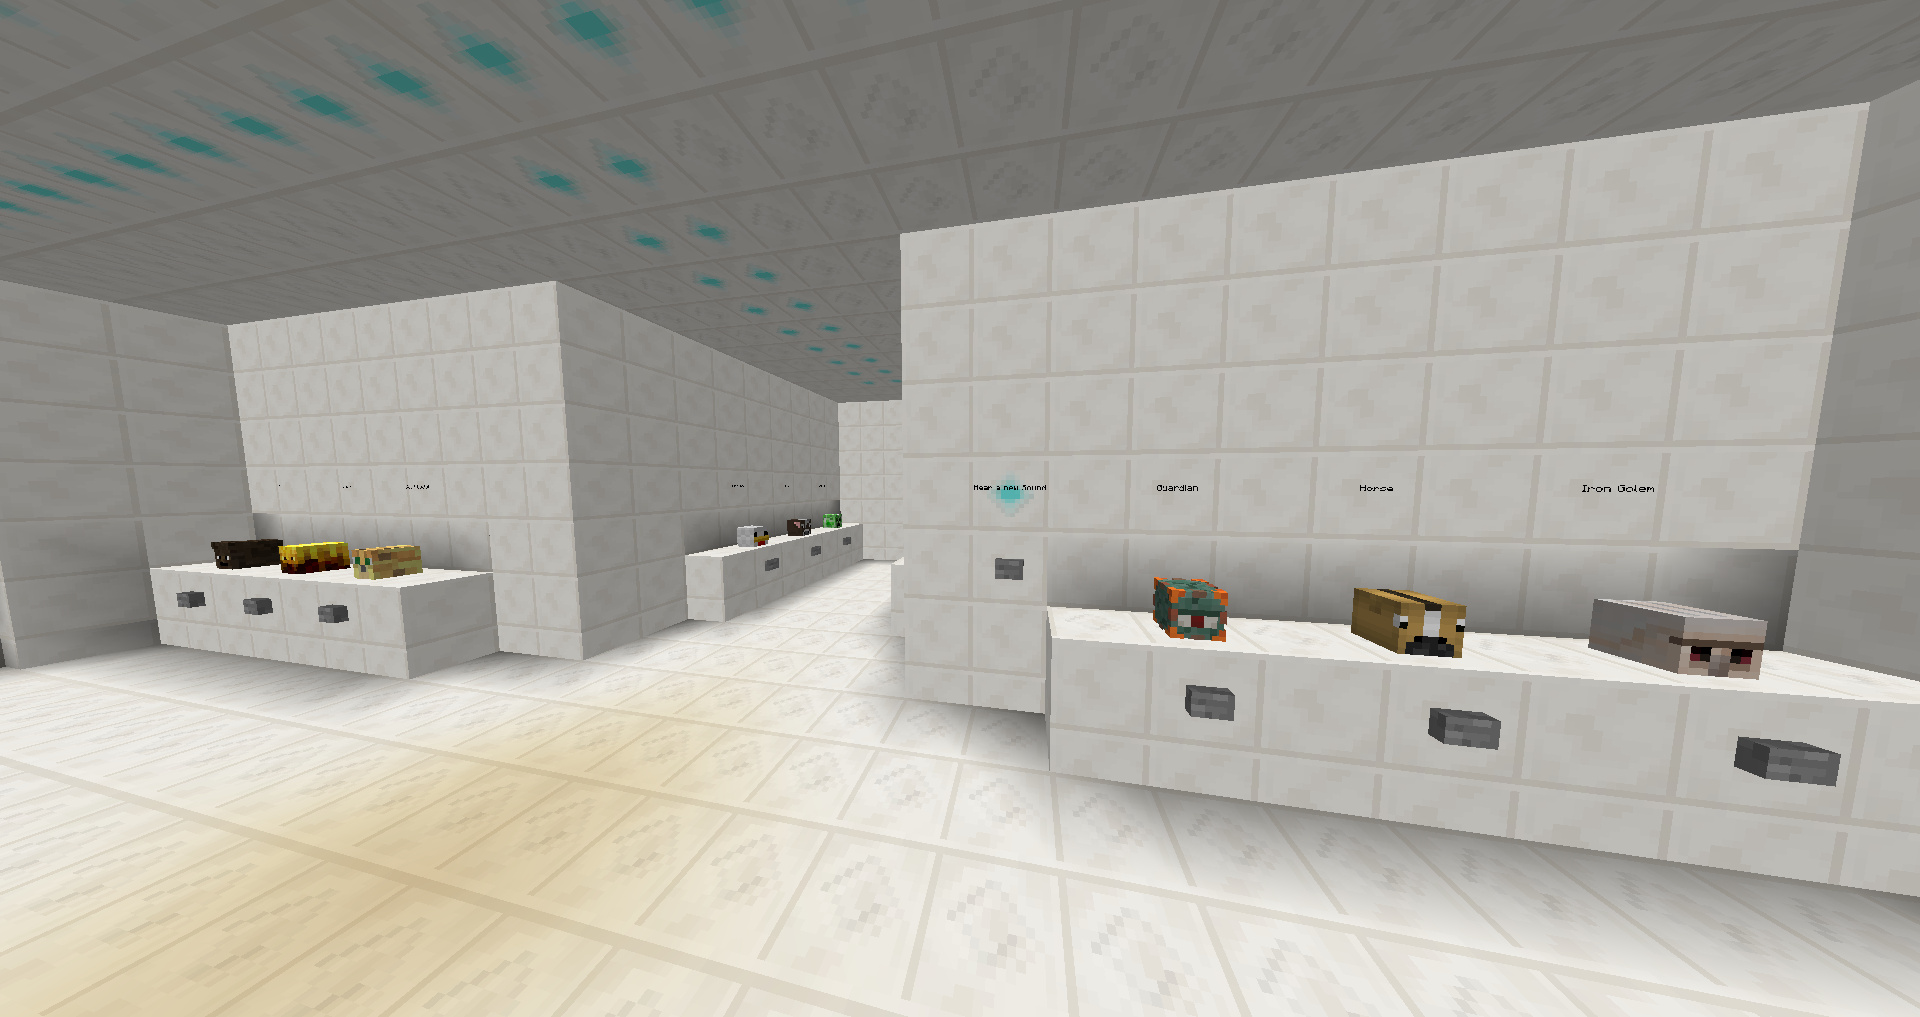
Hey, Listen: Listen to the different noises and match them to the right mobs. Guess correctly ten times in a row to complete the room. You can always skip a noise and get a new one by clicking the buttons at the corners.
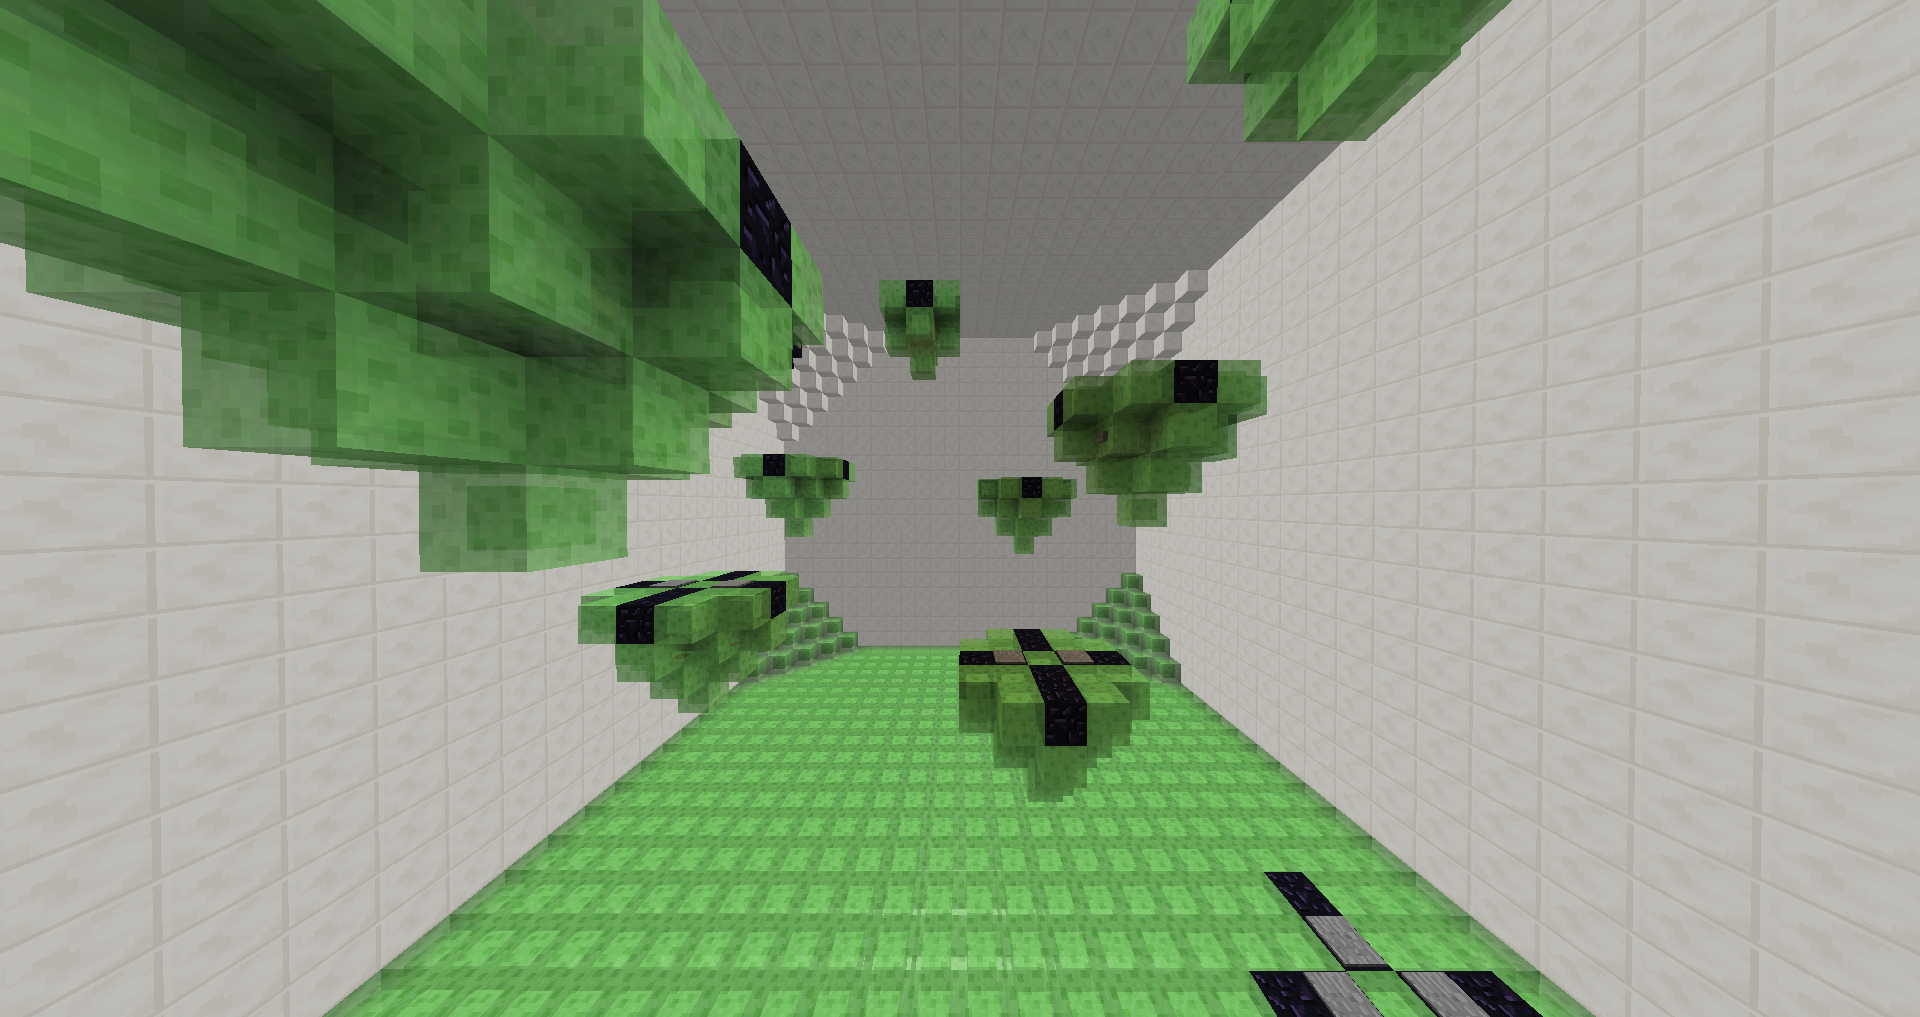
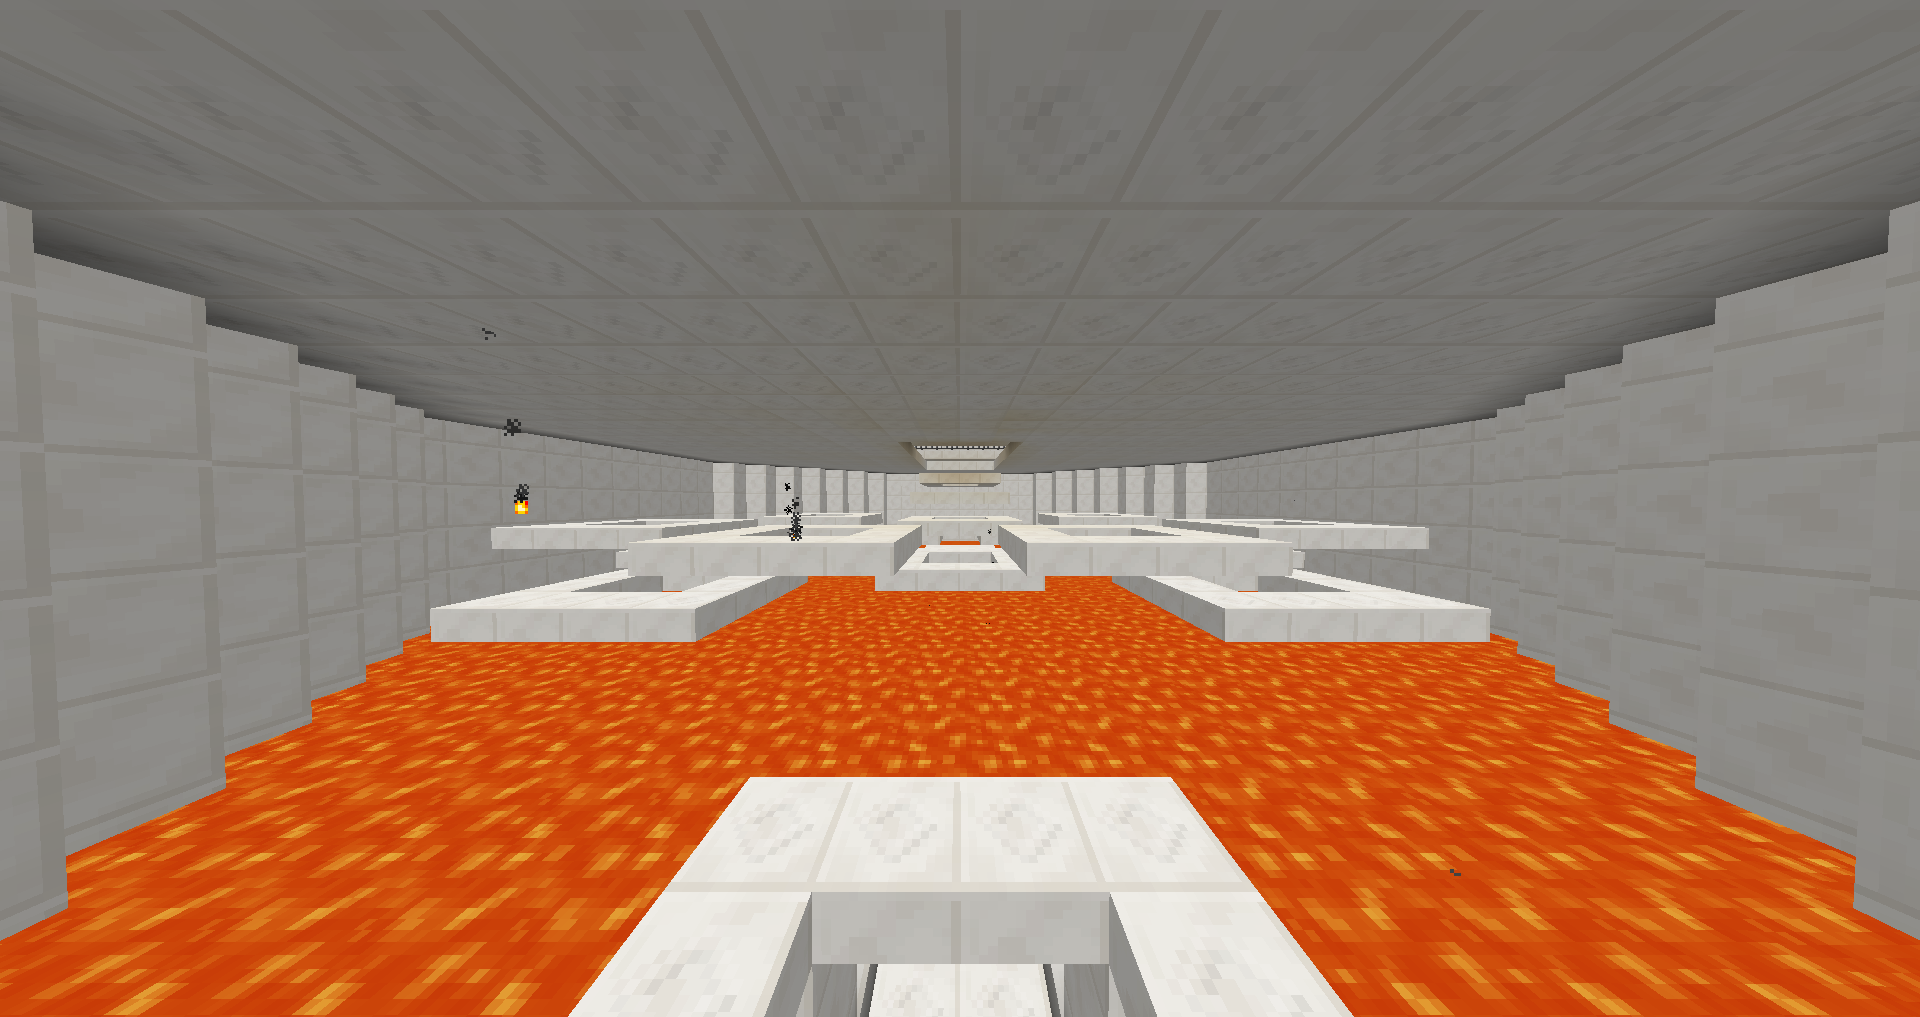
Hot Head: Carefully find your way through this combination of maze and parkour without burning to a crisp.
Tic Tac Drop: This dropper presents you with a couple of Tic Tac Toe puzzles to solve. Your task is to always drop where placing an X will secure your victory. Get the right answer five times in a row to complete the room. Special Rooms:
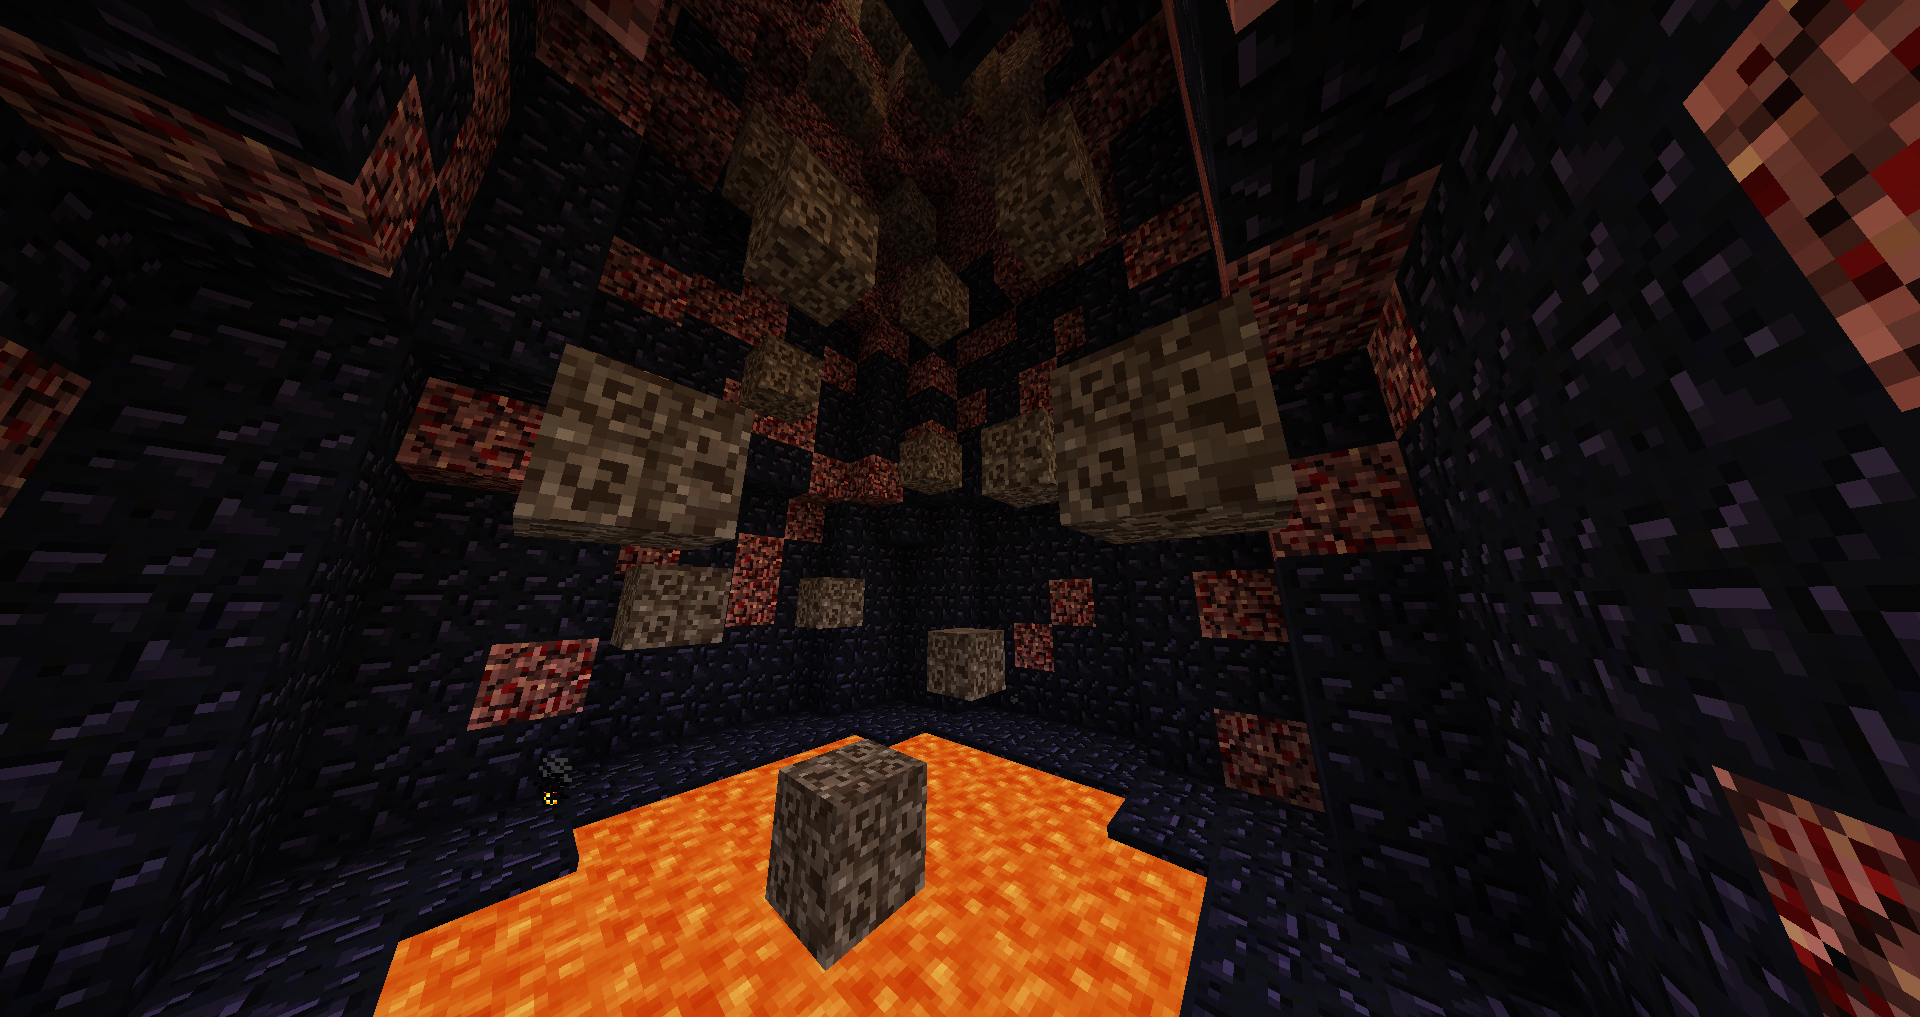
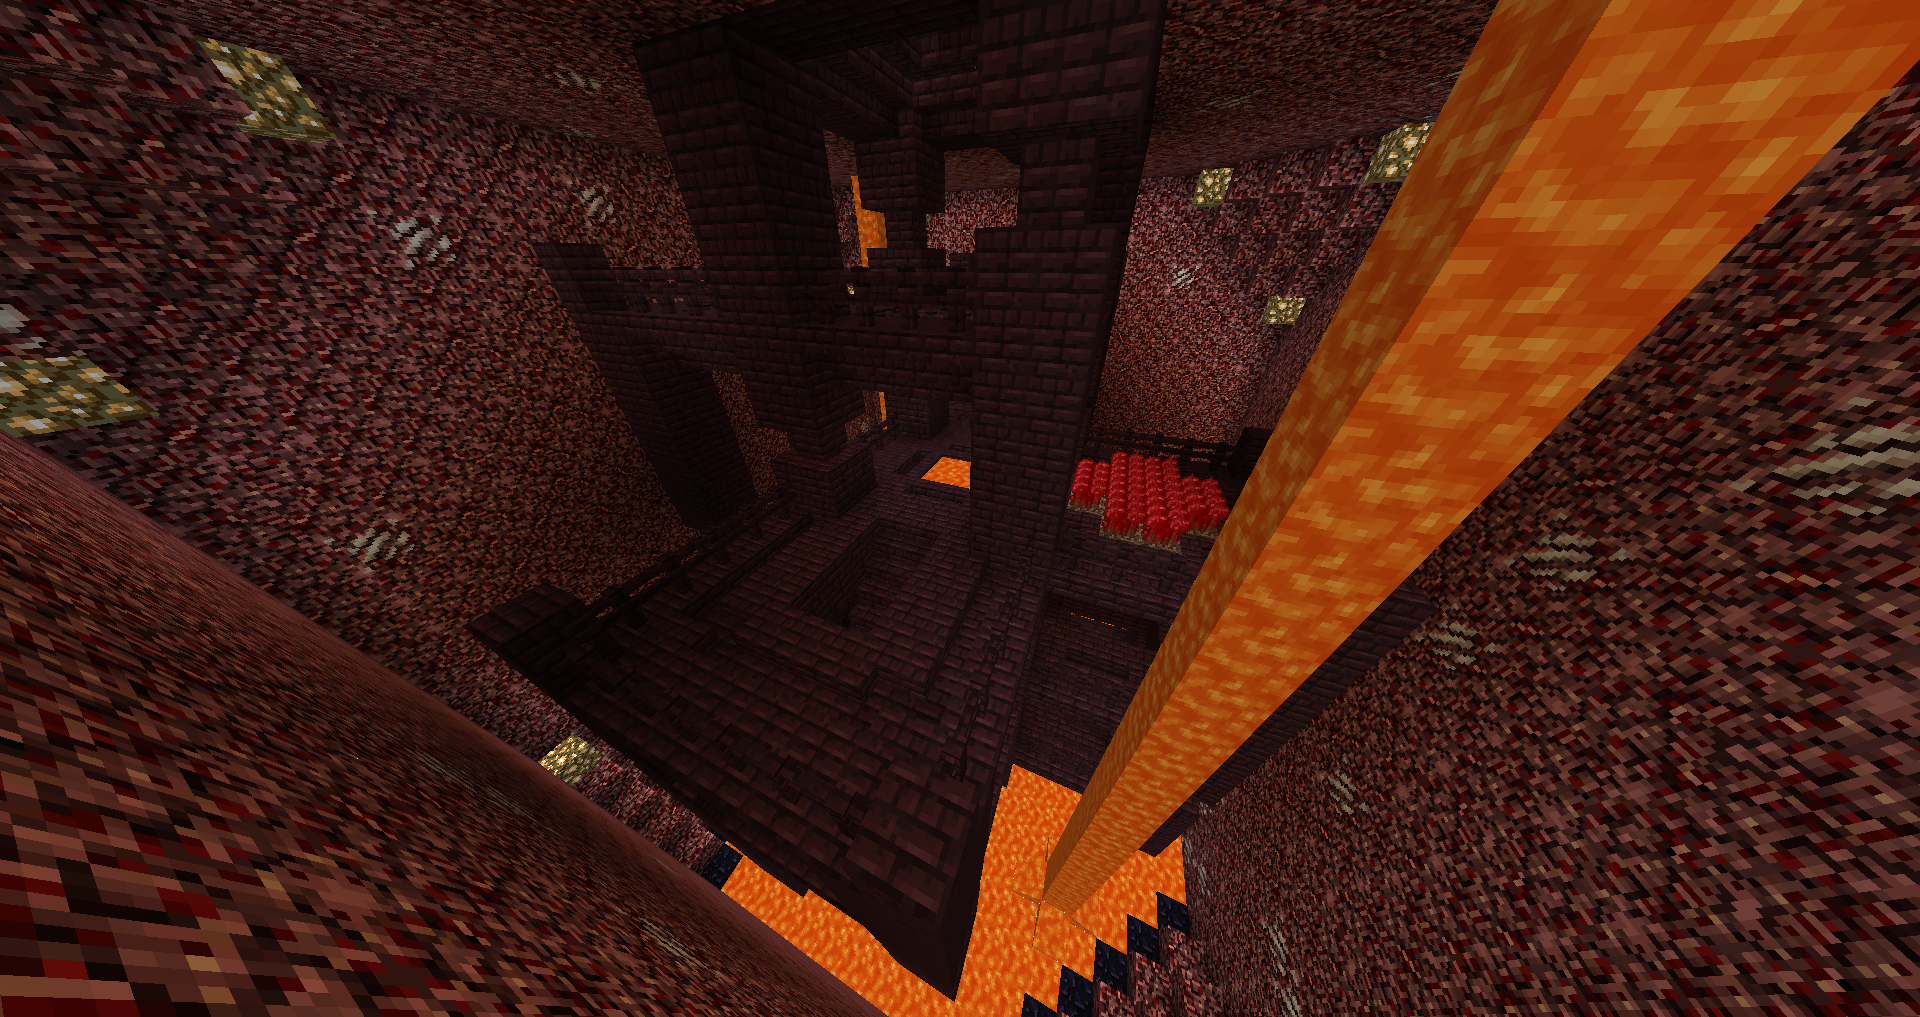
The Nether: In the middle of the third floor, you will find the Nether. After descending and traveling through the portal, you need to search the fortress for stone pressure plates, which give you a fire resistance effect. With that, you can dive into the lava well to receive a key and return to the portal.
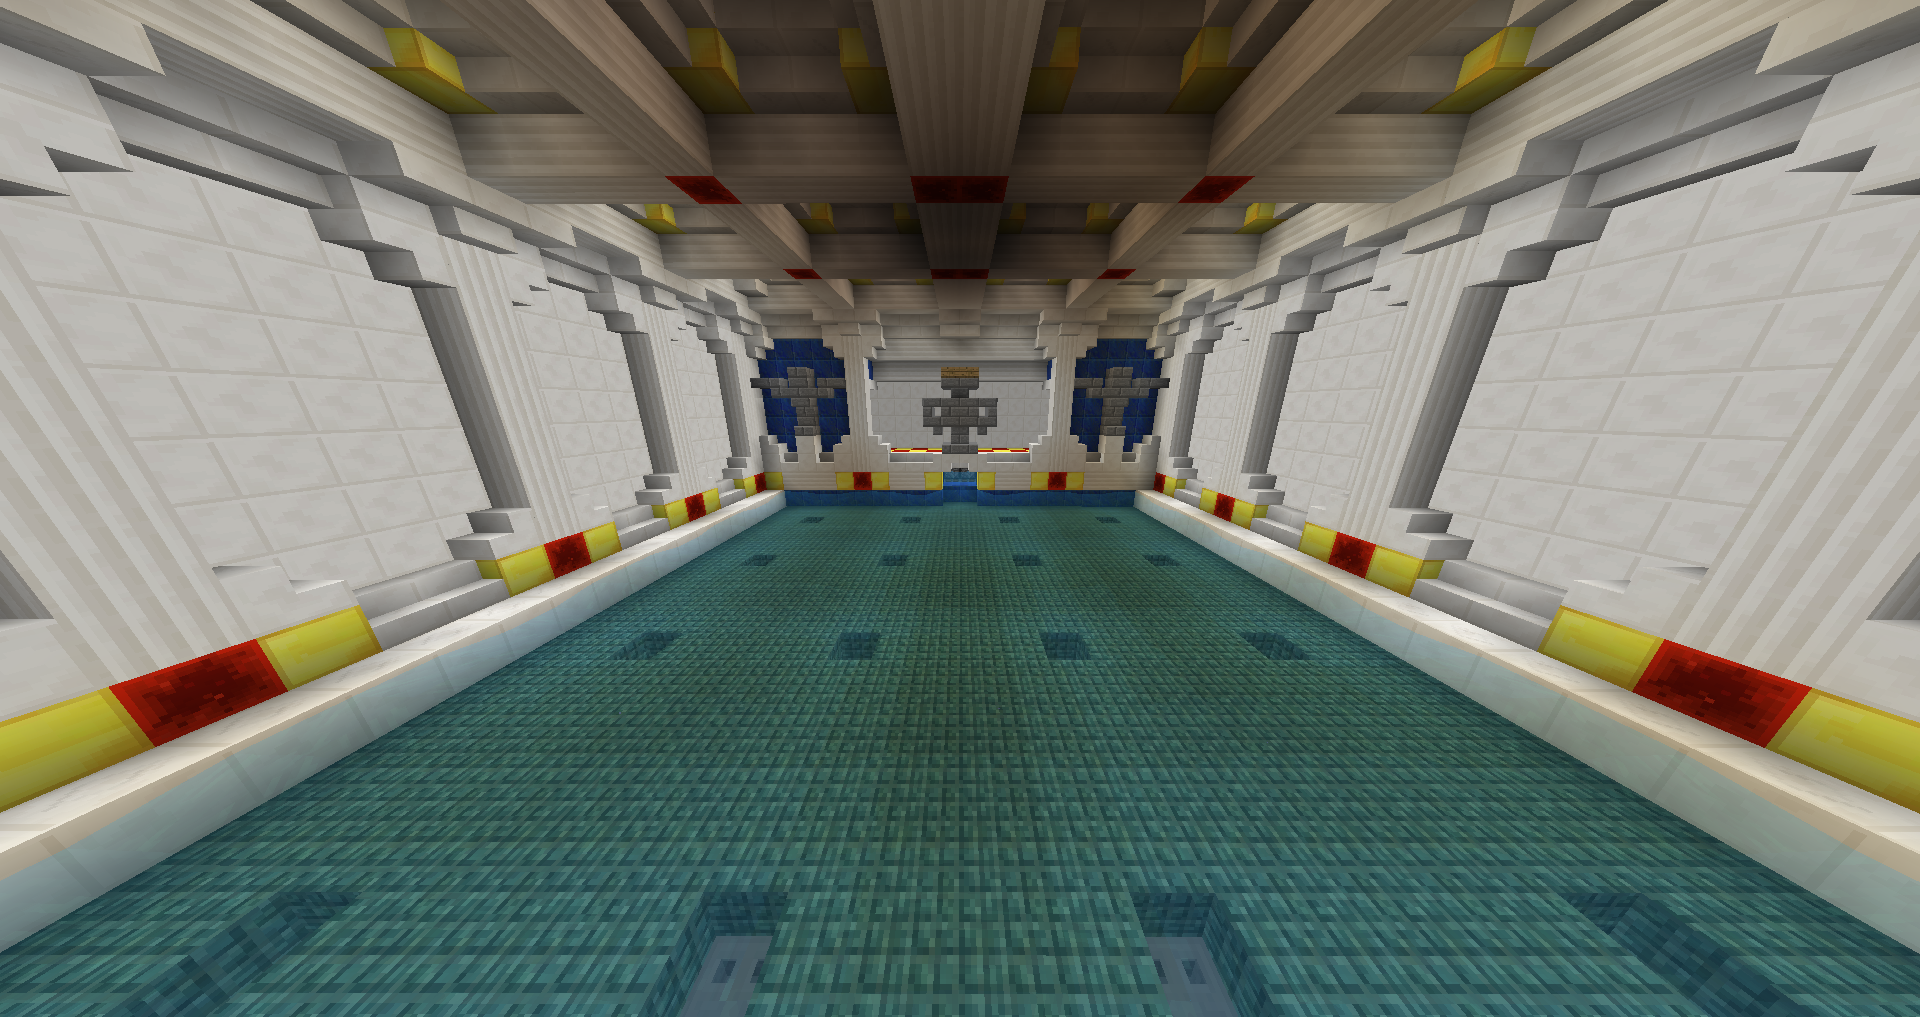
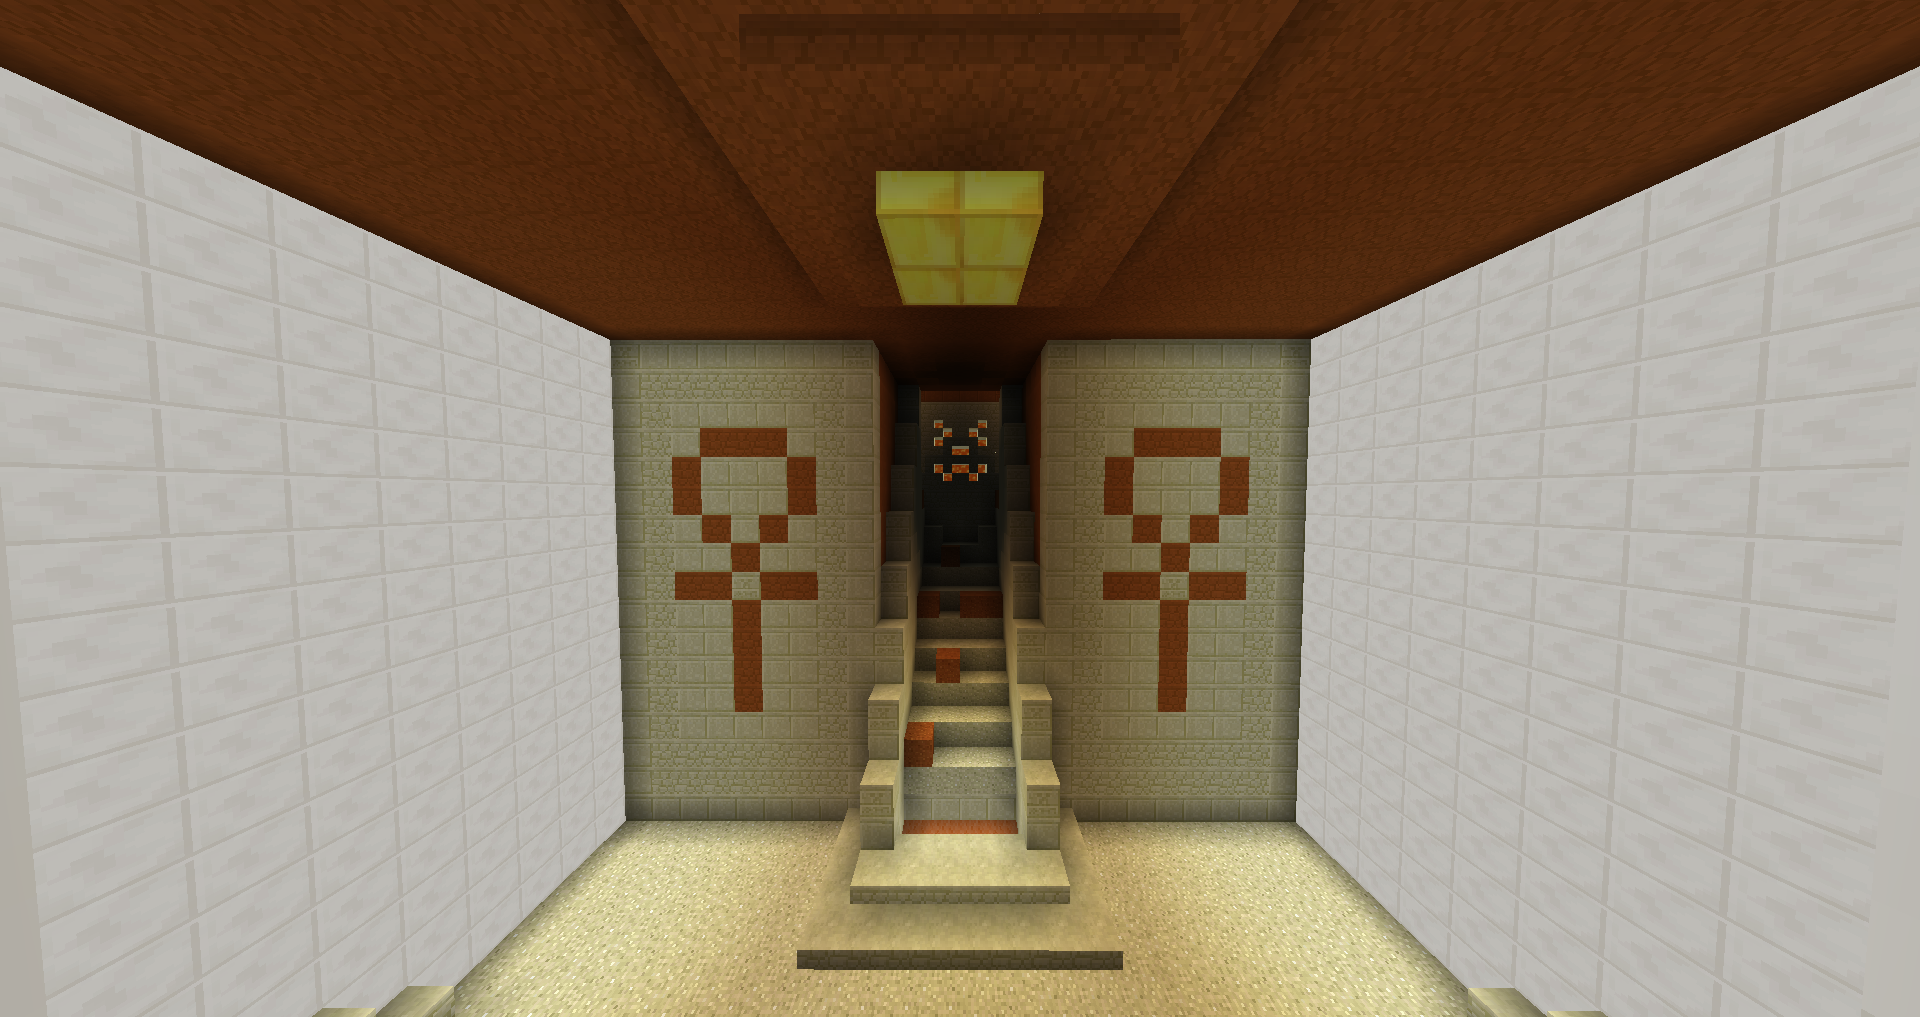
The End: This room is located at the very bottom of the map. You will first have to find all nine Eyes of Ender to complete the portal. On the other side, a fight against two dragons awaits. Slay them to receive the key.
The Good Room: To complete this room in the middle of the fifth floor, you have to stand on the key for five minutes in order to pick it up. And do something good while you wait, okay?
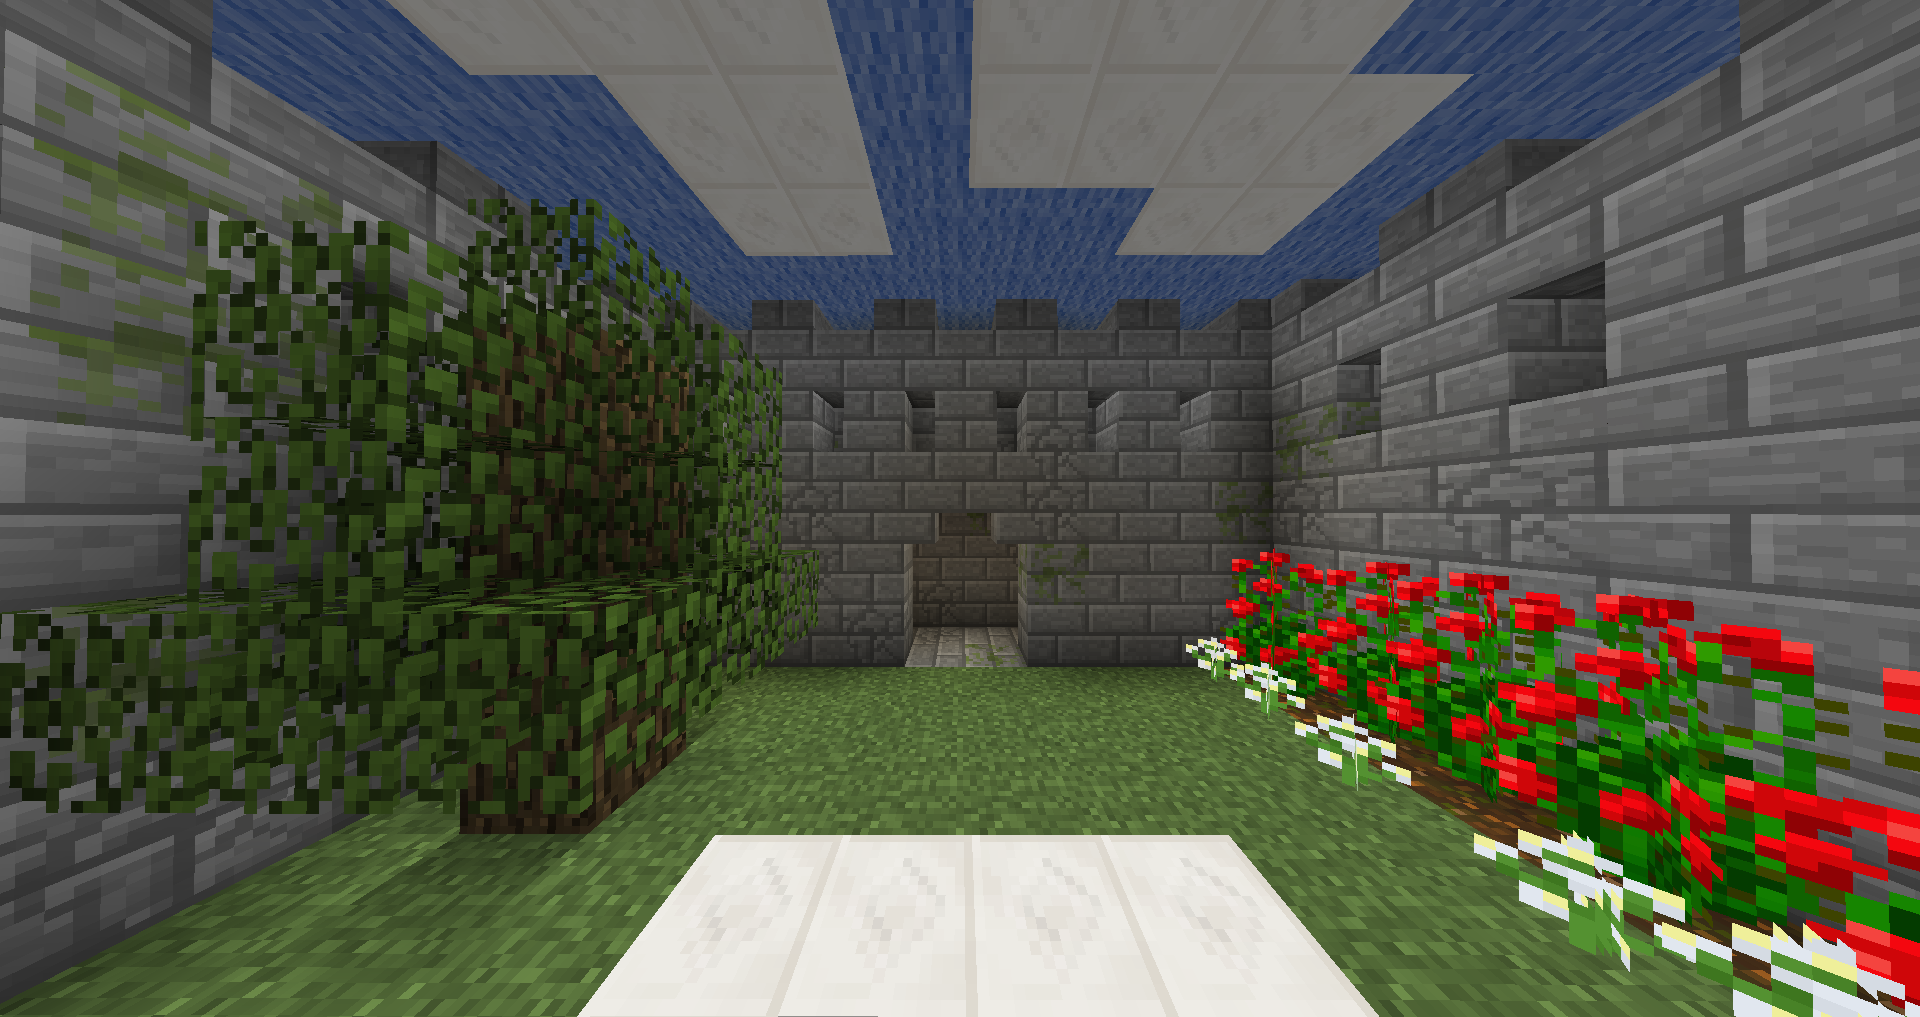
Final Room: This is the top room of the map and marks the glorious end of your journey through the Hall of Fame. While ascending, you have to pick up the beacons from their podiums and place them at the very top of the pyramid to trigger the ending sequence. Map Builder's Copyright: © 2023 Anton Feirer
2023-05-05 - Map Released. |


|
| Map Creator: | Niley (Anton Feirer) |
| Rating: | |
| Map Version: | v1.0 |
| Minecraft Version: | 1.8 |
| File Size: | 16.8 MB |
| Date Added: | 2023-05-05 |
| Downloads: | 9,233 |
| Map Category: | Puzzle Maps |
